Prerequisites
- WordPress 5.0 or higher
- A DataFast account
Installation
To install the DataFast Web Analytics Plugin:
- Navigate to Plugins > Add New Plugin in WordPress
- Type DataFast Web Analytics in the Search Plugins search field, and press the Enter key
- Click Install Now beside DataFast Web Analytics
- Once installed, click Activate
Configuration
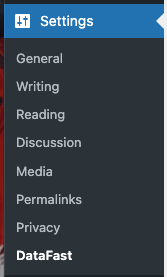
To configure DataFast to start capturing web analytics, access the Plugin’s settings screen by navigating to Settings > DataFast in WordPress
The following settings then need to be configured to enable DataFast Web Analytics
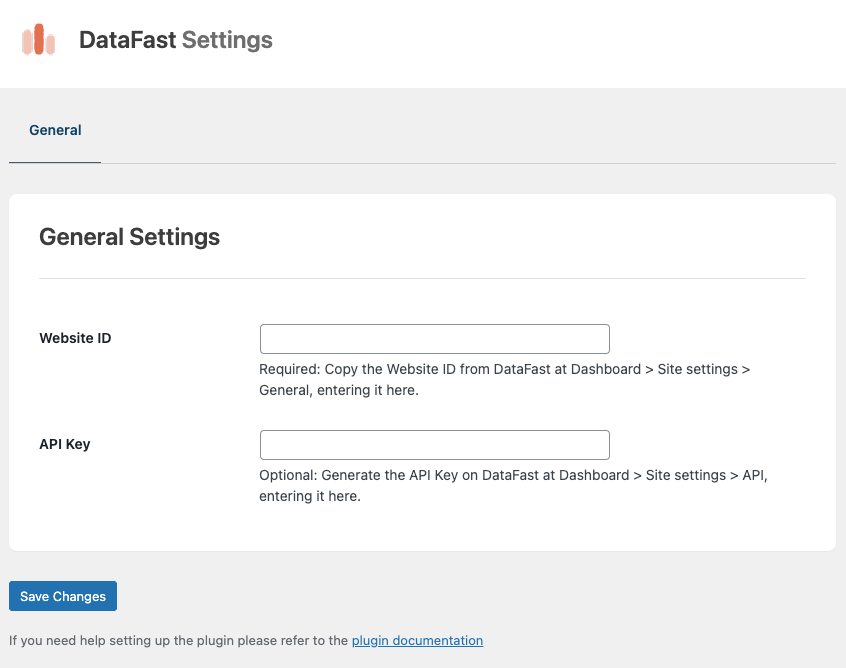
Web Site ID
In DataFast, select your site from the dropdown list
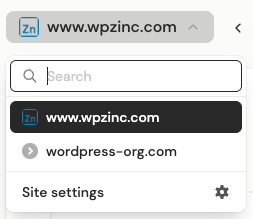
In the dropdown, click Site settings
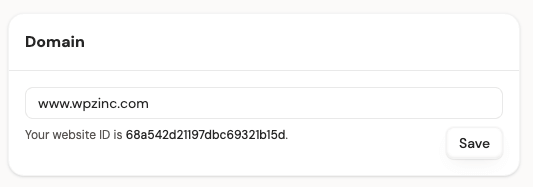
On the General tab, click the bold string where it states Your website ID is. This will copy the web site ID to the clipboard.
Paste the Web Site ID in the WordPress Plugin’s Web Site ID field
API Key
In DataFast, select your site from the dropdown list
In the dropdown, click Site settings
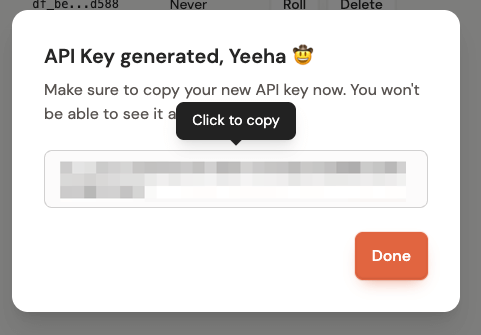
On the API tab, enter a Key name and click Create Key

Click to copy the API key
Paste it in the API Key in the WordPress Plugin’s API Key field.
Save Settings
Once the settings are configured, click the Save Changes button.
Visit your frontend web site, and then access your DataFast account to confirm web analytics are being captured.
Common Issues
Tracking not working
- Ensure any server or plugin caching solution has cleared its cache
- View the web page as a non-logged in user, or a logged in user that is not a WordPress administrator
- If your web page is on localhost, 127.0.0.1, a .local or .test domain, DataFast won’t track