Prerequisites
- WordPress 6.0 or higher
- WooCommerce 9.0 or higher
Installation
To install the FOMO Notifications Plugin:
- Navigate to Plugins > Add New Plugin in WordPress
- Type FOMO Notifications in the Search Plugins search field, and press the Enter key
- Click Install Now beside FOMO Notifications
- Once installed, click Activate
Adding a Notification
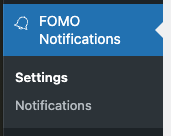
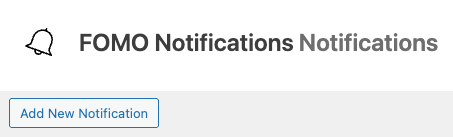
To configure a WooCommerce sales notification to be displayed, access the Plugin’s notifications screen by navigating to FOMO Notifications > Notifications in WordPress
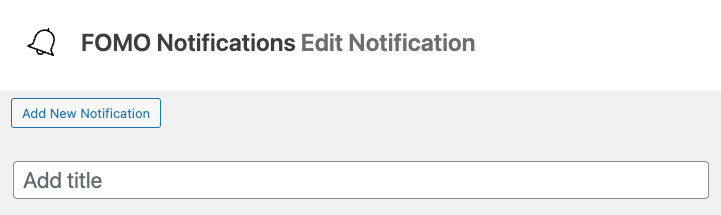
Click Add New Notification
Title
The title of the notification is for internal reference. This field can be used to reference what type of WooCommerce orders are shown in the notification – for example, perhaps you’re only going to display orders with a completed status.
Notification
The notification section defines the behaviour of the notification, and is split in to three sections:
- Source: The data to source the notifications from
- Display: How the notifications should look
- Conditions: What conditions to apply to determine the specific notifications to display, and who to display them to.
Source
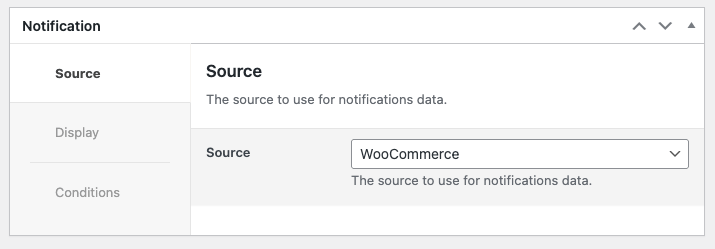
The source of the notification. Right now, we support WooCommerce – but other eCommerce platforms will be supported soon!
Display
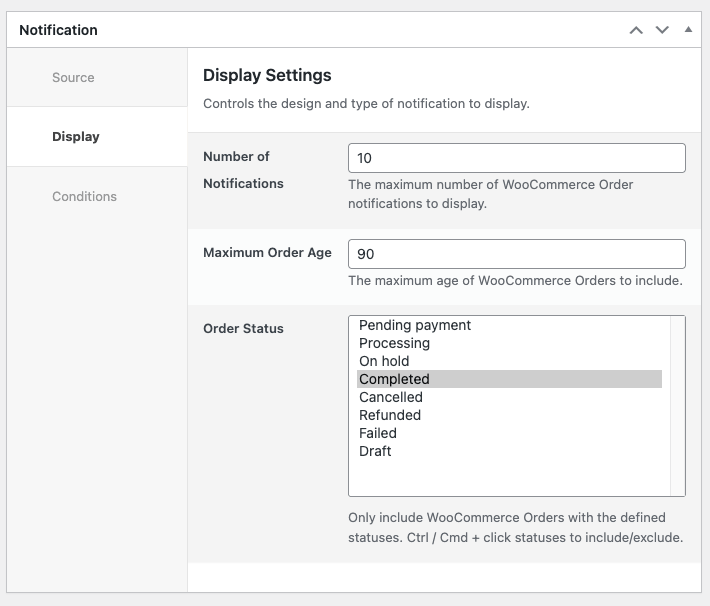
- Number of Notifications: The maximum number of WooCommerce Order notifications to display.
- Maximum Order Age: The maximum age of WooCommerce Orders to include.
- Order Status: Only include WooCommerce Orders with the defined statuses. Ctrl / Cmd + click statuses to include/exclude.
Conditions
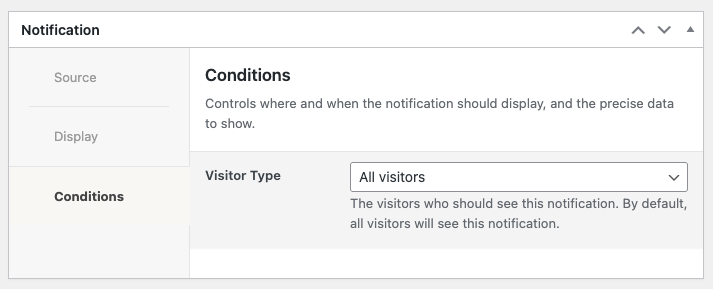
Conditions determine the data to display in the notification, as well as who to display them to.
- Visitor Type: The visitors who should see this notification. By default, all visitors will see this notification. Ctrl / Cmd + click user roles to include/exclude.
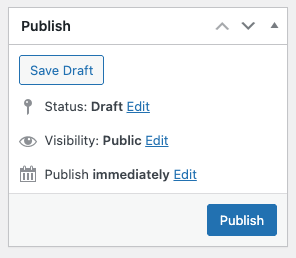
Publish
Once you’re happy with the notification settings, click the Publish button
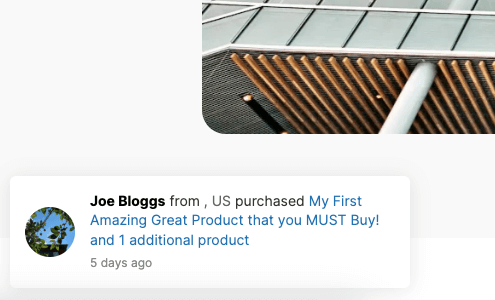
Navigate to the frontend site, to see your notifications!
Edit a Notification
To edit an existing notification:
- Navigate to FOMO Notifications > Notifications
- Click the applicable notification to edit.
Refer to the Add new Notification section above for configuring the notification.
Delete a Notification
To delete an existing notification:
- Navigate to FOMO Notifications > Notifications
- Either:
- Select the checkboxes beside the notification(s) to delete, and use the Bulk Actions to delete them
- Hover the mouse cursor over a notification, and click Trash.
Settings
To configure the WooCommerce sale notifications to be displayed, access the Plugin’s settings screen by navigating to FOMO Notifications > Settings in WordPress
General Settings
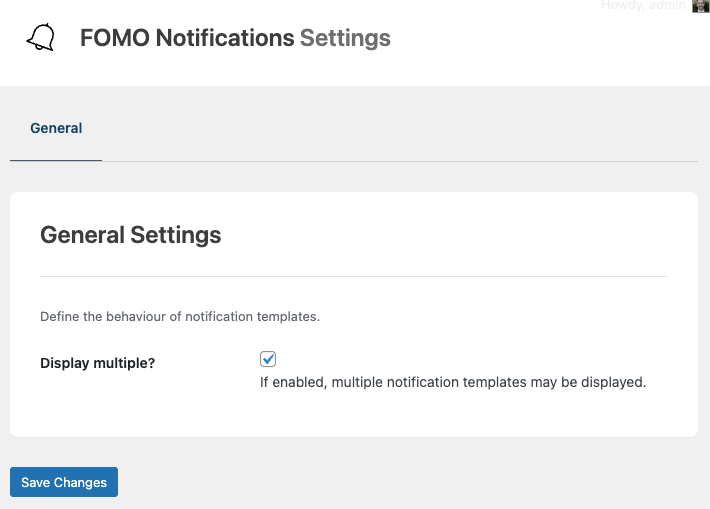
The general settings section covers:
- Display multiple: If enabled, multiple notification templates may be displayed, if you have multiple notifications defined at FOMO Notifications > Notifications, and two or more are eligible for display to the visitor.
Save Settings
Once the settings are configured, click the Save Changes button.
Common Issues
No notifications display
- Ensure any server or plugin caching solution has cleared its cache
- Define at least one notification at FOMO Notifications > Notifications
- Ensure at least one WooCommerce Order exists, and its status matches the status(es) chosen in the WooCommerce Settings section of the FOMO Notifications Plugin.