Download Plugin
Once you have purchased a license, you’ll need to download and install the Pro version of the Plugin, by either:
- Using the download link in the email receipt,
- Logging into your Account
Download Link in Email
Immediately after purchasing a license, an email is sent to your email address confirming your purchase:
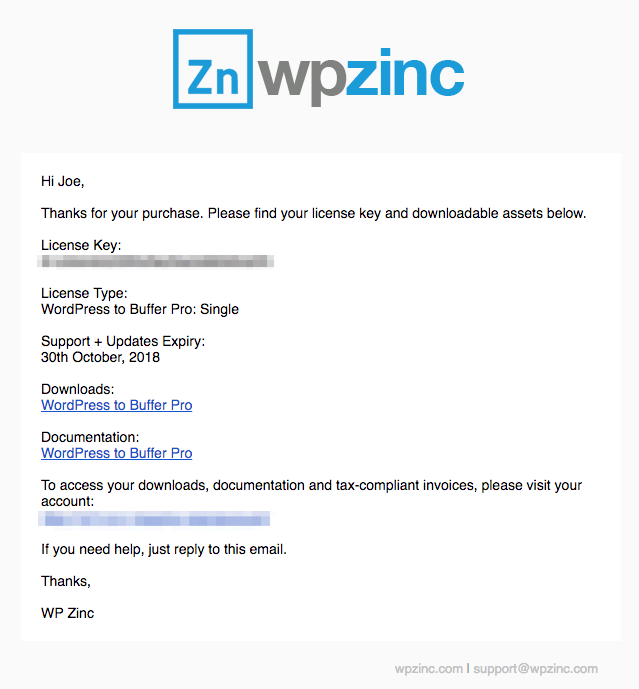
Click the Downloads link for the Pro Plugin that you have just purchased.

Safari user? Make sure Safari does not automatically unzip downloaded ZIP files at Preferences > General tab > uncheck the option Open “safe” files after downloading
Logging into your Account
Your purchase is always available in your account.
- Visit your account,
- Reset your password (using the email addressed used at the time of purchase)
- Access your account, where you can download the Plugin ZIP file.
Safari user? Make sure Safari does not automatically unzip downloaded ZIP files at Preferences > General tab > uncheck the option Open “safe” files after downloading
Installation
With the Pro version of the Plugin downloaded, you may now install it on your WordPress site.
Deactivate Free Version

If you currently have the Free version of the Plugin installed and activated, you must deactivate it before installing and activating the Pro version.
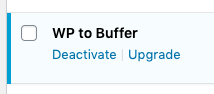
If you have the Free version of the Plugin already installed on your WordPress web site, you need to deactivate it:
- Click on Plugins in the WordPress Administration menu to be taken to your list of installed WordPress Plugins.

- Click on Deactivate below the Free Plugin
Install and Activate Pro Version
If you currently have the Free version of the Plugin installed and activated, you must deactivate it before installing and activating the Pro version.
To install the Pro version of the Plugin:
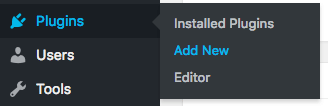
- In the WordPress Administration, navigate to Plugins > Add New in the Administration menu.
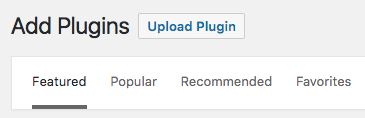
- Click Upload, towards the top of the screen.
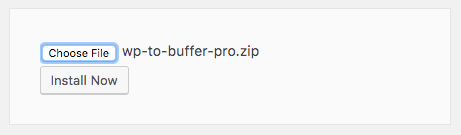
- Depending on your web browser, click Browse, Upload or Choose File, select the Plugin ZIP file you’ve received from us.

- Click Install Now.
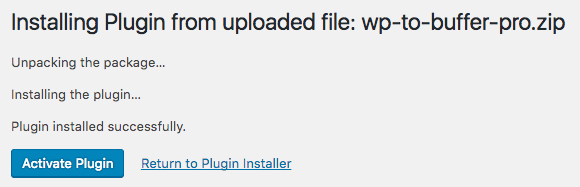
- Once installed, click Activate Plugin.
License the Pro Version
Finally, you’ll need to enter your license key issued by email and in your account.
Refer to the Entering your License Key Documentation to add your license key.