

MCP requires Page Generator Pro 6 or higher, available Monday 7th September 2026 23:59 UTC.
Prerequisites
- Page Generator Pro 6 or higher.
- WordPress 6.9 or higher
- An MCP‑capable AI client (Claude Desktop, ChatGPT Desktop, Claude Code, Cursor, or any client that supports MCP over HTTP).
Introduction
Page Generator Pro includes an MCP (Model Context Protocol) server. This lets an AI client — such as Claude Desktop, ChatGPT Desktop, Claude Code or Cursor — connect directly to your WordPress site and manage Page Generator Pro for you: creating Keywords and Content Groups, building page content, generating Pages/Posts, and reading or updating Plugin settings.
Instead of clicking through the Plugin’s screens, you describe what you want in plain language and the AI client carries it out using Page Generator Pro’s tools.
Functionality
Once connected, an AI client can:
- Create, read, update and delete Keywords (including AI‑generated Keywords and location Keywords).
- Create, import, update and delete Content Groups, build their content, and generate (or test) Pages/Posts.
- Insert Dynamic Elements — AI text, AI/stock images, Related Links, maps and more — into your content.
- Read and update Plugin Settings (API keys and other secrets are never exposed or writable).
- Run guided Prompts (recipes) — ready‑made programmatic SEO workflows, such as “Services in Locations” or “Location Directory”.
See MCP: Prompts, Tools and Resources for the full list, and MCP: Tutorial for a complete worked example.
Setup
Setup is one time. Failure to follow all steps in this section may result in incorrect working functionality.
- Go to Page Generator Pro > Settings, and click the MCP tab.
- Tick/check the Enable MCP Server option, and click Save
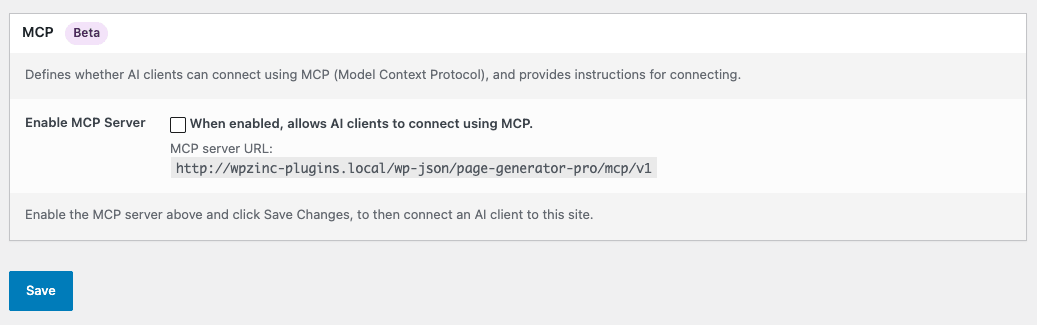
- Click Create Application Password

- On the Authorize Application screen, click Yes, I approve of this connection
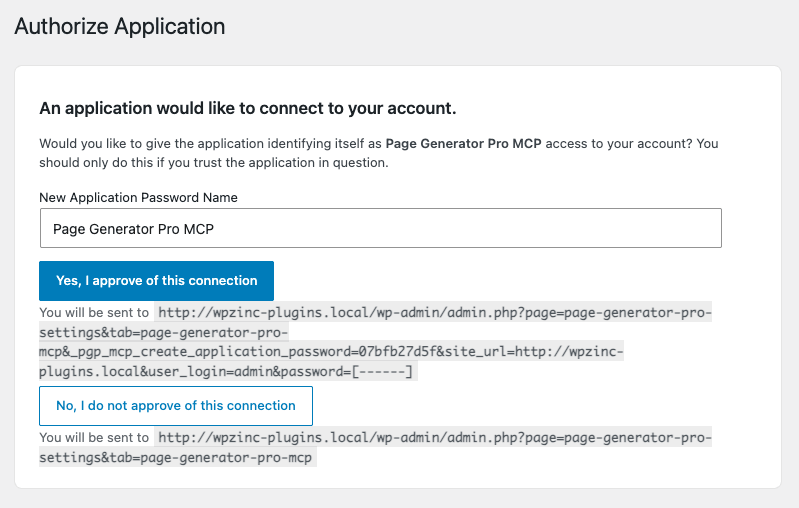
Make a note of the MCP server URL
If you’re on an Agency license with whitelabelling enabled, the URL’s page-generator-pro slug will instead be the slugged version of your whitelabelled plugin name. For example, if it’s called “SEO Plugin”, the URL will instead contain seo-plugin.
Make a note of the Authorization Header. It is only shown once
At this stage, you’ll also see ready made configurations you can copy and paste into your AI client’s configuration files:
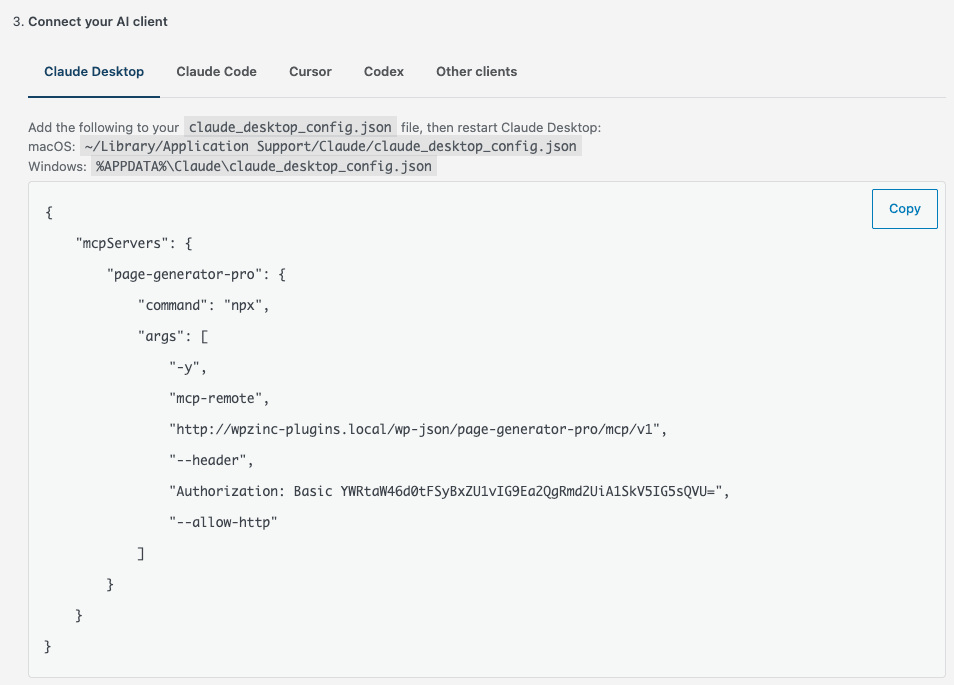
Claude Desktop
- Go to Settings > Connectors
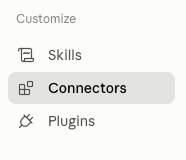
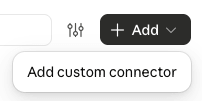
- Click Add > Add custom connector
- Enter a name (such as your web site name or Page Generator Pro), and the Server URL as shown on Page Generator Pro > Settings > MCP.
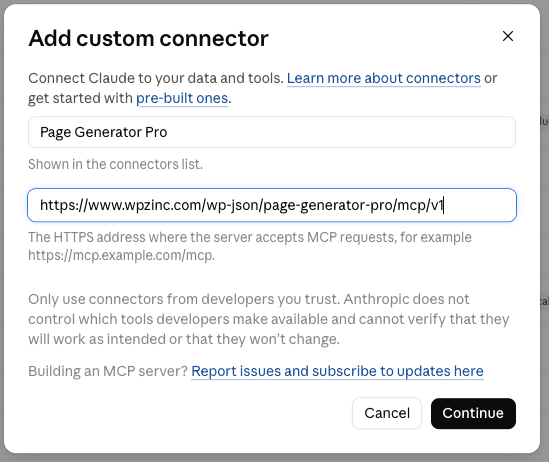
- Click Continue. After a few moments, warnings will display
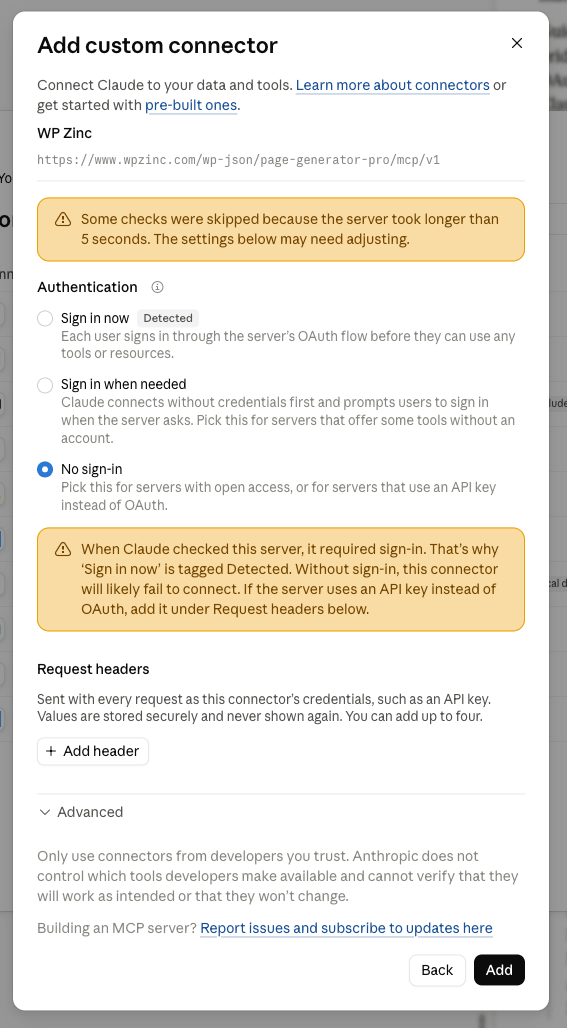
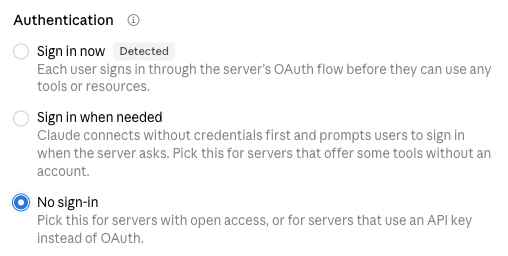
- Select No sign-in
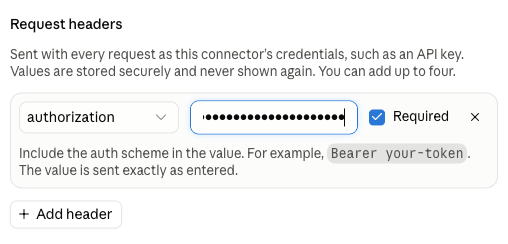
- Click Add header, select authorization and enter the Authorization header shown at Page Generator Pro > Settings > MCP (Basic XXXXXXX)
- Click Add
- Click Connect
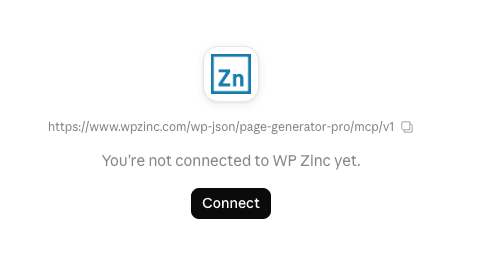
- After a few moments, you’ll see the MCP connection listed.
Claude Code
Run the generated command in your terminal:
claude mcp add --transport http page-generator-pro https://www.example.com/wp-json/page-generator-pro/mcp/v1 --header "Authorization: Basic XXXXXXXX"Cursor
Add the following to your ~/.cursor/mcp.json file, then restart Cursor:
{
    "mcpServers": {
        "page-generator-pro": {
            "url": "https://www.example.com/wp-json/page-generator-pro/mcp/v1",
            "headers": {
                "Authorization": "Basic XXXXXXXX"
            }
        }
    }
}
Codex
Add the following to your ~/.codex/config.toml file, then restart Codex:
[mcp_servers.page_generator_pro]
url = "https://www.example.com/wp-json/page-generator-pro/mcp/v1"
http_headers = { "Authorization" = "Basic XXXXXXXX" }
Older versions of Codex require experimental_use_rmcp_client = true at the top of the configuration file to connect to remote MCP servers.
Other clients
Any MCP client that supports HTTP can connect using the two values shown on the screen:
- Server URL —
https://www.example.com/wp-json/page-generator-pro/mcp/v1 - Authorization header —
Basic XXXXXXXX
Sites without HTTPS (local/staging)
If your site is not served over HTTPS, Page Generator Pro automatically adds the --allow-http flag to the Claude Desktop / Cursor snippets, because the MCP bridge (mcp-remote) otherwise refuses non‑HTTPS URLs. On a live HTTPS site this flag is not required.
Verifying the connection
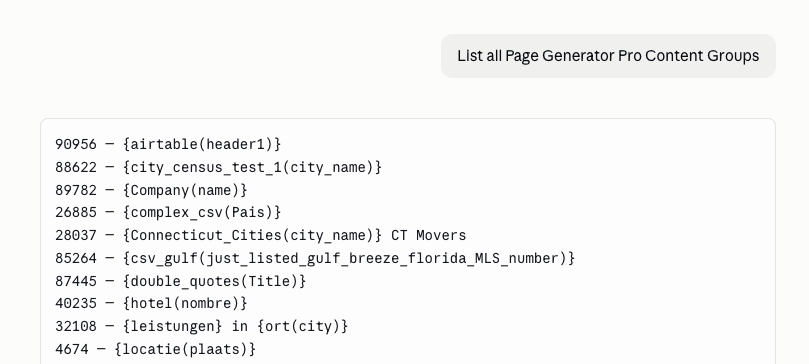
Once your client is configured and restarted, ask it something simple, for example:
List my Page Generator Pro Content Groups
The client should call Page Generator Pro and return your Content Groups. If it can’t connect, see Troubleshooting below.
Disconnecting
To revoke access:
- Go to Page Generator Pro > Settings, and click the MCP tab.
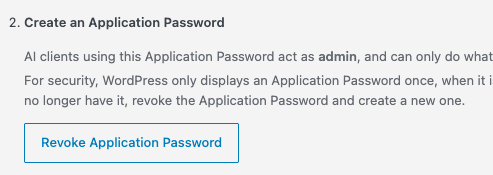
- Click Revoke Application Password
- Remove the server from your AI client’s configuration.
You can also disable the MCP server entirely by unticking the Enable MCP Server option.
Troubleshooting
npx is not recognized / spawn npx ENOENT
Node.js isn’t installed, or isn’t on your PATH. Install Node.js, open a new terminal and confirm npx -v returns a version, then fully restart Claude Desktop. Alternatively, use the “No Node.js? Connect directly” method above.
“Couldn’t reach [server]” / connection fails on a direct custom connector
Claude’s custom connector may be attempting an OAuth sign-in rather than sending your Authorization header (a current limitation). Use the mcp-remote method for Claude Desktop, or confirm the header is being sent for other clients.
Confirm the WordPress REST API is reachable by loading https://your-site.com/wp-json/ in a browser — it should return JSON. If it’s blocked, any firewall, WAF, security plugin or caching layer must be configured to allow access to the MCP endpoint.
Non-HTTPS (local/staging) sites
mcp-remote refuses non-HTTPS URLs unless the --allow-http flag is present. The plugin adds this flag automatically when your site isn’t served over HTTPS; it isn’t needed on a live HTTPS site.
The client connects but doesn’t see new tools or prompts
MCP clients cache the tool list. After enabling the server (or upgrading the Plugin), fully restart / reconnect the client so it re‑reads what’s available.
“Non‑HTTPS URLs are only allowed…” error
Your site isn’t on HTTPS — use the snippet with the --allow-http flag that the Settings > MCP screen provides.
401 / authorization errors
The Application Password is missing or incorrect in your client config. Revoke it on the Settings > MCP screen, create a new one, and paste the fresh header into your client.
AI Dynamic Elements produce empty content
Configure an AI provider API key at Settings > Integrations (see the connect-ai prompt).