
These steps apply if you’re using either Free or Pro versions of the Plugin. You won’t need do these again if you are upgrading from Free to Pro.
Prerequisites
- WordPress 6.0 or higher
- An account with Buffer, Hootsuite or SocialPilot
Connection
To configure the WordPress Plugin to start sending your WordPress Posts to social media, either:
- Click the link in the notice on the WordPress web site:

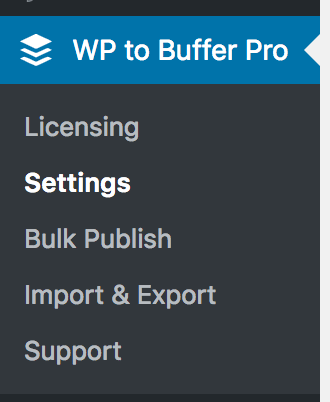
- Click the Plugin’s name > Settings in the WordPress administration menu:
On the screen, click Authorize Plugin or Connect

You’ll be redirected to the social media scheduling service, and asked whether you want to grant the WordPress Plugin access to your account.
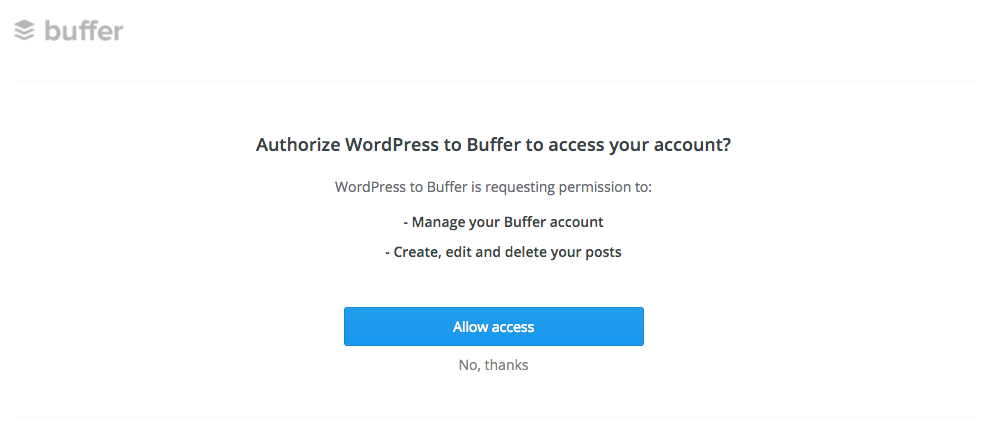
Authorize or allow access.
You’ll be redirected back to your WordPress site, and the Plugin’s settings screen for Posts.
Connect Social Media Accounts
If you’ve already connected your social profiles to the social media scheduling service, you can skip this step.
If your account does not have any of your social media profiles connected to it (for example, you’ve just registered an account with the social media scheduling service), you might be prompted to connect your social media accounts:

This is required, so that the Plugin can then let you choose which social media accounts to send your status messages to.
- Click the Connect Profiles button
- Follow the on screen steps to connect your social media accounts.
- Once complete, refresh the Plugin screen, and you’ll see the connected social media accounts listed
Configuration
The final stage is to configure the Plugin to send WordPress Posts to your connected social media account(s) when you publish a WordPress Post:
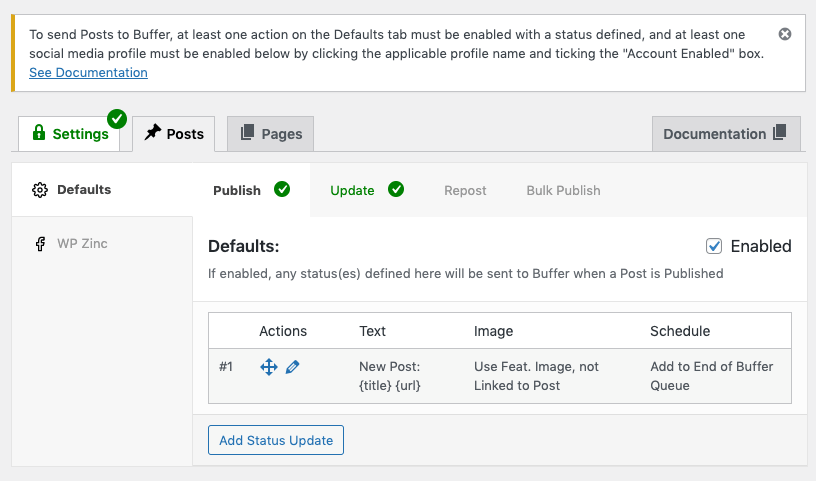
- Click the Defaults tab
- Click the Publish tab
- Tick the Enabled checkbox
- Edit the status by clicking the pencil icon
- Enter the text for your status. For now, use {title} {url}
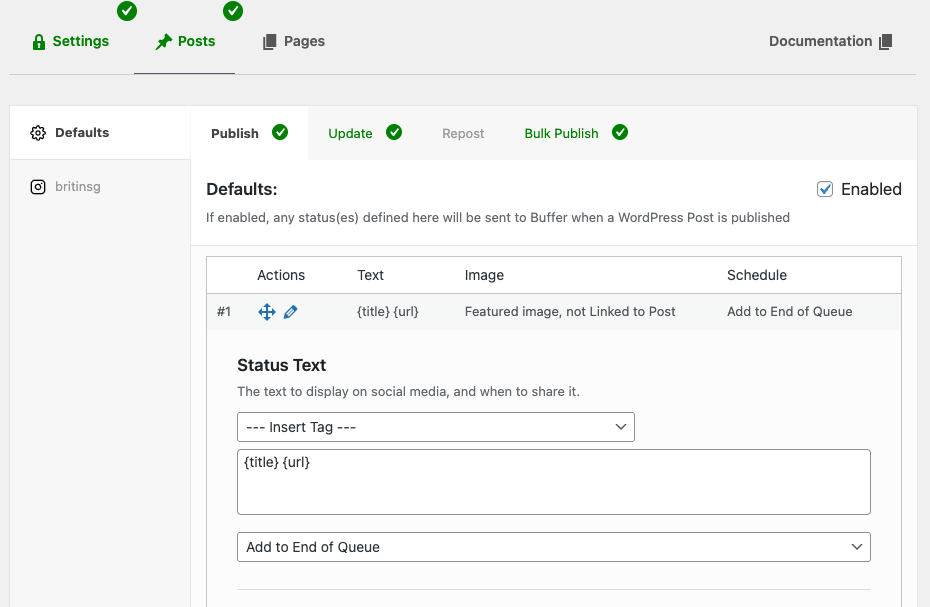
Next, choose which social media profiles to publish a status to when you publish a WordPress Post:
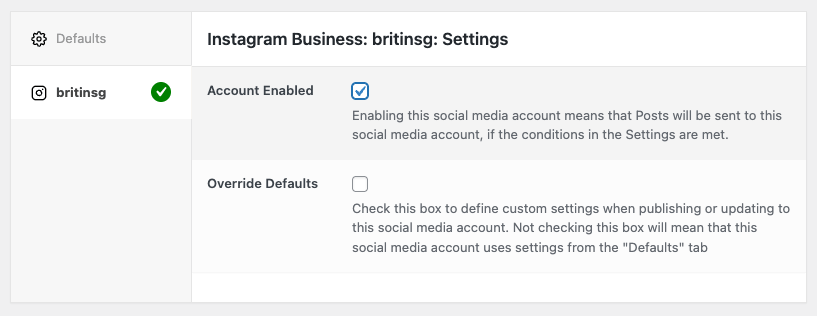
- Click each social media profile in the left hand tab navigation
- Tick the Account Enabled checkbox
Finally, click Save.
Congratulations – you’ve now configured the WordPress Plugin to send the title and URL as a new social media post whenever you publish a WordPress Post!
Next Steps
The Plugin can do much more than we’ve walked through in this guide. Be sure to check out the following documentation to further configure the WordPress Plugin:
- Manage Account Connections: How to connect additional account(s) to the Plugin, and remove existing connections.
- Status Configuration and Types: How to post different types of content (text, images, links) to social media, multiple statuses and scheduling options.
- Status Tags: How to dynamically replace text in the status with your WordPress Post’s information, such as the title, excerpt, categories, tags, author, custom field data and more
- Per-Profile Statuses: How to specify different statuses for each of your social media profiles
- Per-Post Settings: How to specify statuses when creating or editing a WordPress Post