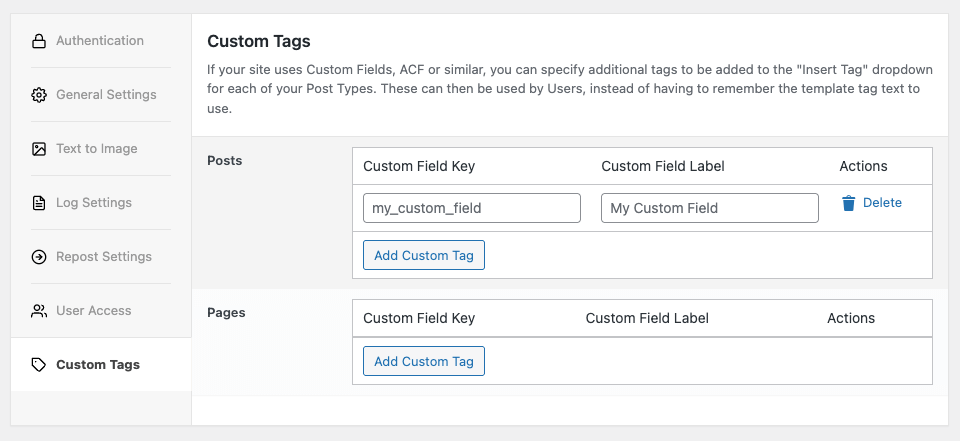
The Custom Tags section provides options for defining any additional tags to display in the Insert Tag dropdown, which is displayed for each status message in the Status Settings.
For example, if you’re using Advanced Custom Fields or another Custom Field Plugin / code, which displays specific Custom Fields on a Post Type, you might want to add these to the Insert Tag dropdown, instead of having to remember the manual tag syntax every time.
In the WordPress Administration, click on the Plugin Name > Settings in the menu.
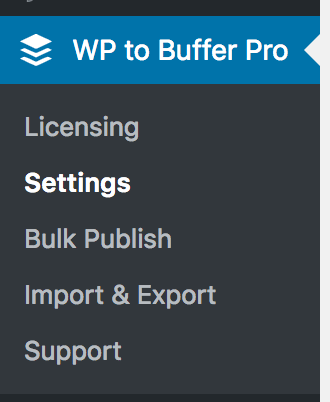
Click the Custom Tags tab:
Add Custom Tag
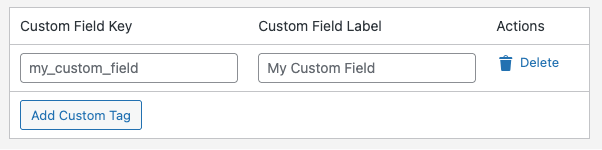
For the relevant Post Type, click the Add Custom Tag button to add a Custom Tag, completing the following fields:
- Custom Field Key: The ACF / Custom Field Key. For example, if you’ve registered an ACF Field called test, set this value to test
- Custom Field Label: The label to display in the Insert Tag dropdown for this Tag. In this example, you might set this value to Test

You don’t need to prefix the Custom Field Key with custom_field_, as you would if you were directly entering this tag into a status message. The Plugin will prefix the tag with custom_field_ for you.
Looking to display data from Event, SEO or other Plugins (such as Yoast SEO or The Events Calendar) that store data against Posts? Check the Status Tags documentation to see if the Plugin already has native tags registered, as you may be able to use those and not need to register a Custom Field tag here.
Advanced Custom Fields
You can access the value of an Advanced Custom Field by using its Field Name in your status messages.
Taking the below example, where we have a Field Name of test in Advanced Custom Fields:
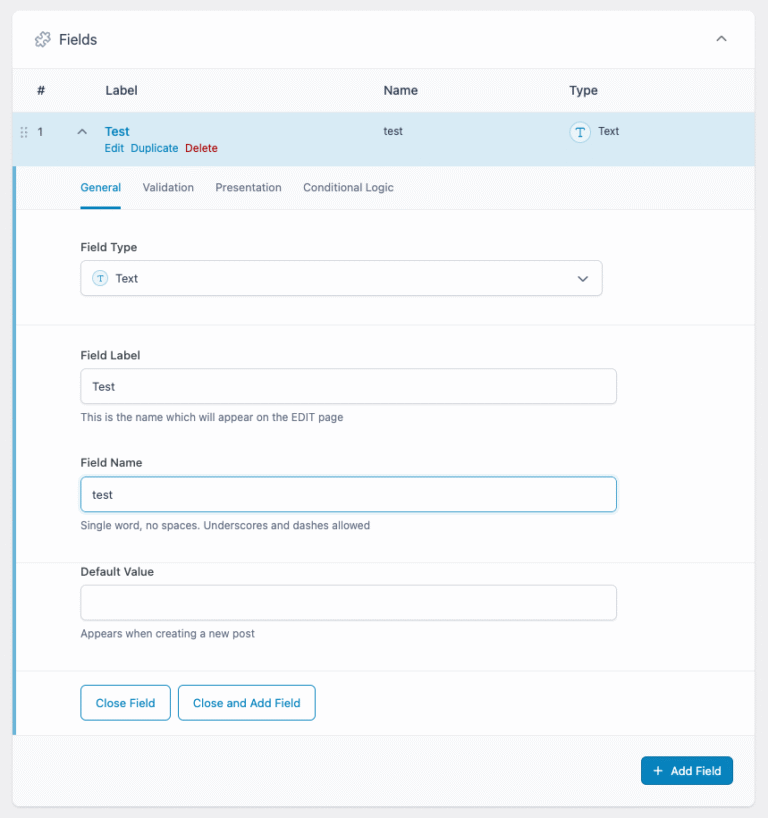
You would use {custom_field_test} in your status messages, where the bold text denotes the Field Name in ACF above.
In your status message, custom_field_ must prefix the Field Name

Make sure you are using the Field Name. The Field Label and programmatic Field Key will not work.
Edit Custom Tag
For the relevant Post Type and existing Custom Tag, edit the Custom Field Key / Label fields as necessary.
Delete Custom Tag
For the relevant Post Type and existing Custom Tag, click the Delete link to the right of the Custom Field Label.