It’s possible to log the result of each status message sent to social media through the Publish, Update, Repost and Bulk Publish actions.
Most of the time you won’t need to do anything with these Logs – however, they’re useful to confirm if the Plugin attempted to send a status, and whether the status was accepted.
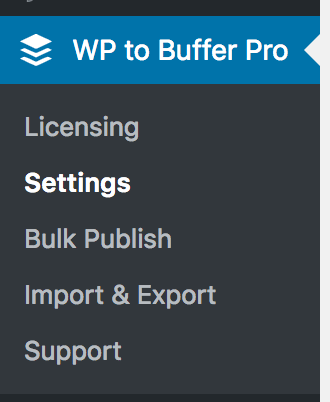
In the WordPress Administration, click on the Plugin Name > Settings in the menu.
Next, click on the Log Settings tab:
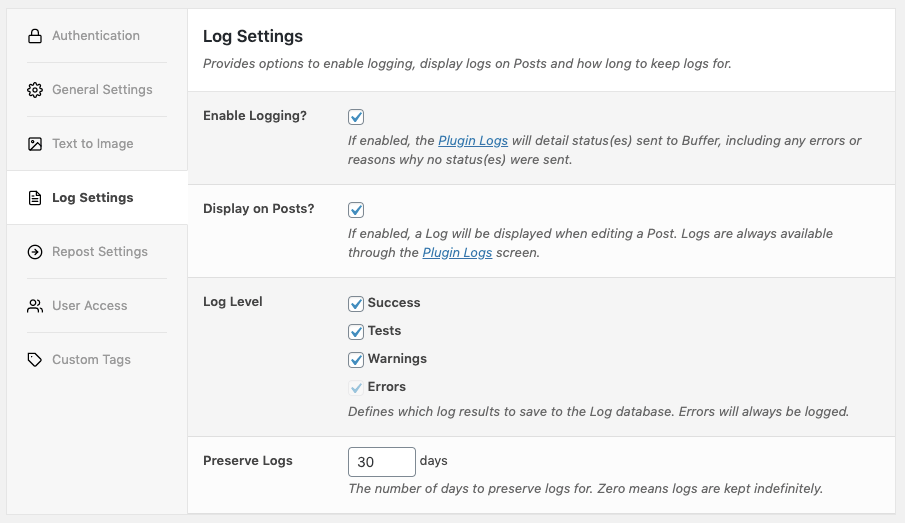
Enable Logging
If enabled, for each Post, the Plugin will log whether statuses were sent, and if so the result.
Display on Posts
If enabled, this displays Post-specific Logs on each Post when editing a Post, Page or Custom Post Type in the WordPress Administration interface.
Log Level
The Log Level defines which log results to save to the Log database. This is useful if you only want to log specific results, such as success and error messages.
- Success: When enabled, statuses that are successfully added to the social media scheduling service will be added to the log.
- Tests: When enabled, statuses that are sent using Test Mode will be added to the log.
- Refer to the Test Mode Setting and WP-CLI Test Mode flags to enable Test Mode
- Pending: When enabled, statuses that are due to be sent using WordPress’ CRON will be added to the log.
- This happens when Use WP Cron is enabled in the Plugin’s settings.
- Warnings: When enabled, log entries are added when status settings result in no statuses being sent
- This is useful to help diagnose why a status is not sending when you expect it to – for example, you might have Status Conditions enabled, or did not enable the specific action (Publish, Update etc)
- Errors: Errors returned from Buffer, Hootsuite or SocialPilot when attempting to add a status will be added to the log.
- This option is always enabled.
Preserve Logs
Preserve Logs defines the number of days to preserve logs for before they are automatically purged (deleted) from the log database table. A sensible default is provided by the Plugin of 30 days, but you may wish to adjust this accordingly.
If the value is zero or blank, logs are kept indefinitely and never automatically deleted.
To monitor your WordPress Cron jobs, we recommend installing WP Crontrol. The Plugin will display the Log Cleanup job with the Hook Name wp_to_buffer_pro_log_cleanup_cron, wp_to_hootsuite_pro_log_cleanup_cron or wp_to_socialpilot_pro_log_cleanup_cron

Logs can manually be deleted through the Logs screen.
View Logs
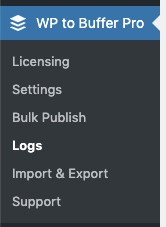
To view the Logs, click on the Plugin Name > Logs in the WordPress Administration interface:
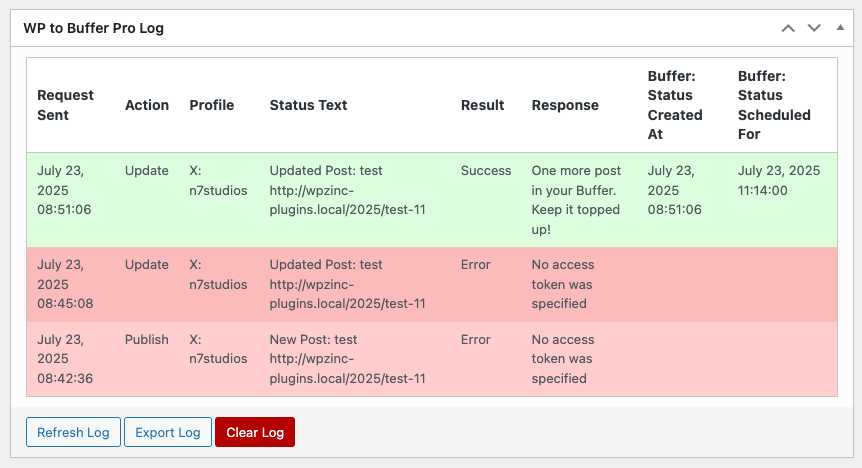
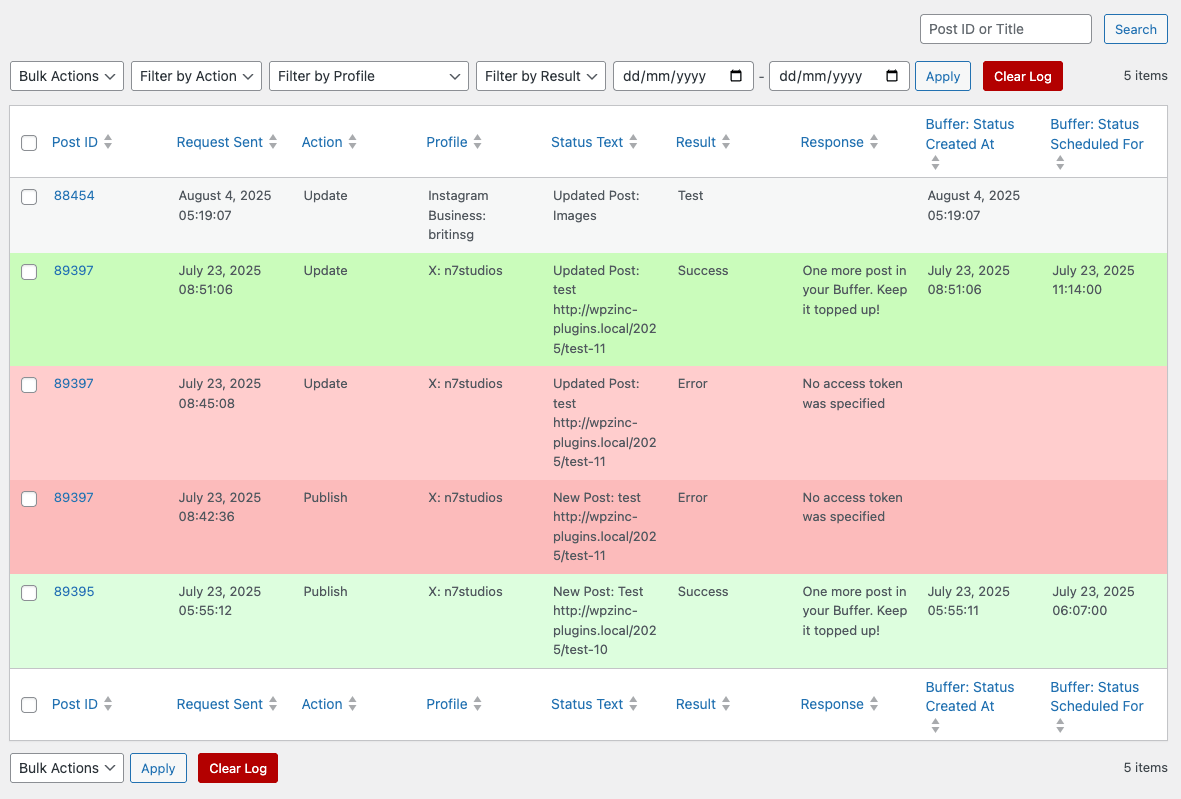
A table will be displayed, showing all status activity, ordered by when a status was sent, newest to oldest:
Understanding Log Entries
Each log entry comprises of the following information:
| Column | Description |
|---|---|
| Post ID | The Post ID the Log Entry refers to. |
| Request Sent | When the status was sent from the Plugin to the social media scheduling service. |
| Action | The Post Action that triggered this status (Publish, Update, Repost, Bulk Publish) |
| Profile | The Social Media Profile the status message is for |
| Status Text | The Status Text of the status message |
| Result | The result from sending the status: Success: The status was added to the social media scheduling service successfully. Test: The status would be added successfully, but either Test Mode was enabled, or the WP-CLI command for Reposting or Bulk Publishing used the --test_mode flag. No status was added.Warning: No status was added, because the Post or Plugin settings don’t provide any status(es) to add a status. This can be due to Status Conditions, or a particular Post Type not having statuses enabled. This is not an error, and typically by design based on how each individual site owner configures their Plugin’s statuses. Error: The status was not added. The Response field will provide more information on the issue. |
| Response | The response from either the Plugin or the API, depending on the Result. |
| Buffer: Status Created At | (Only when Result = Success). When the status was added to API. |
| Buffer: Status Scheduled For | (Only when Result = Success). When the status is scheduled to be sent by Buffer, Hootsuite or SocialPilot to the Profile. |
If you’ve configured multiple statuses, or enabled statuses to be sent to multiple social media profiles, you will see individual log entries for each status and social media profile combination.
Define Table Columns to Display
By default, all Log Entries’ attributes are displayed on screen.
You can adjust which columns of data to display by:
- Clicking the Screen Options tab at the top right of the screen:
- Check or uncheck the relevant columns to display/hide:

- Click the Apply button
This setting is stored on a per-User basis, and therefore only affects the current logged in User.
Define Number of Logs per Page
By default, up to 20 Log Entries are displayed on screen before pagination is then output, allowing you to paginate through your Logs:![]()
You can adjust the number of Log Entries per Page by:
- Clicking the Screen Options tab at the top right of the screen:
- Enter the number of Log Entries to display per Page:
- Click the Apply button
This setting is stored on a per-User basis, and therefore only affects the current logged in User.
Viewing Post-specific Logs
To view logs for a specific Post, you can either:
- Edit the Post, or
- Use the Logs screen and search by Post Title or ID
Edit Post
Edit the Post that you wish to view the Log for.
The Log will then be displayed in a meta box towards the bottom of the screen:
If you’ve been requested to provide a Post-specific log, use the Export Log functionality here.
Search Logs Screen
To view logs for a specific Post ID, or partial Post Title, from the Logs screen:
- Enter the Post ID, or partial Post Title, in the search box:
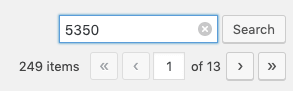
- Click the Search button.
A table will be displayed, showing Log Entries matching the Post ID or partial Post Title
Filtering Logs
Logs can be filtered by:
- Action (Post Publish, Post Update, Automatic Repost or Bulk Publish)
- Social Media Profile
- Result (Success, Test, Warning or Error)
- Request Sent Date Range
To filter the logs, click on the relevant filter above the table, selecting the applicable value:
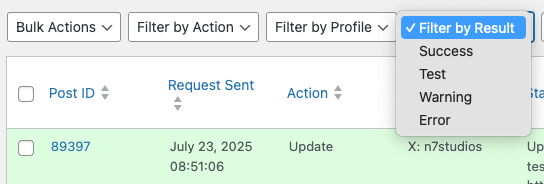
Click the Apply button to see the filtered logs.
Delete Log Entries
To delete one or more log entries:
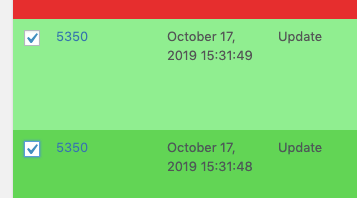
- Click the checkbox beside each log entry in the table:
- Under Bulk Actions, select Delete:
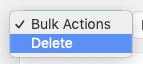
- Click the Apply button

Deleting Log Entries is irreversible. Only do so if you do not need the Log Entries for further debugging.
Clear Log
To delete all log entries:
- Click the Clear Log button
Clearing the Log will delete ALL Log Entries, and is irreversible. Only do so if you do not need the Log Entries for further debugging.