The Remote Image shortcode imports a remote image URL into the Media Library, and displays it for each generated Page.
This image is stored in your Media Library.
Adding: Classic Editor / TinyMCE
To add a remote image within the Classic Editor:
- Ensure that you’re using the Visual Editor by clicking the Visual tab:
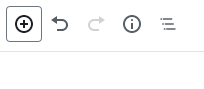
- Click the Remote Image icon in the Visual Editor toolbar (picture frame):

Adding: Classic Editor / TinyMCE: Text Editor
If you’re using the Text editor instead of the TinyMCE Visual Editor above:![]()
- Click the Image URL button in the toolbar:

Adding: Gutenberg
To add a Remote image within Gutenberg:
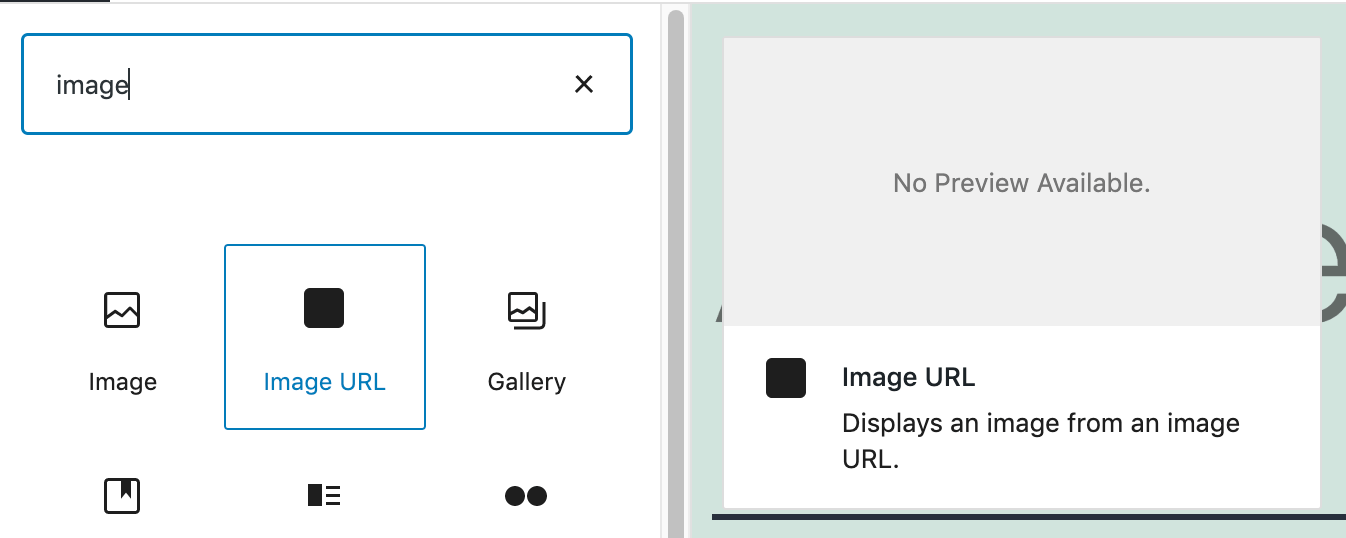
- Click the plus icon between two existing blocks, or towards the top left corner of the Gutenberg editor
- Start typing Image URL into the Search for a block field, and click the Image URL option that appears within the Page Generator Pro section
- Follow the Configuration section below for each of the fields displayed in the right hand sidebar’s block panel.
Adding: Page Builders
To add a Remote image within any Page Builder that supports a Text Editor widget/module using the Classic Editor (sometimes known as TinyMCE), refer to the Classic Editor instructions above.
Refer to the Dynamic Elements Documentation for details specific to your Page Builder.
If your Page Builder does not provide a Text Editor widget/block that uses the Classic Editor, you can still use Dynamic Elements. However, you’ll need to manually build the shortcode, inserting it into your Page Builder’s content – for example:
[page-generator-pro-remote-image parameter="value" ...]
| Parameter | Accepted Value | Description |
|---|---|---|
| url | string or keyword | Fetch the given image URL, storing it in the Media Library and displaying it. |
| size | thumbnail, medium, large | The image size to output. Other values may be available depending on the image sizes registered by your WordPress Theme and third party Plugins. |
| title | string or keyword | The title to assign to the image. |
| caption | string or keyword | The caption to assign to the image. |
| alt_tag | string or keyword | The alt tag to assign to the image. |
| description | string or keyword | The description to assign to the image. |
| filename | string or keyword | Define the filename to save the image as in the Media Library, excluding the extension. |
| link_href | string or keyword | Define the link for the image. Leave blank for no link. |
| link_title | string or keyword | Define the link title for the image. |
| link_rel | string | Define the link rel attribute for the image. |
| link_target | string | Define the link target for the image._blank New Window / Tab_self Same Window / Tab_parent Parent Frame_top Full Body of Window |
| exif_latitude | decimal or keyword | The image’s location’s latitude. |
| exif_longitude | decimal or keyword | The image’s locations’ longitude. |
| exif_comments | string or keyword | Comments about the image. |
| exif_description | string or keyword | A description of the image. |
Configuration: Search Parameters
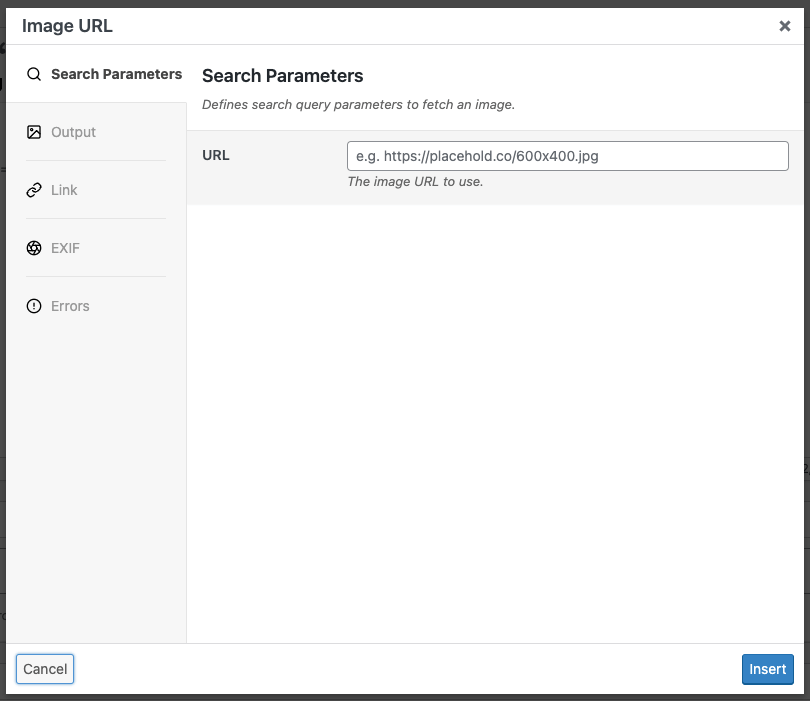
- URL: Fetch the image from the given URL, storing it in the Media Library.
- Keywords can be used.
Configuration: Output
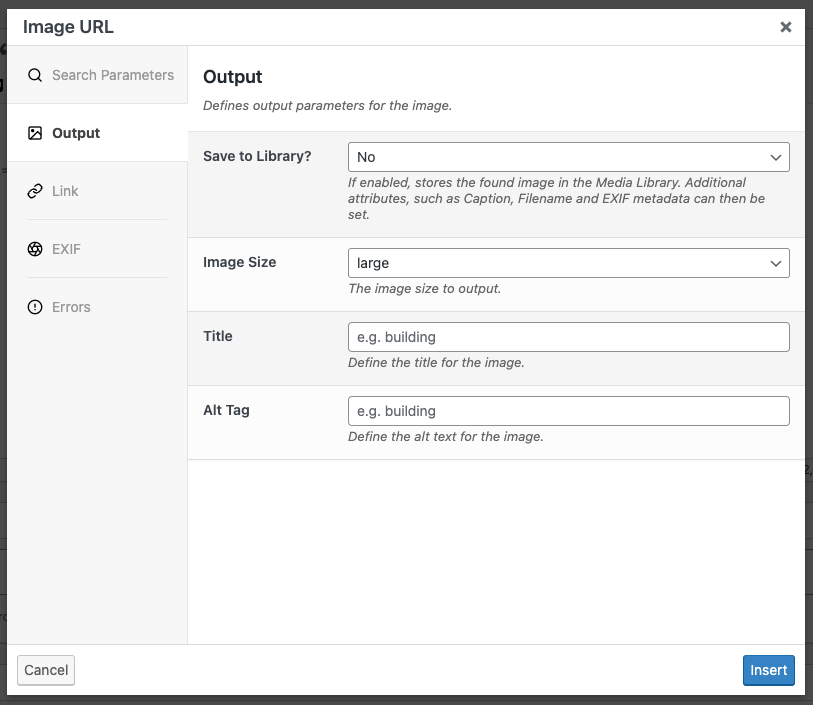
- Image Size: The image size to output.
- Other values may be available depending on the image sizes registered by your WordPress Theme and third party Plugins.
- Title: The title to assign to the image.
- This can be a keyword.
- Alt Tag: The alt tag to assign to the image.
- This can be a keyword.
- Caption: The caption to assign to the image.
- This can be a keyword.
- Description: The description to assign to the image.
- This can be a keyword.
- Filename: Define the filename to save the image as in the Media Library, excluding the extension.
- This can be a keyword.
- It’s useful to use a keyword and/or other terms to ensure that the filename is SEO friendly and related to your content.
Configuration: Link
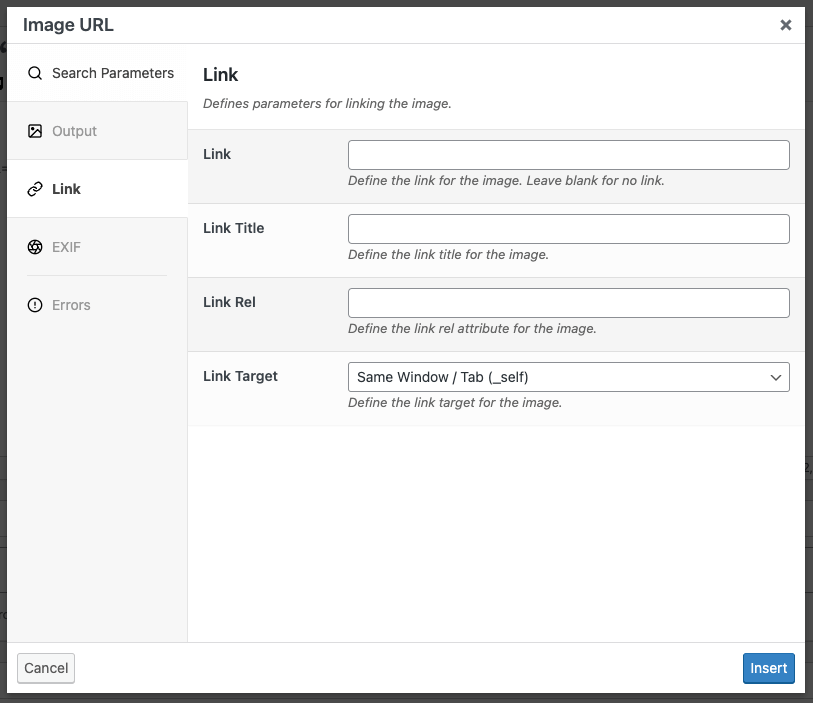
- Link: Define the link for the image. Leave blank for no link.
- This can be a keyword.
- Link Title: The title attribute for the link.
- This can be a keyword.
- Link Rel: Define any rel attributes, such as nofollow.
- Link Target: Whether clicking the link should open in the same window/tab, new window/tab etc.
Configuration: EXIF

EXIF metadata is supported for JPEG images.
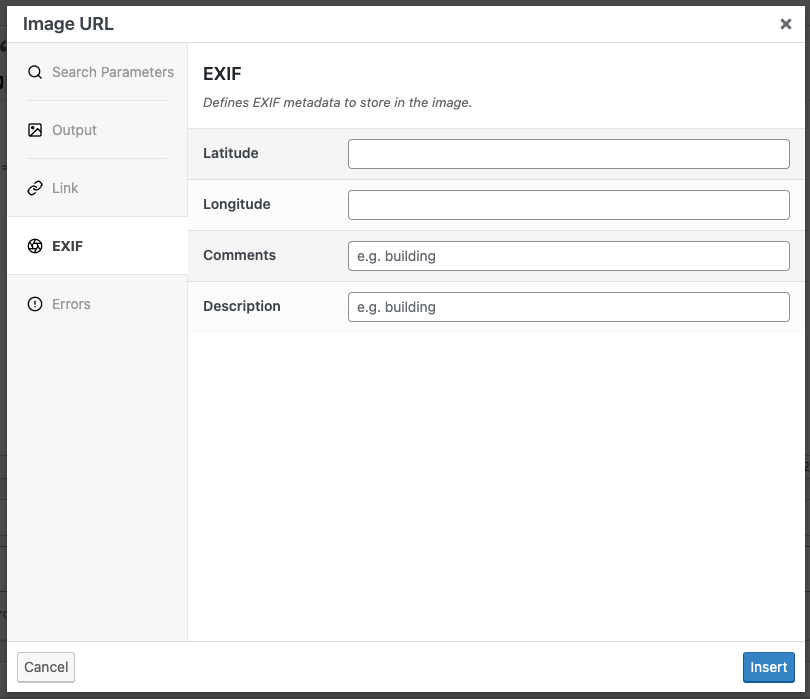
The EXIF tab provides options to optionally write EXIF metadata to the image file. This can be useful for Image SEO.
- Latitude: The image’s location’s latitude.
- Longitude: The image’s locations’ longitude.
- Comments: Comments about the image.
- Description: A description of the image.
If any value is blank and the imported image contains an existing value in the EXIF metadata, the existing value will be retained.
Any other EXIF metadata is retained.
Configuration: Errors
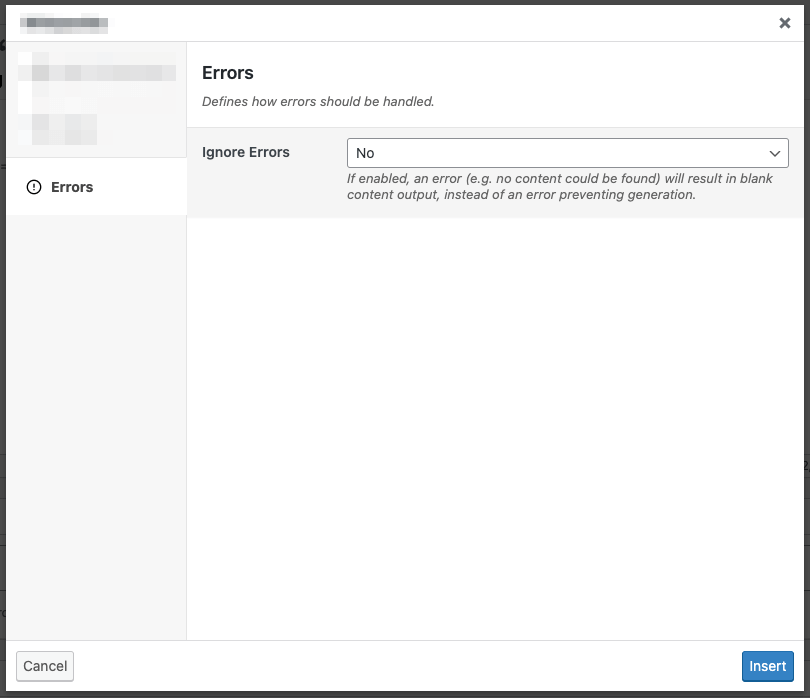
Ignore Errors
If enabled, an error returned from the Dynamic Element will result in blank content output, instead of an error preventing generation of the entire Page / Post / Custom Post Type.
This setting may be useful if you don’t require the Dynamic Element to always return content output.
This setting is ignored when using Test mode. If the Dynamic Element produces an error, it will always be reported in Test mode, to assist with debugging.