Overview
This tutorial demonstrates how to generate WordPress Comments (which will be customer reviews) when generating content for a local mobile locksmith business that operates a 24/7 callout service across Birmingham in the UK.
Prerequisites
We’ll be using a specific Theme and Plugins in this tutorial, but you’re free to use any Themes or Plugins as part of your site building process.
- Your server meets all hosting requirements and is configured correctly
- WordPress: Latest Version
- Theme: WordPress Twenty Nineteen
- Plugins:
As this Tutorial’s focus is on Comment generation, we’d suggest referring to the other Tutorials and Documentation first for best practices on:
This tutorial is not designed to be a substitute for the above; however it must walk through some Keyword and Content Group configuration steps so that the Generate Comments functionality can be detailed.
Planning
As the business operates in Birmingham, we’ll want to create a Keyword targeting the locations within Birmingham that are serviced, as well as two additional keywords comprising of first names and surnames of customers (which we’ll use when generating WordPress Comments):
- location: listing the locations that the plumbing business offers their services in.
- authors_first_name: a list of people’s first names
- authors_surname: a list of people’s surnames
Once we’ve created our keywords, we then want to produce Pages that describe the service across the locations served.
To do this, we will use Page Generator Pro’s Content Groups functionality:
The Generate Content section allows you to define one or more Content Groups (or Content Templates), which generate / produce Pages, Posts or Custom Post Type content.
Each Content Group you create is unique, and comprise of the Keywords, content and generation settings, such as the Post Type and number of Pages to generate.
You might use multiple Content Groups for different sections of your web site. For example, you might have one Content Group for generating Pages about the services your business offers for a list of locations, and a second Content Group for drip-fed blog posts.
From your Content Group, you’ll use the Generate functionality to then make Page Generator Pro generate your Pages, Posts or Custom Post Types.
Creating the Location Keyword
We can use Page Generator Pro’s Keywords: Generate Locations functionality:
Page Generator Pro allows you to automatically produce location based Keywords. These keywords contain a list of locations (terms), based on some basic criteria that you provide – for example, all cities within a region / state, or all ZIP Codes in a radius of a starting point.
To create our location keyword, navigate to Page Generator Pro > Keywords in the WordPress Administration menu: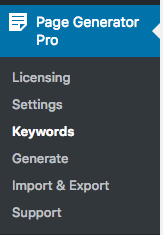
To add a new Location Keyword, click the Generate Locations button below the Page Generator Pro title, which can be found towards the top of the screen:
The Generate Locations form will then be displayed, where you can define the following options:
- Keyword:
- This is the unique template tag that you’ll use in the Content Group when defining and generating content.
- For our locations, set this value to location
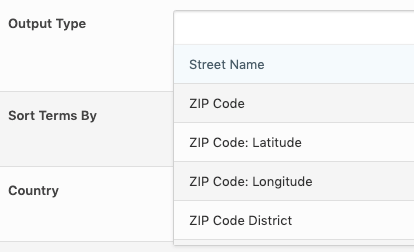
- Output Type:
- The Output Type defines the data that you want to include for each Location, stored as a Term in this Keyword.
- We can select from any of City, County, ZIP Code and Region.
- Click inside the Output Type field, and select ZIP Code from the dropdown list. This will then include the ZIP Code for each Location, stored as a Term.
- Sort Terms By:
- The first dropdown option allows us to choose the order that Terms are stored against this Keyword. We’ll work through the ZIP Codes alphabetically, so select the ZIP Code option.
- The second dropdown option allows us to choose whether to order the Terms alphabetically in ascending or descending order. We’ll work through the ZIP Codes in ascending alphabetical order, so select the Ascending (A-Z) option.

- Country:
- Select United Kingdom from the dropdown list
- Method:
- The area method allows us to fetch every location based on the restrictions that we define. This is useful if our business operates within a specific geographic boundary, such as a City, County or Region.
- The radius method allows us to fetch every location within the given radius of a starting point. This is useful if our business operates on a call out basis within a specific distance of its premises.
- For this tutorial, we’ll choose the Area option, assuming that our business operates within a geographical area.
- Restrict by County / Counties:
- As we want to target all locations in the West Midlands, which is a county in the UK, we’ll start typing West Midlands into the Restrict by County / Counties field.
- After a few seconds, West Midlands, England will appear in the dropdown.
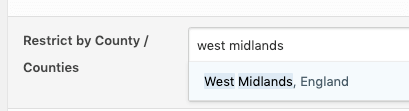
- Click this option, so it is added to the field. This means that locations will only be added to this Keyword that are within the West Midlands county of the UK.
- We could add further counties here if, for example, the business operates in multiple Counties. If your business operates within specific Cities, you can use the Restrict by Cities option instead.
With our form complete, click the Generate Keyword with Locations button.
The on screen progress modal will be displayed, whilst the Plugin populates the keyword with the list of locations.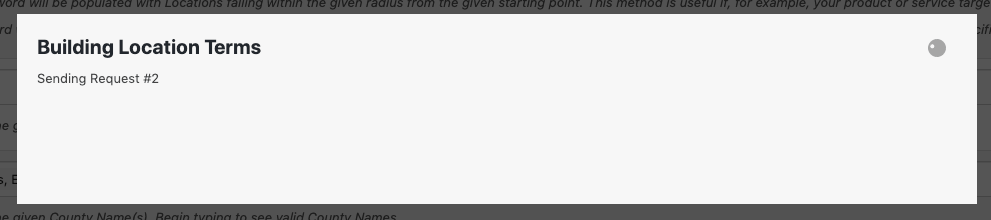
A notification will be displayed confirming that the Location Keyword was generated and saved successfully.
Creating the Author First Name Keyword
To create the authors_first_name Keyword, navigate to Page Generator Pro > Keywords in the WordPress Administration menu:
Click the Add Keyword button below the Page Generator Pro title, which can be found towards the top of the screen: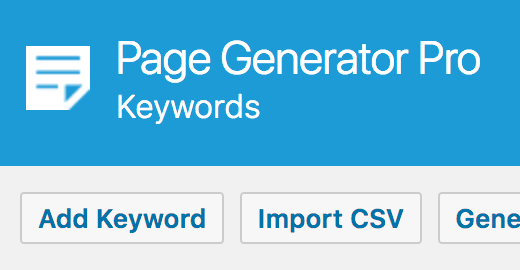
The Keywords form will then be displayed, where you can define the following options: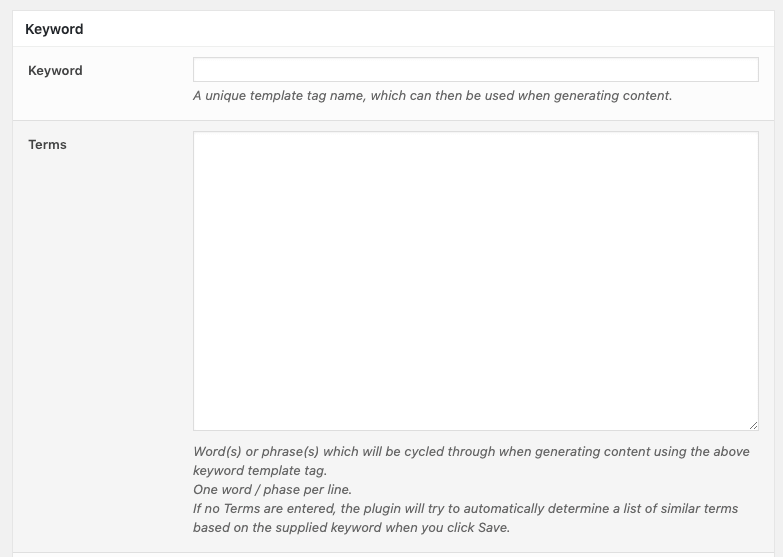
- Keyword:
- This is the unique template tag that you’ll use in the Content Group when defining and generating content.
- For our Author First Names, set this value to authors_first_name
- Terms:
- This is the list of words or phrases that will be cycled through when generating content that contains this Keyword.
- Each word or phrase is on its own line.
- We want to think of as many first names as possible, or copy/paste a ready made list which can be found here.
Don’t worry about the other fields for now.
Click the Save button.
A notification will be displayed confirming that the Keyword saved successfully.
Creating the Author Surname Keyword
To create the authors_surname Keyword, navigate to Page Generator Pro > Keywords in the WordPress Administration menu:
Click the Add Keyword button below the Page Generator Pro title, which can be found towards the top of the screen:
The Keywords form will then be displayed, where you can define the following options:
- Keyword:
- For our Author Surnames, set this value to authors_surname
- Terms:
- We want to think of as many first names as possible, or copy/paste a ready made list which can be found here.
Don’t worry about the other fields for now.
Click the Save button.
A notification will be displayed confirming that the Keyword saved successfully.
Creating Content
With our keywords defined, we now need to build our content.
To do this, we will use the Generate Content functionality:
The Generate Content section allows you to define one or more Content Groups (or Content Templates), which generate / produce Pages, Posts or Custom Post Type content.
Each Content Group you create is unique, and comprise of the Keywords, content and generation settings, such as the Post Type and number of Pages to generate.
To create our Content Group, navigate to Page Generator Pro > Generate Content in the WordPress Administration menu:
To add a new Content Group to Page Generator Pro, click the Add New button below the Content Groups title, which can be found towards the top of the screen:
You will then be presented with a screen similar to the one used to edit your WordPress Posts and Pages:
Title
Let’s start by defining the title that we want for each of our Pages. As we’re targeting each location, we want our Page Title to include the location Keyword.
You can start typing in the Title field, and a list of matching Keywords will be displayed. Let’s start the Title by starting to type in location, and then clicking the {location} keyword from the list of results: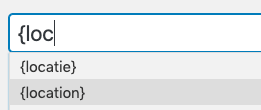
Finish the Title by adding the text 24/7 Mobile Locksmith:
The location keyword will be replaced by a unique term for each Page that’s generated. If we take the first term from our location keyword, the first Page generated would use the following terms:
| Keyword | Term |
|---|---|
| location | B10 0AB |
Our Title (for the first generated Page) will read:
B10 0AB 24/7 Mobile Locksmith
Content
Next, let’s write some content about the service and location. In this tutorial, we’ve gone ahead and produced some content below, which you can copy and paste into the Text Editor from https://gist.githubusercontent.com/n7studios/b4d9c8f7cdf4ccc0a16c6e0cb85a4637/raw/b85c3e91b3651ebbd3315a878ad28424bbda8783/page-generator-pro-tutorial-generate-comments-content
Click on the Visual tab, to preview the content: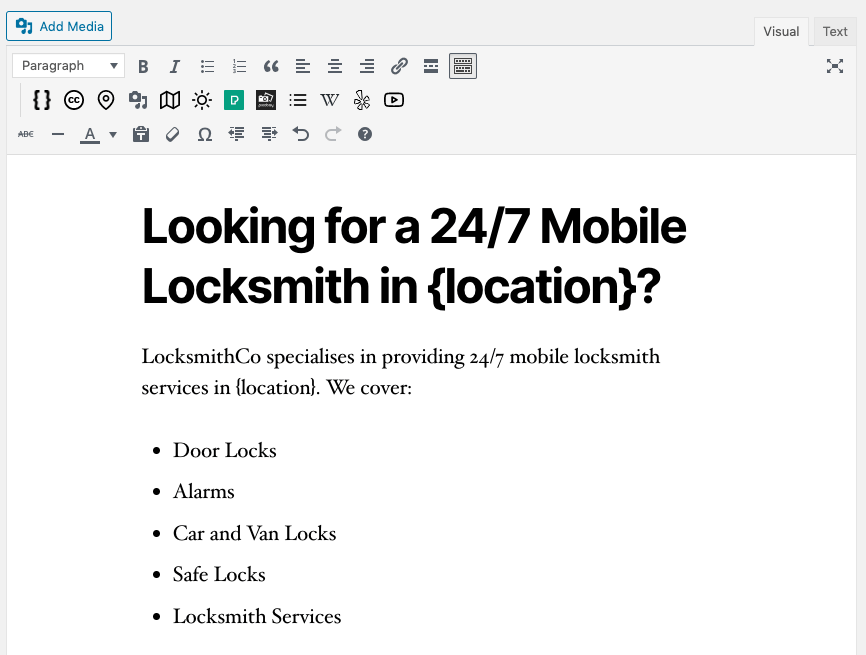
Overwrite
The Overwrite option allows us to overwrite existing Pages that were previously generated by this Group, matching the Permalink. This is useful if we need to re-generate our Pages because we fix a typo, or change the content, and don’t want to end up with duplicate Pages describing the same service and location.
Set this option to Yes, if existing Page generated by this Group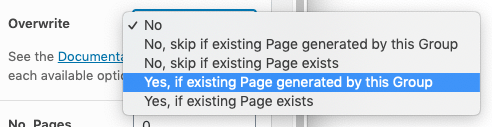
Discussion
The Discussion section allows us to define settings that will generate Comments for each generated Page. These Comments will be reviews of the 24/7 mobile locksmith service, designed to provide social proof of the service and encourage prospects to use the service.
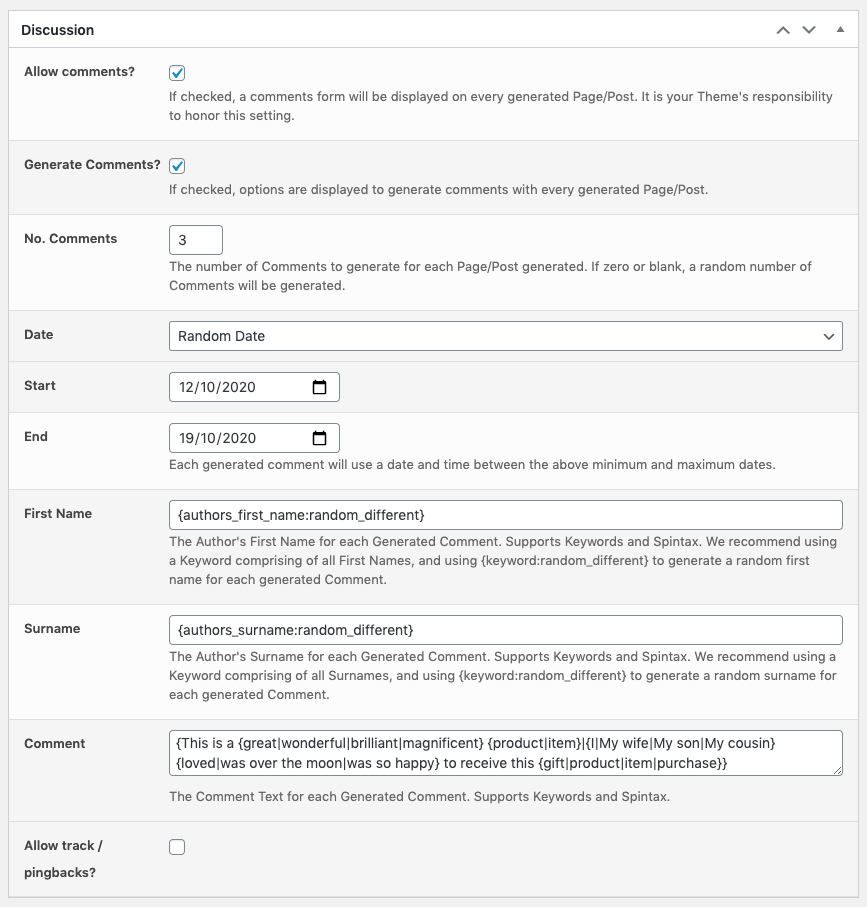
No. Comments
We’ll leave this blank, so that each generated Page has between 1 and 10 Comments generated on it, to help achieve a random look.
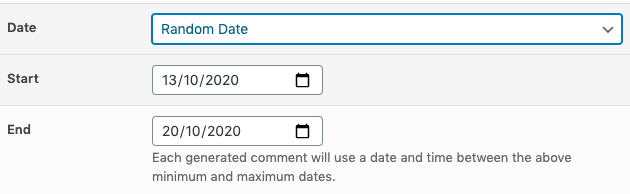
Date
We’ll use the Random Date option. This means that each generated Comment will have a published date and time assigned to it at random, between the Start and End dates specified.
First Name
Because we want each Author’s First Name to be different (so it’s not the same person making the same comment again and again), we could use Spintax here – for example:
{Steve|Amy|John}
However, to ensure a highly randomized First Name selection for each generated Comment, this list would be very long.
Instead, we can use the {authors_first_name} Keyword that we configured earlier in this Tutorial, in conjunction with the Output Different Random Term Keyword Modifier:
We’ll therefore use {authors_first_name:random_different} in this field, which will choose a name from the Author First Name Keyword list at random for each generated Comment.

Surname
Because we want each Author’s Surname to be different (so it’s not the same person making the same comment again and again), we could use Spintax here – for example:
{Jones|Carter|Reilly}
However, to ensure a highly randomized Surname selection for each generated Comment, this list would be very long.
Instead, we can use the {authors_surname} Keyword that we configured earlier in this Tutorial, in conjunction with the Output Different Random Term Keyword Modifier:
We’ll therefore use {authors_surname:random_different} in this field, which will choose a name from the Author Surname Keyword list at random for each generated Comment.

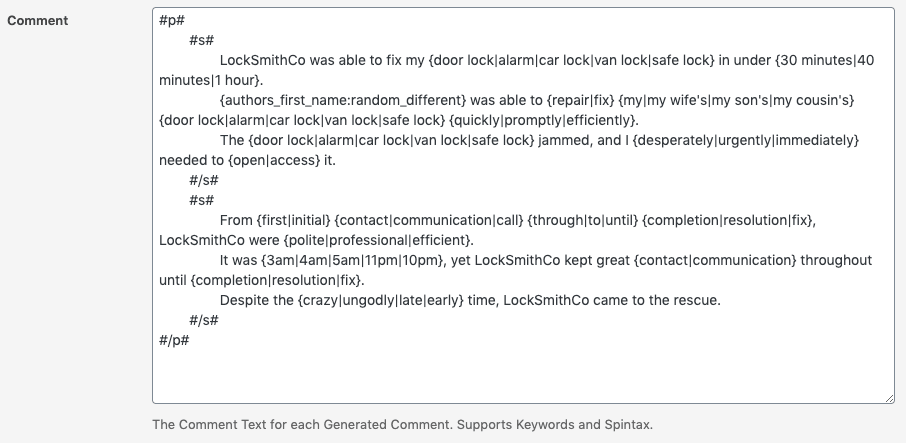
Comment
For each comment (review), we need the text to be as unique as possible, to prevent duplicates and ensure prospects don’t feel that the comments left are auto-generated.
To do this, we’ll use a combination of Keywords, Spintax and Block Spintax. In this tutorial, we’ve gone ahead and produced some content below, which you can copy and paste into the Comments field from https://gist.githubusercontent.com/n7studios/b4d9c8f7cdf4ccc0a16c6e0cb85a4637/raw/4934c453238886f9005de5e82262adbb64ccdd70/page-generator-pro-tutorial-generate-comments-comment-text
Actions
Let’s save our Content Group before starting content generation.
In the Actions box, click the Save button: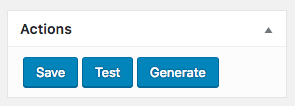
The screen will update, confirming that the Content Group has been published (or updated, if we’re saving an existing Content Group):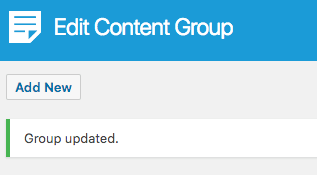
Testing Content
With our Content Group saved, we’re almost ready to generate our content.
Before we do this, it is be a good idea to test the content and settings by generating a single Page in draft mode. This ensures that the Page isn’t made available to web site visitors, in case we spot any issues and need to change settings or content in our Content Group.
To do this, in the Actions box, click the Test button:
Confirm that we want to generate a single Page in draft mode by clicking OK.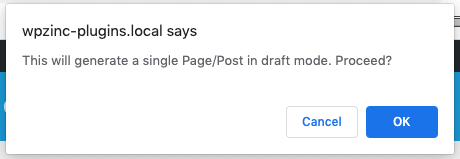
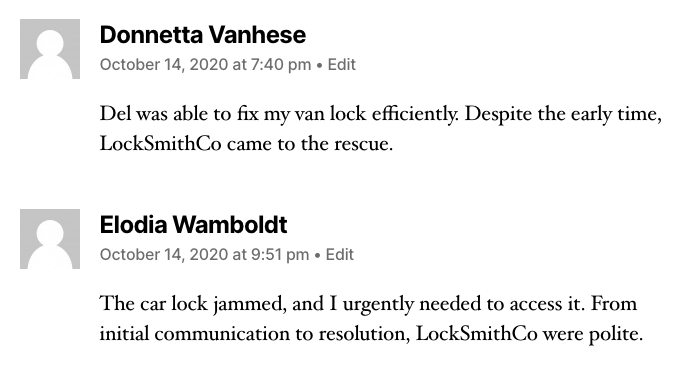
After a few moments, the screen will update, confirming that a Test Page has been generated. The notification also tells us the terms that were used to replace the keywords:
Let’s click the link in the notification, which takes us to the draft Page, where we can see:
- The title and content generated
- Two comments were generated, using random author names and spinning our comment to produce unique variations
Generating Content
If we’re happy with our content, we can now go ahead and generate all of our Pages. To do this, click the Generate button in the Actions section of the screen:
A new screen will appear, showing a progress bar and log. As each page generates, the progress bar and log will update: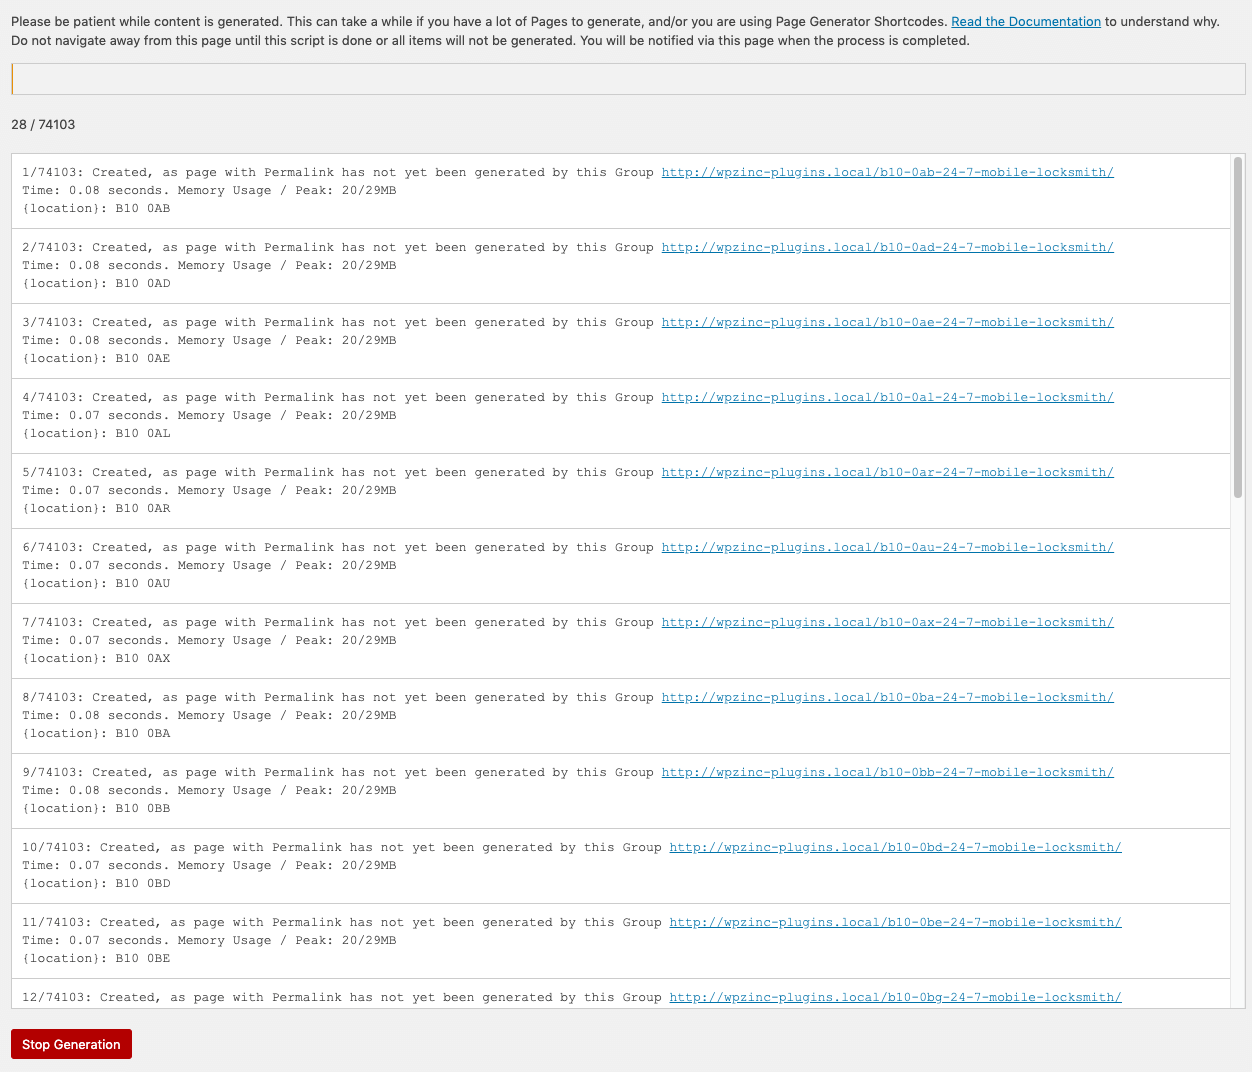
Conclusion
This tutorial has covered the basics of using Page Generator Pro to generate Comments for Pages that are generated, based on Keywords and Spintax.
There’s much more that Page Generator Pro can do, so be sure to check out the Documentation and any other Tutorials.