Prerequisites
- Thrive Architect 2.4.9 or higher
Add a Content Group
To add a new Content Group to Page Generator Pro, click the Add New button below the Content Groups title, which can be found towards the top of the screen:
You will then be presented with a screen similar to the one used to edit your WordPress Posts and Pages:
[]
It’s recommended that you first:
- Define the Title,
- Setup the Content Group settings, by referring to the Generate: Content Documentation.
- Click Save
Once saved, click the Launch Thrive Architect button:
Edit a Content Group
To edit an existing Content Group in Page Generator Pro, click the Title of the Group that you want to edit:
Click the Launch Thrive Architect button:
Dynamic Elements
Thrive Architect’s WordPress Content element uses the Classic Editor / TinyMCE, therefore allowing you to build each Dynamic Element’s shortcode using the UI: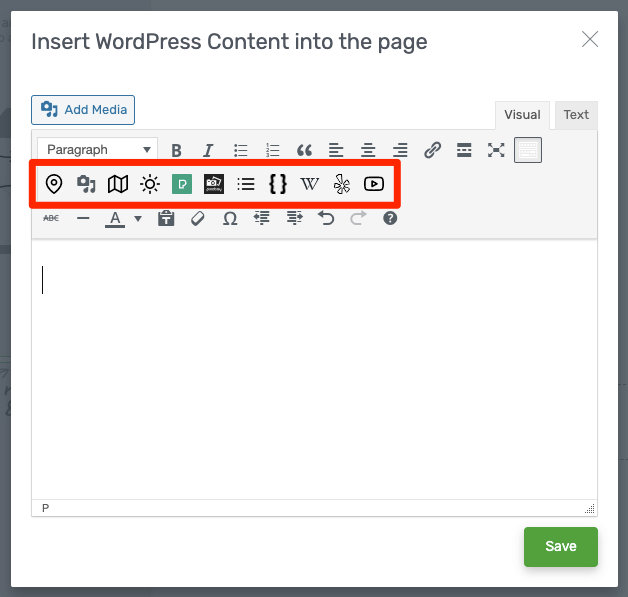
How to do this can be found in the Adding: Classic Editor / TinyMCE section of each of the Documentation links below:
For other Thrive Architect’s elements, you’ll need to manually build each Dynamic Element’s shortcode using the documented parameters. These can be found in the Adding: Page Builders section of each of the Documentation links below:
Thrive Theme Builder
If you’re using Thrive Theme Builder as your WordPress Theme, you need to specify the Theme Builder Template to use on the Content Group that matches the target Post Type you’re generating.
For example, if generating Pages:
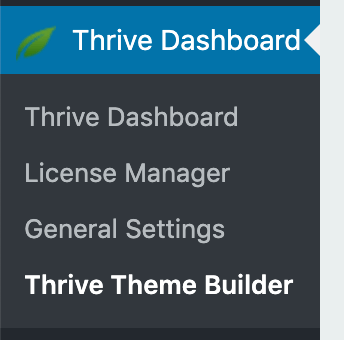
- Navigate to Thrive Dashboard > Thrive Theme Builder in the WordPress Administration menu
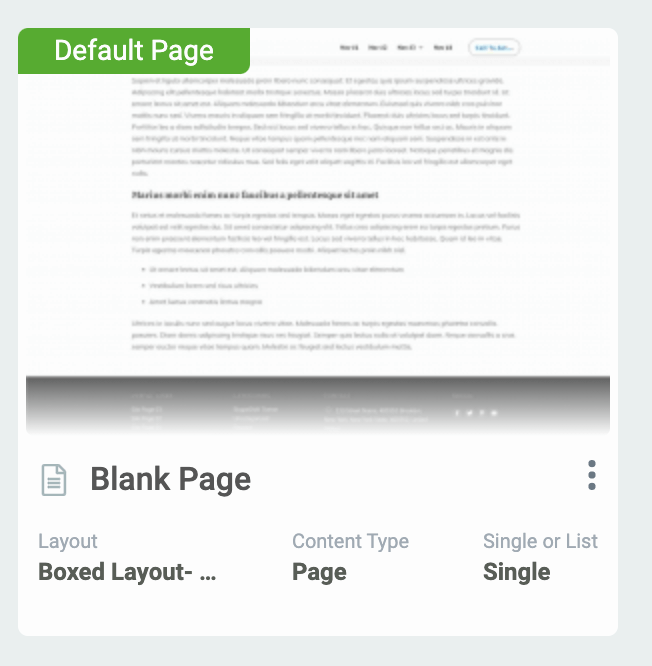
- Make a note of the Template that’s used as the Default Page
- Add / Edit the Content Group
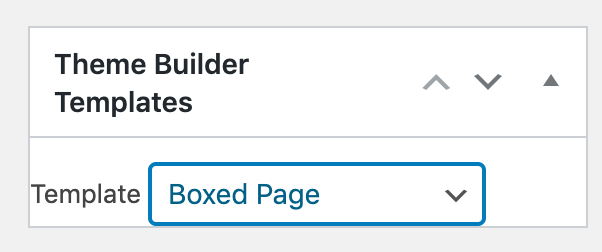
- In the Theme Builder Templates section, specify the template above (in this example, Boxed Layout):
Common Issues
The Content of this page Cannot be Edited
Follow the Thrive Theme Builder section above.
404 when editing with Thrive Architect
In the WordPress Administration interface:
- Navigate to Settings > Permalinks
- Click Save Changes