AI Provider

The AI Provider setting is available in Page Generator Pro 4.9.6, releasing Thursday January 30th 2025 23:59 UTC.

To specify the AI provider used when using the AI Dynamic Element, select the applicable provider from the dropdown list.
AI Instructions
The AI Instructions setting is available in Page Generator Pro 5.2.1, releasing Friday August 8th 2025 23:59 UTC.

If defined, these system instructions are included in every text based AI Dynamic Elements used – including named AI Dynamic Elements such as OpenAI, Claude, Gemini etc. This is useful to include general context and instructions, including branding, voice, tone.
If an AI Dynamic Element’s Content Type is not Freeform, Page Generator Pro will include additional instructions specific for that Content Type (such as article, paragraph, FAQ). With this in mind, it’s best to use Instructions with the Freeform Content Type for complete control.
Want to only include instructions on individual AI Dynamic Elements? Use the AI Dynamic Element’s Instruction field instead.
Alibaba Qwen
Alibaba’s Qwen AI integration is available in Page Generator Pro 4.9.7, releasing Saturday February 1st 2025 23:59 GMT.
To take advantage of Page Generator Pro’s AI generation for Keywords, Content Groups and Research, you may wish to use Alibaba’s Qwen models.
Obtain an Alibaba Cloud Studio API Key
- Register an account at https://account.alibabacloud.com/register/intl_register.htm
- Activate the Alibaba Cloud Model Studio at https://www.alibabacloud.com/en/product/modelstudio?_p_lc=1#J_9325669630
- Navigate to https://bailian.console.alibabacloud.com/?apiKey=1#/api-key
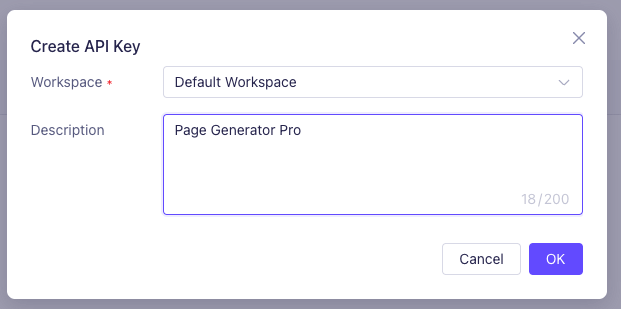
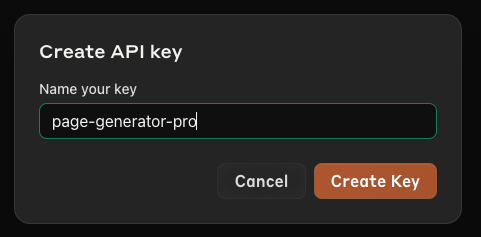
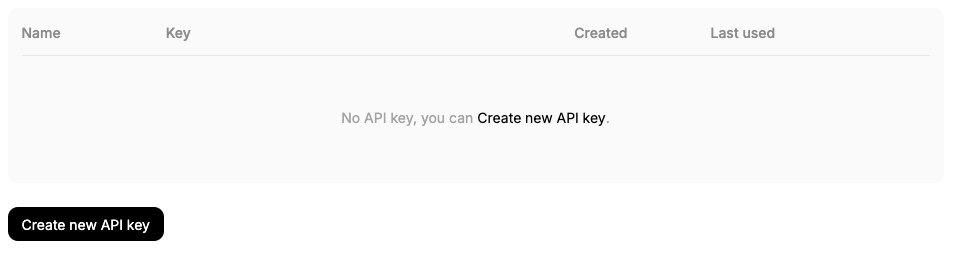
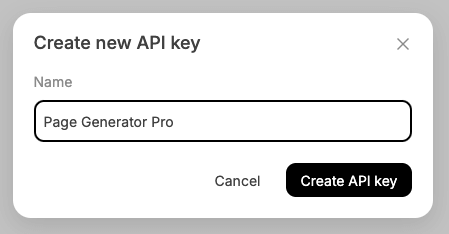
- Click Create API Key

- Enter a name for the API Key, and click Create API key
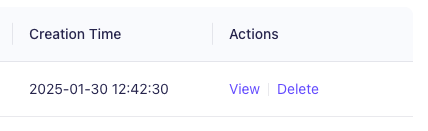
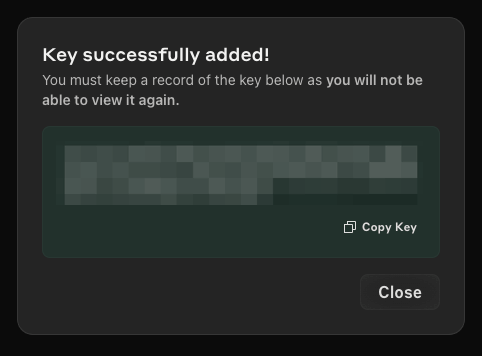
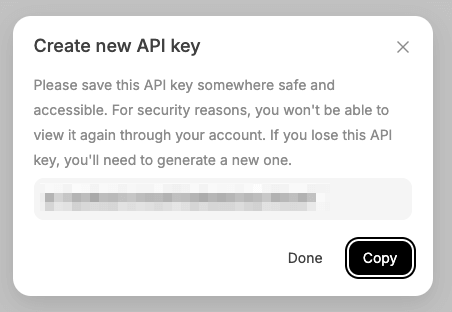
- Click View and make a note of your API Key
Add API Key to Plugin Settings
In Page Generator Pro’s Integration Settings screen:
- Select an appropriate text model,
- Enter the API Key into the Alibaba API Key setting,
- Select an appropriate text model,
- Click the Save button.
Airtable
Airtable’s API Keys will stop working in January 2024. If you’re using an Airtable API Key, it’s recommended to follow this guide to generate a Personal Access Token and add it to Page Generator Pro’s settings.
To use Airtable as a Keyword Source, you’ll need to specify your Airtable Personal Access Token.
Obtain your Airtable Personal Access Token
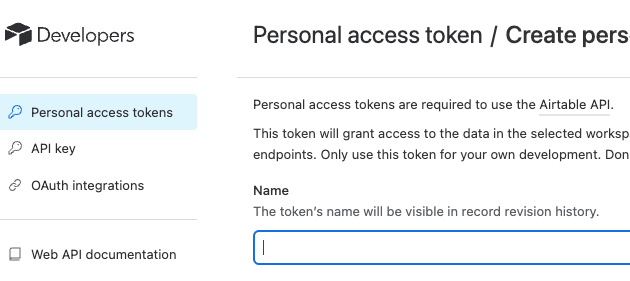
- Visit https://airtable.com/create/tokens
- Click the Create new token button
- Enter a name for your own internal reference
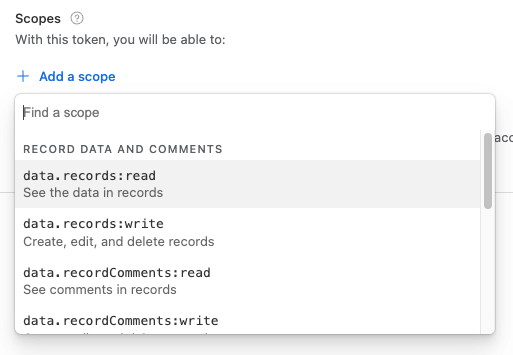
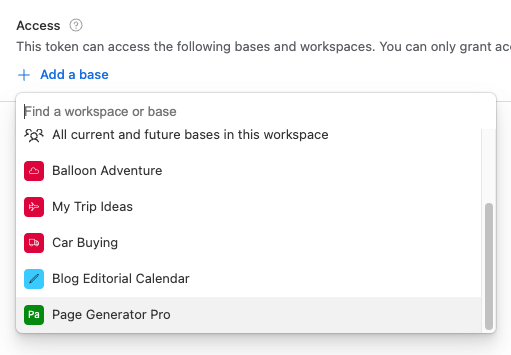
- For Scopes, click the Add a scope link and select data.records:read
- For Access, click the Add a base link and select the applicable bases you wish to use in Page Generator Pro
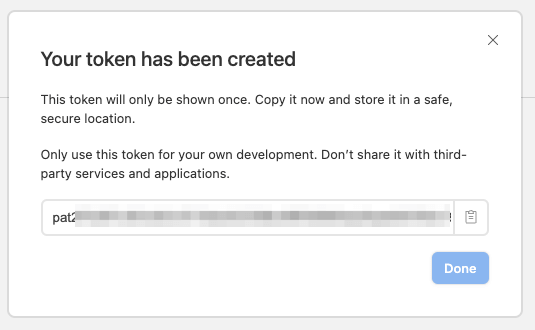
- Click the Create token button
- Copy the resulting Personal Access Token which is displayed
Add Personal Access Token to Plugin Settings
Finally, in Page Generator Pro’s Integration Settings screen:
- Enter the API Key into the Airtable Personal Access Token setting
- Click the Save button.
If you only see an Airtable API Key field, you can insert your Personal Access Token here.
Claude AI
Claude AI integration is available in Page Generator Pro 4.5.9, releasing Thursday April 18th 2024 23:59 GMT.
To take advantage of Page Generator Pro’s AI generation for Keywords, Content Groups and Research, you may wish to use Claude AI.
Obtain a Claude AI Key
- Register an API account at Claude AI
- Once logged in, navigate to https://console.anthropic.com/settings/keys
- Click Create Key

- Enter a Key name and click Create Key
- Make a note of the API Key that displays on screen.
Set up Billing
To use the Claude AI, you must provide billing details.
- Navigate to https://console.anthropic.com/settings/plans
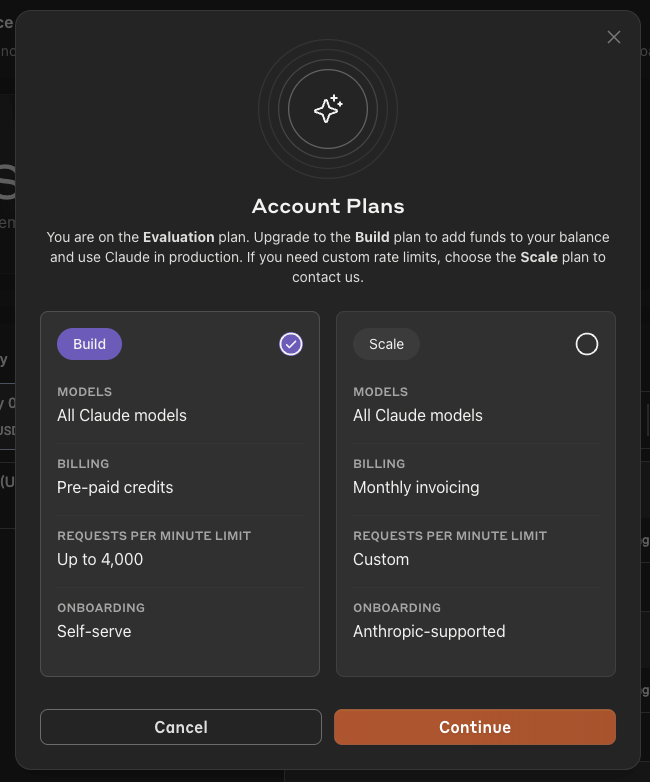
- Click Select Plan
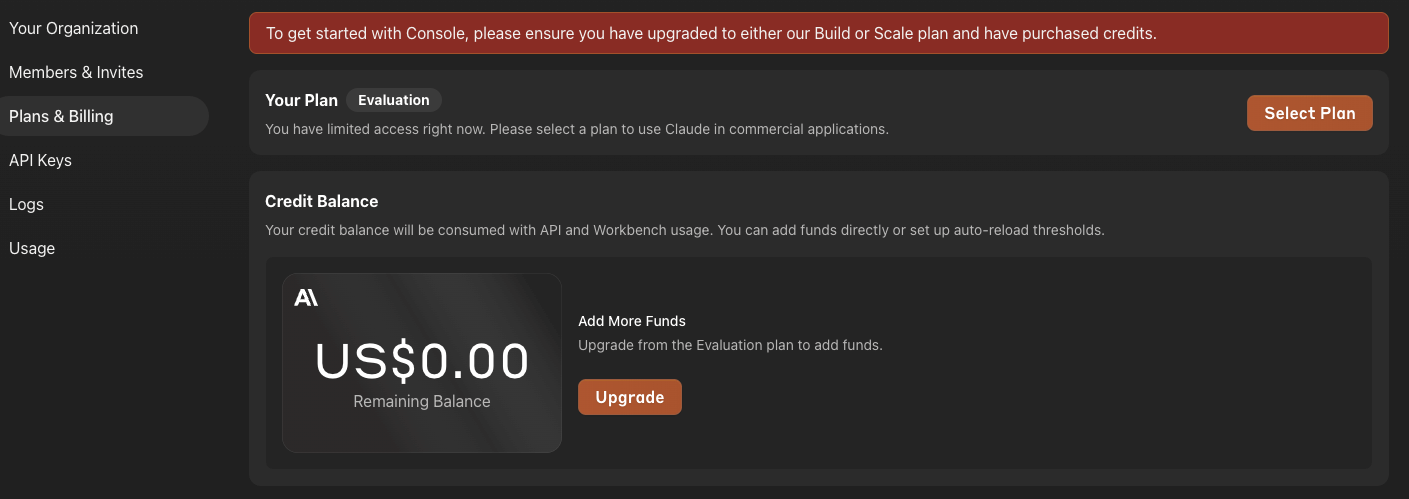
- Select either the Build or Scale plan. It’s recommended to select the Build plan, as this will use pre-paid credits, ensuring you don’t go over your credit balance.
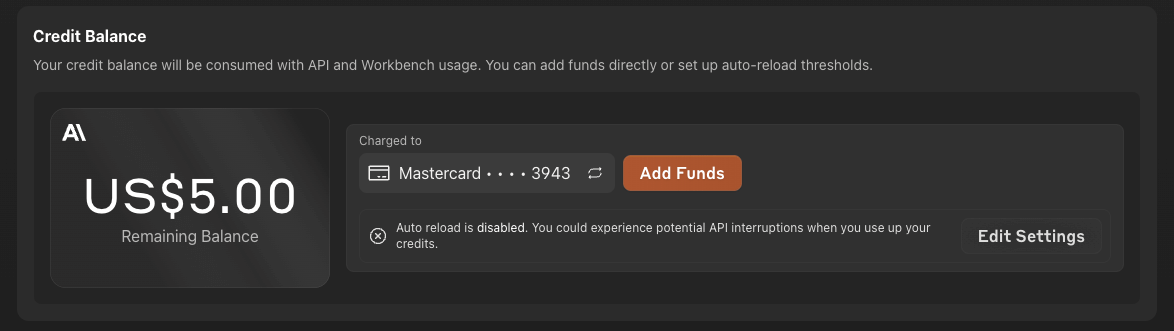
- Define a suitable initial credit purchase, and enter your card details. We recommend starting with a small amount, such as $5, with the auto-load credit option disabled.
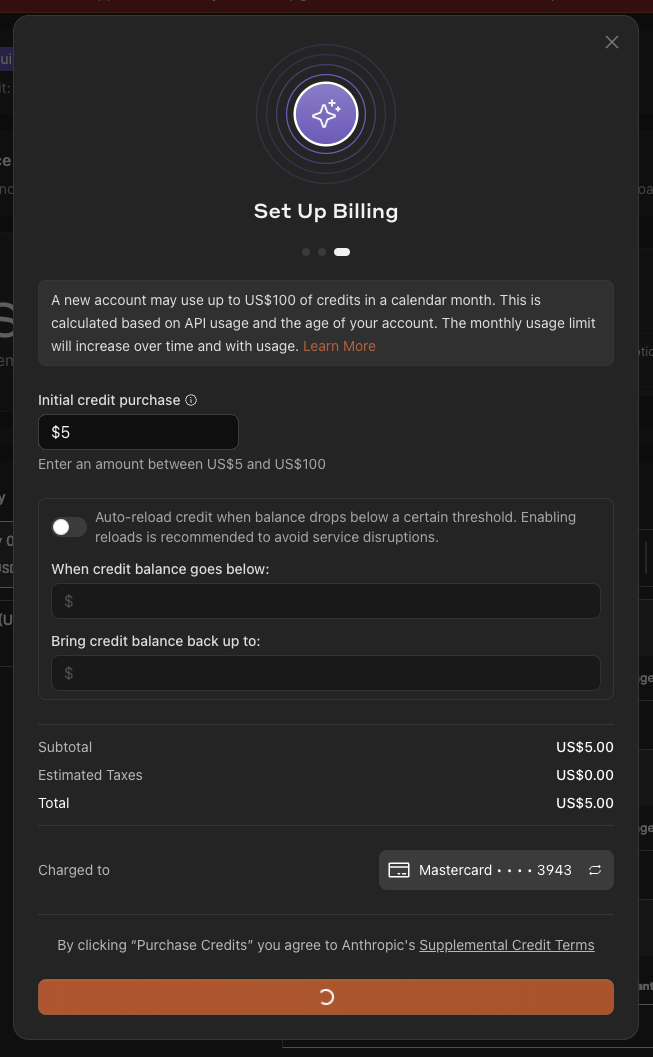
- Once done, the credit will display in your account, and the Claude API will function
Add API Key to Plugin Settings
In Page Generator Pro’s Integration Settings screen:
- Enter the API Key into the Claude AI API Key setting,
- Select an appropriate text model (Mistral 7B is recommended, and selected by default),
- Click the Save button.
Prompt Caching
The option to cache prompts is available in Page Generator Pro 5.5.7, releasing Friday 10th July 2026 23:59 UTC
If enabled, Instructions defined in the Claude AI Dynamic Element are cached, reducing cost and latency when the same instructions are reused across many generations.
Deepseek
Deepseek integration is available in Page Generator Pro 4.6.0, releasing Thursday May 16th 2024 23:59 GMT.
To take advantage of Page Generator Pro’s AI generation for Keywords, Content Groups and Research, you may wish to use Deepseek.
Obtain a Deepseek API Key
- Navigate to https://platform.deepseek.com/api_keys
- Click Create API Key
- Enter a name for the API Key, and click Create API key
- Make a note of your API Key
Set up Billing
To use Deepseek, you must top up your balance on Deepseek.
- Navigate to https://platform.deepseek.com/top_up
- Follow the steps to add credit to your account.
Add API Key to Plugin Settings
In Page Generator Pro’s Integration Settings screen:
- Enter the API Key into the Deepseek API Key setting,
- Select an appropriate text model,
- Click the Save button.
Gemini AI
Gemini AI integration is available in Page Generator Pro 4.6.0, releasing Thursday May 16th 2024 23:59 GMT.
To take advantage of Page Generator Pro’s AI generation for Keywords, Content Groups, Research and Images, you may wish to use Gemini AI.
Obtain a Gemini AI Key
- Navigate to https://aistudio.google.com/app/apikey
- Click Create API Key
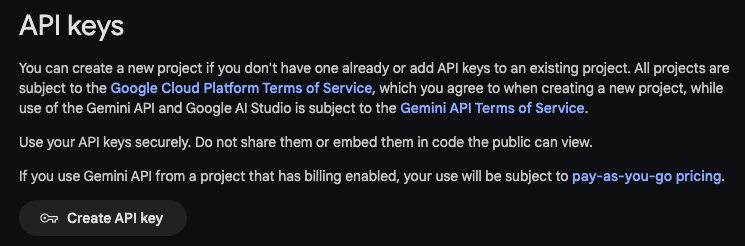
- Select an existing Google Cloud Project, or add a new one, and follow the prompts on screen to obtain your API Key.
Set up Billing
To use the Gemini AI, you must provide billing details.
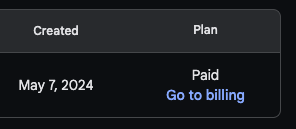
- Navigate to https://aistudio.google.com/app/apikey
- Click Go to billing next to the generated API Key
- If a billing account has already been linked, no further action should be required. You can confirm this by seeing the message “Billing account [name] is linked to this project”
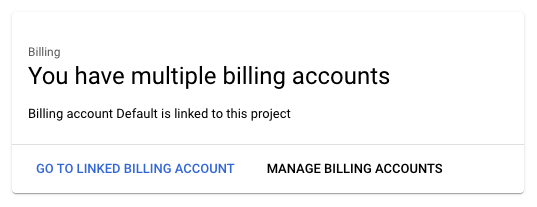
- If no billing account is linked:
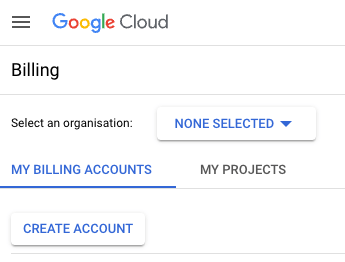
- Click Manage Billing Accounts
- Click Create Account
- Enter a name for the billing account, and click Continue
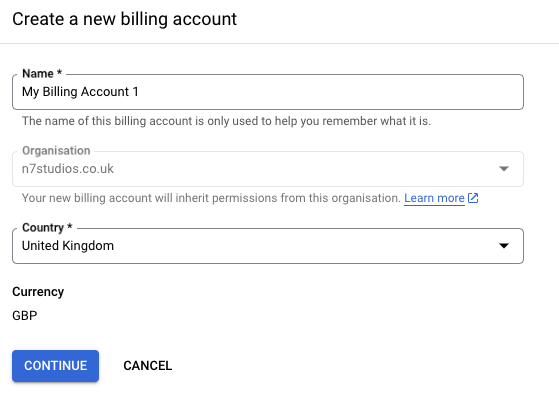
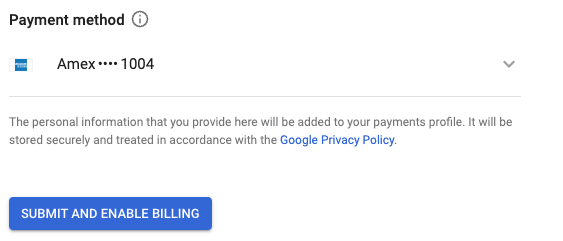
- Enter payment details, and click Submit and Enable Billing
Add API Key to Plugin Settings
In Page Generator Pro’s Integration Settings screen:
- Enter the API Key into the Gemini AI API Key setting,
- Select an appropriate text model,
- Click the Save button.
Models
Two settings exist to define Gemini AI’s models:
- Model: The model to use when using the Gemini AI Dynamic Element, or the AI Dynamic Element when its provider = Gemini AI
- Image Model: The model to use when using the Gemini AI Image Dynamic Element.
Google Places: API Key
Grok AI integration is available in Page Generator Pro 5.0.6, releasing Monday March 31st 2025 23:59 UTC.
To use the Google Places Dynamic Element, you’ll need to specify an API Key from Google.
Create a new Project
To obtain an API Key, first create a new Project in the Google APIs Console
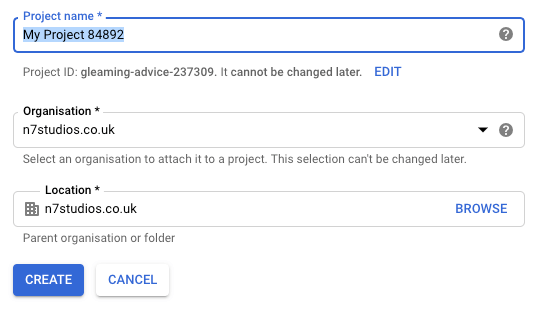
- Visit https://console.developers.google.com/projectcreate
- Enter a Project name, and choose an Organization and Location. These values can be anything you want
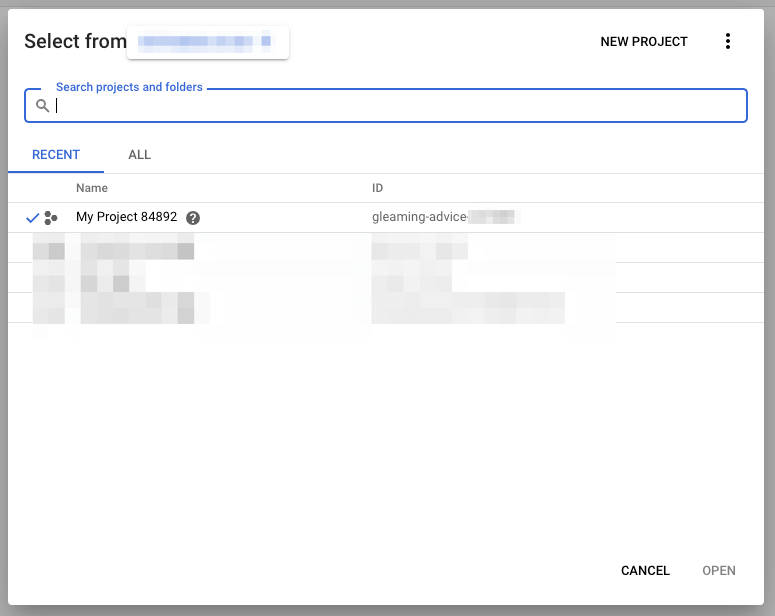
- On the top left corner of the screen, click the dropdown

- Select the newly created Project
Enable the Google Places API
- In the search field at the top, type Google Places API (New), and click the result that appears.
- Click on the blue Enable button.
- Click the left navigation menu

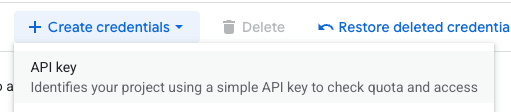
- Click APIs and services > Credentials

- Click Create credentials > API key
- Enter a name, and under API restrictions, select Restrict key and choose the Places API (New)
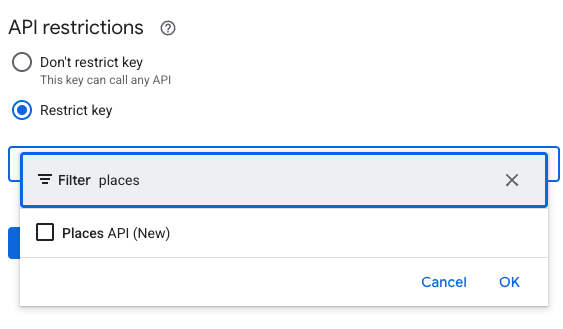
- Click Create
- Make a note of the API key displayed on screen
Add API Key to Plugin Settings
In Page Generator Pro’s Integration Settings screen:
- Enter the API Key into the Google Places API Key setting,
- Click the Save button.
Grok AI
Grok AI integration is available in Page Generator Pro 5.0.6, releasing Monday March 31st 2025 23:59 UTC.
To take advantage of Page Generator Pro’s AI generation for Keywords, Content Groups and Research, you may wish to use Grok AI.
Obtain a Grok AI API Key
- Register an account at Grok AI
- Once logged in, setup Billing in the console.
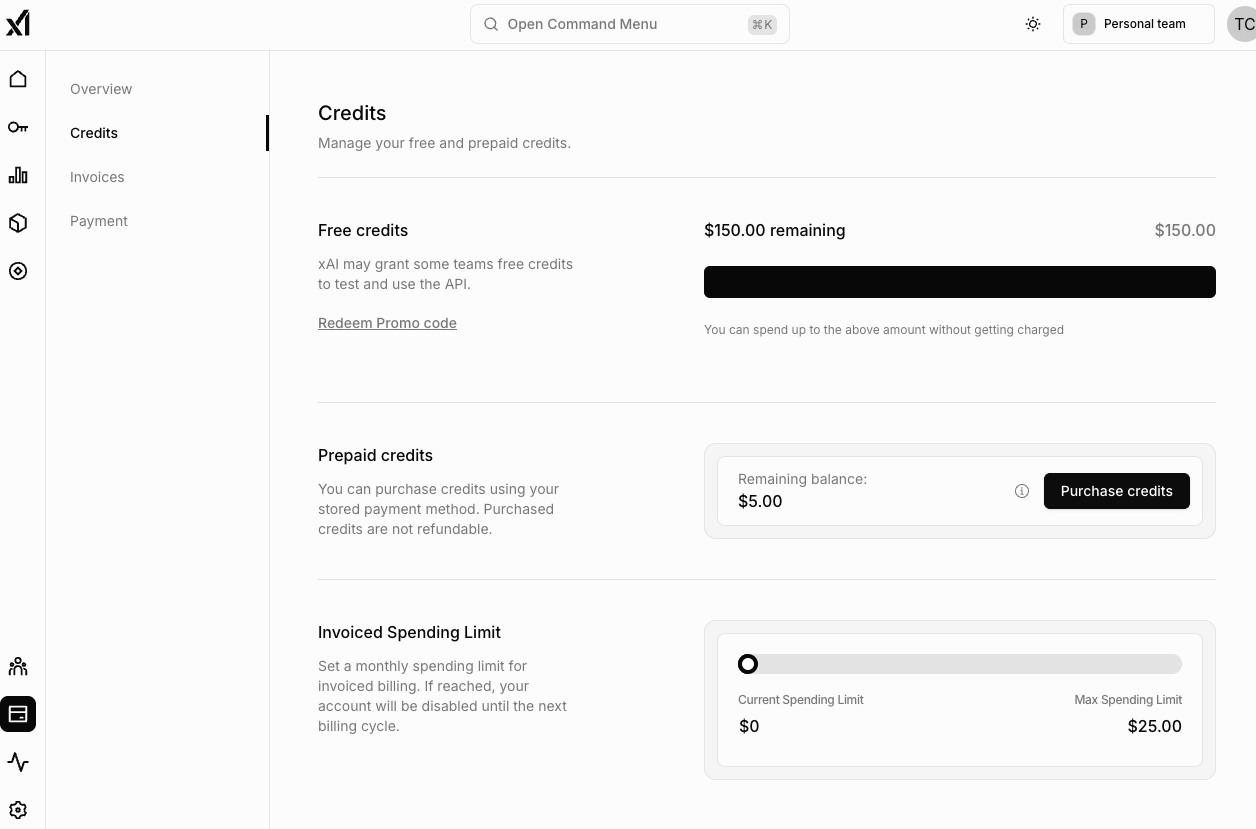
- Once billing is set up, credit your account with $5, and you’ll be able to apply for $150/month of free credit.
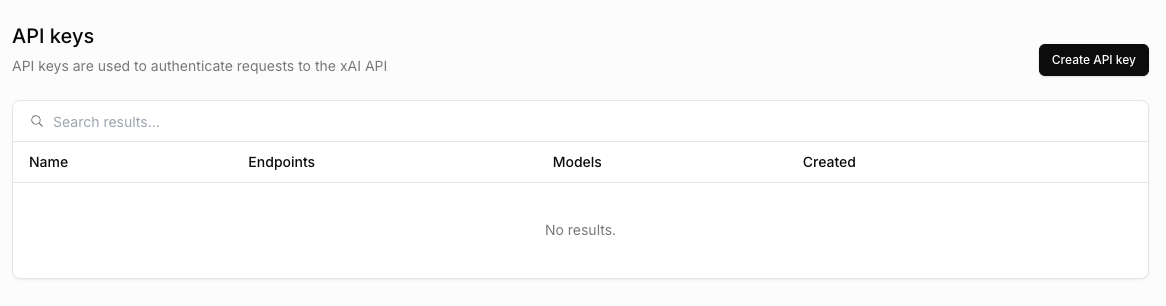
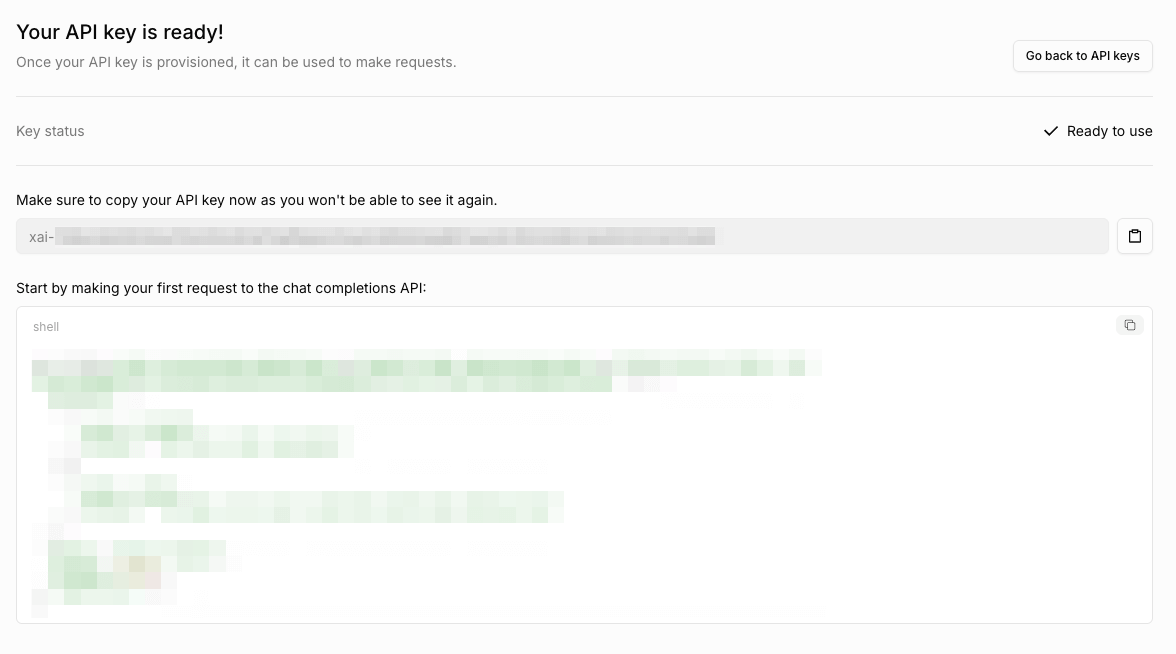
- Navigate to the API Keys screen, and click the Create API key button:
- Click the Create API key button. We recommend enabling all endpoints and models to take advantage of future models and functionality.
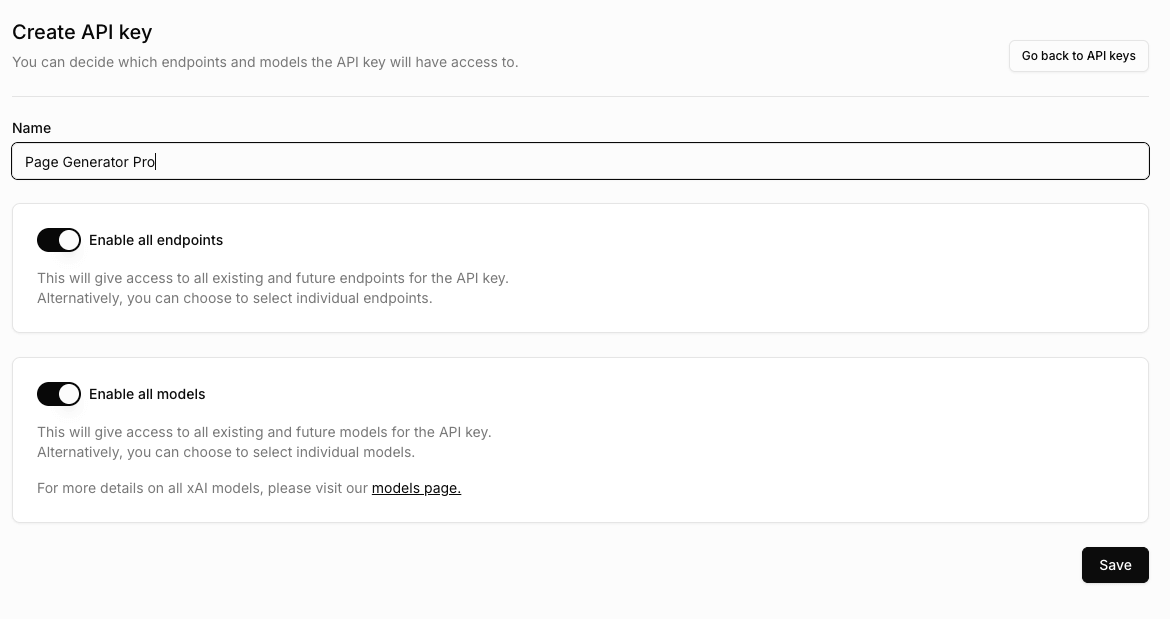
- Make a note of the API Key that displays on screen.
Add API Key to Plugin Settings
In Page Generator Pro’s Integration Settings screen:
- Enter the API Key into the Grok AI API Key setting,
- Select an appropriate text model (Grok 2 (July 17th 2024 Snapshot) is recommended, and selected by default),
- Click the Save button.
Models
Two settings exist to define Grok AI’s models:
- Model: The model to use when using the Grok AI Dynamic Element, or the AI Dynamic Element when its provider = Gemini AI
- Image Model: The model to use when using the Grok AI Image Dynamic Element.
Ideogram AI Image
Ideogram AI Image generation is available in Page Generator Pro 5.0.3, releasing Thursday March 13th 2025 23:59 GMT.
To take advantage of Page Generator Pro’s AI image generation, you may wish to use Ideogram AI.
You’ll need to:
- Register for an account at http://ideogram.ai/
- Setup the Ideogram API, following the steps at https://developer.ideogram.ai/ideogram-api/api-setup
- Once setup, navigate to https://ideogram.ai/manage-api
- Click Create API Key
- Make a note of the resulting API Key
Add API Key to Plugin Settings
In Page Generator Pro’s Integration Settings screen:
- Enter the API Key into the Ideogram AI Image: API Key setting,
- Select an applicable model in the Ideogram AI Image: Model setting
- We recommend Version 2A Turbo for performance and cost
- Click the Save button.
IndexNow
IndexNow integration is available in Page Generator Pro 5.0.3, releasing Thursday March 13th 2025 23:59 GMT.
To automatically submit generated pages to search engines, Page Generator Pro uses IndexNow. This allows website owners to instantly notify search engines when generated pages are published or modified. Without this, search engines may take days or weeks to detect content updates, as they do not frequently crawl every URL. By prioritizing notified URLs, IndexNow reduces unnecessary crawling and improves efficiency.
By default, IndexNow is enabled, but you may wish to disable this option if you prefer not to use IndexNow, or use a third party tool for submitting your site URLs to IndexNow.
Midjourney
Midjourney integration is available in Page Generator Pro 4.6.4, releasing Tuesday June 25th 2024 23:59 GMT.
Due to the detailed process of needing to register accounts across Discord, ImagineAPI and Midjourney, support for setup is limited. Please work with Discord, ImagineAPI and Midjourney as necessary should you be unable to register an account with either, or have subscription / payment issues with their services.
To take advantage of Page Generator Pro’s AI image generation, you may wish to use Midjourney.
As Midjourney does not offer an official API, Page Generator Pro uses ImagineAPI to generate images through Midjourney. You’ll therefore need to:
- Register (or already have) a Discord account,
- Register for a paid subscription on ImagineAPI
- Register for a paid subscription on Midjourney
- Generate a token on ImagineAPI, entering it in to the Plugin’s settings.
Discord
- Visit https://discord.com
- Register a Discord account
- If you previously have a Discord account, ensure that 2FA is disabled. This is required for ImagineAPI to function.
Midjourney
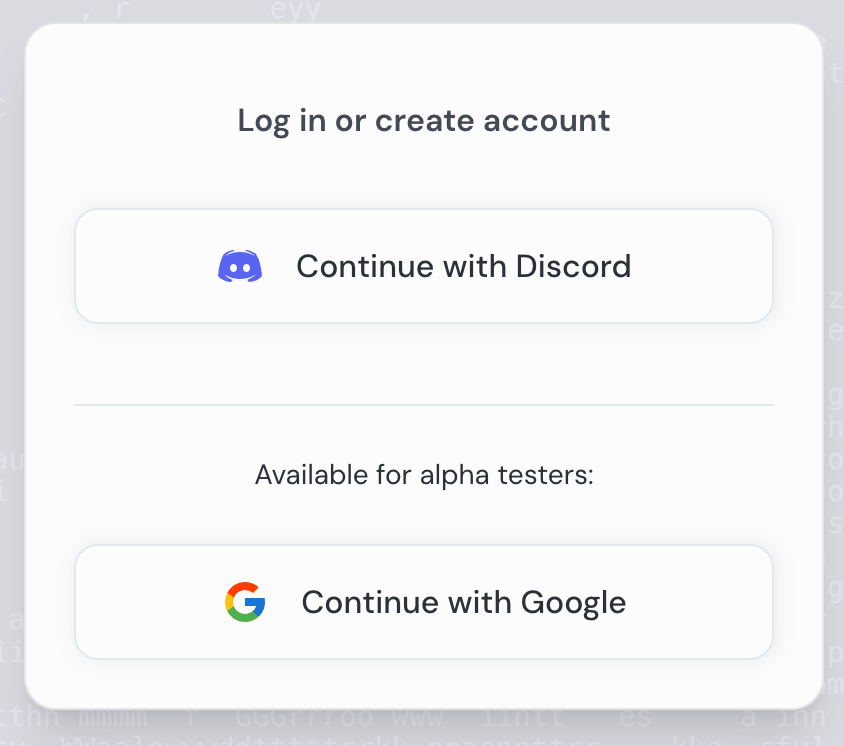
- Visit https://www.midjourney.com/home
- Click Sign up
- Click Continue with Discord
- Once registered, visit https://www.midjourney.com/account
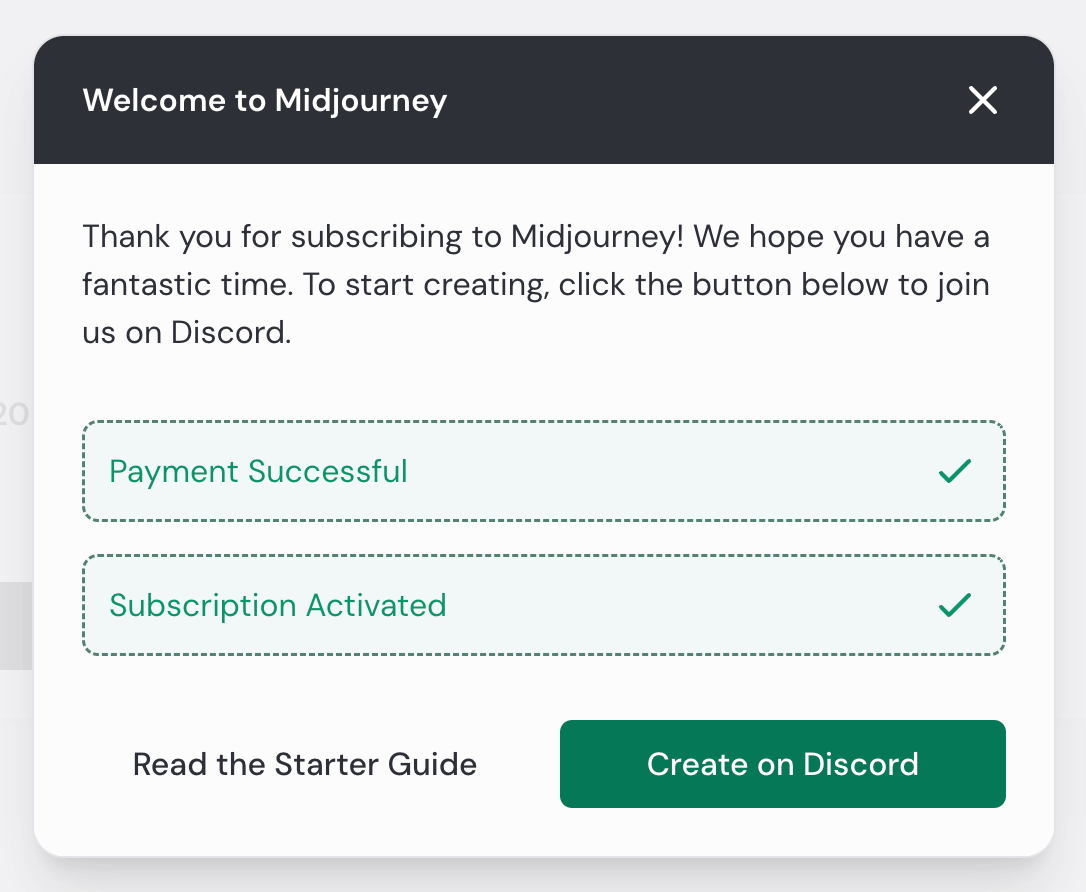
- Select the applicable plan (Basic Plan or higher).
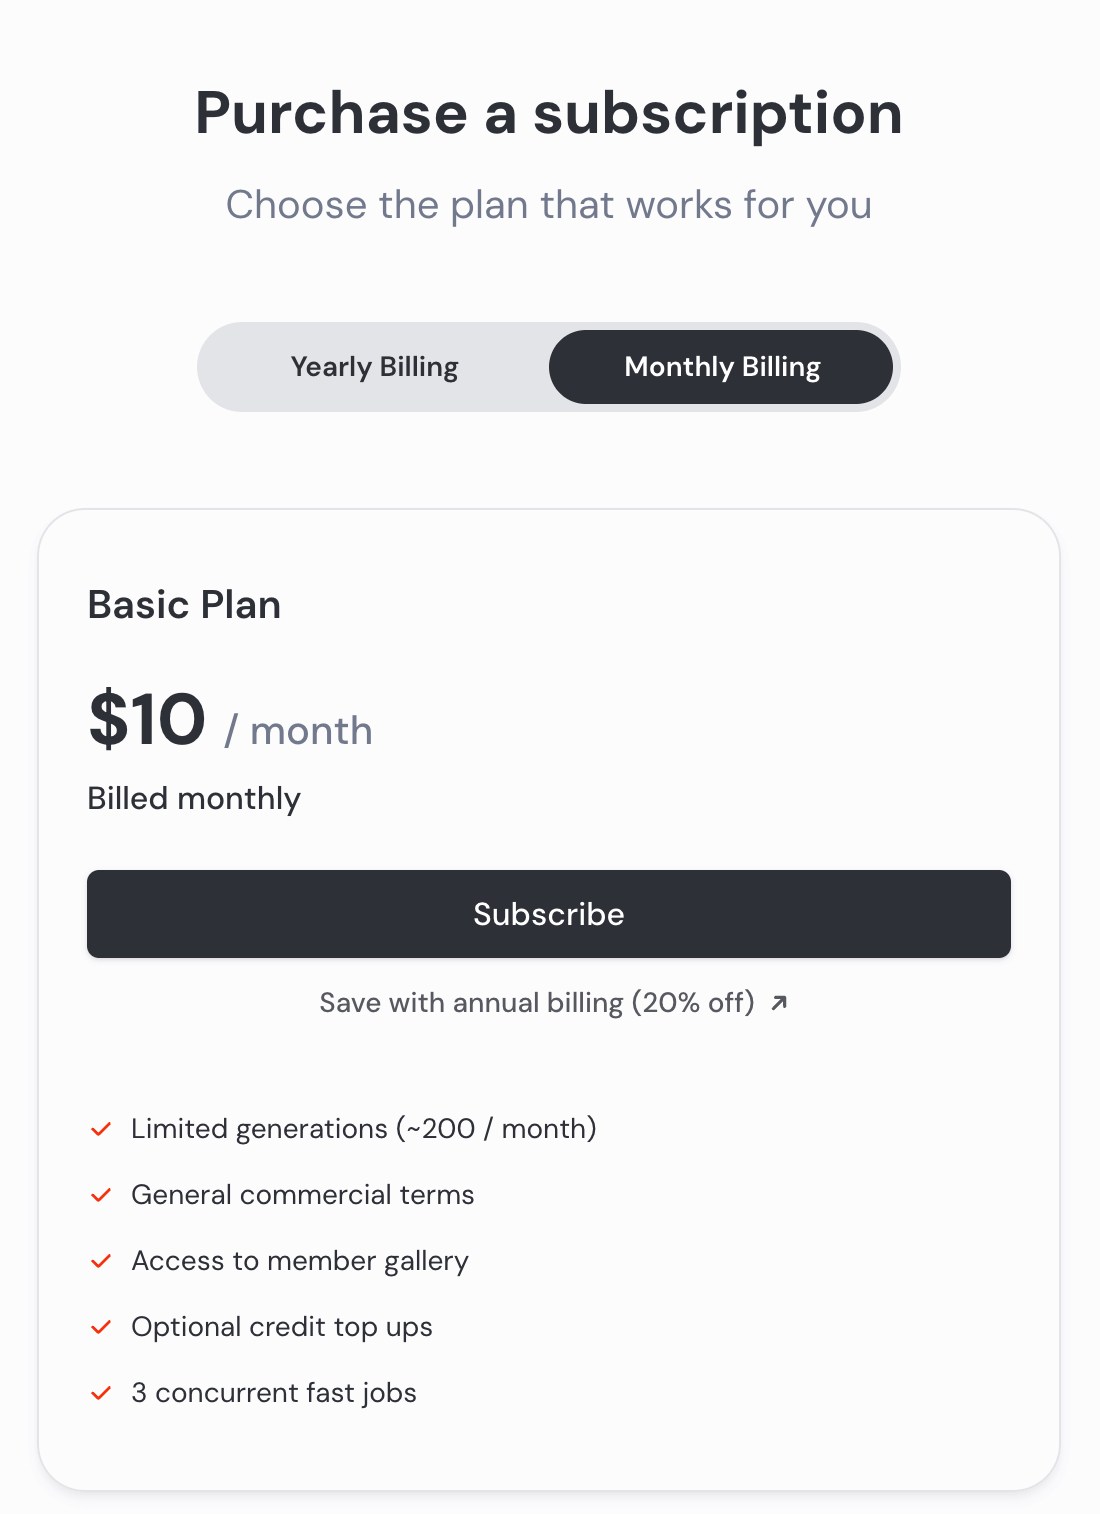
- Once paid, click the Create on Discord button and follow the on screen steps.
ImagineAPI
- Visit https://www.imagineapi.dev/pricing
- Click Get Started
- Complete payment for the ImagineAPI subscription
- Once registered, follow the on screen steps to link your Midjourney account

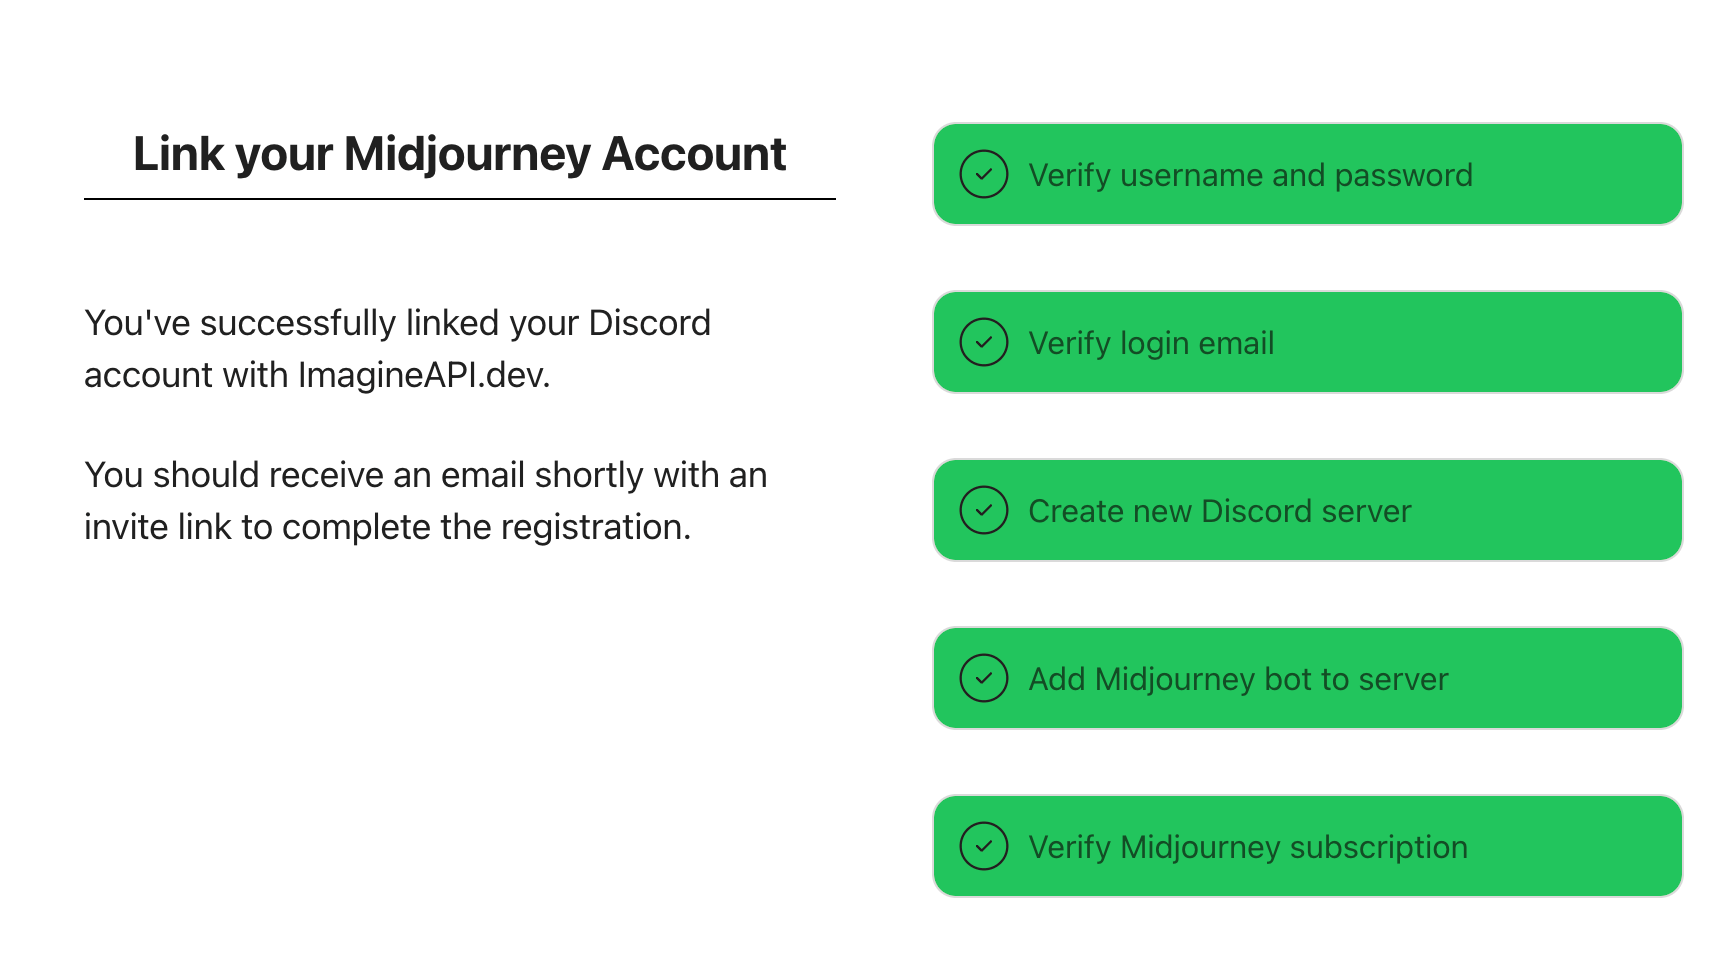
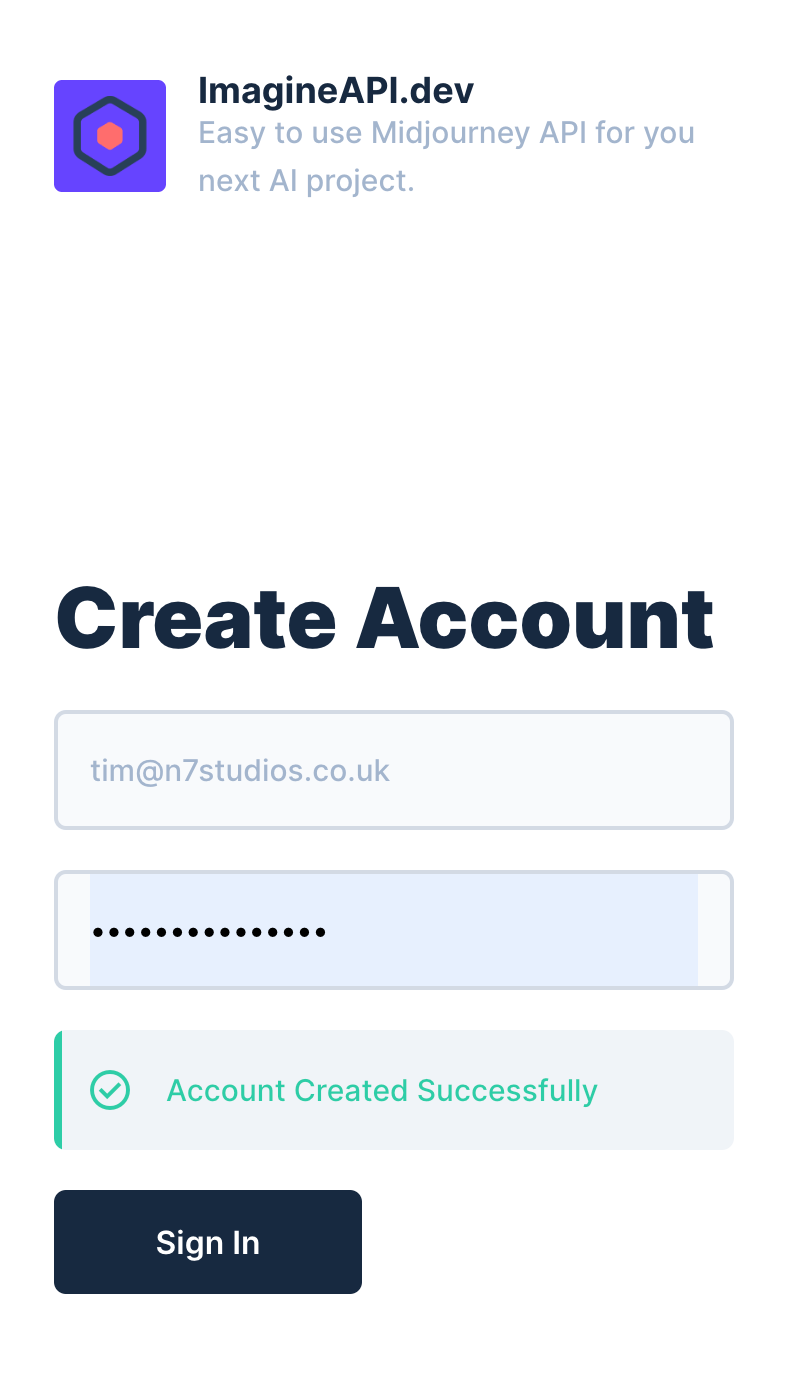
- Once your Midjourney account is linked, you’ll be invited to create an account on ImagineAPI
On ImagineAPI, generate a token:
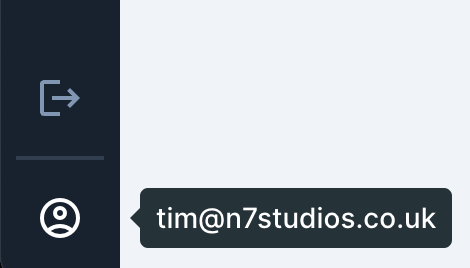
- Visit https://cl.imagineapi.dev/
- Click the user icon in the bottom left corner
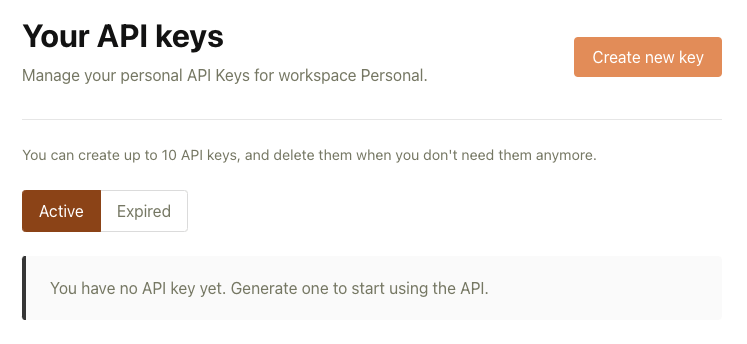
- Scroll to the Token section
- Click the Generate Token icon

- Copy the token
- Click the checkbox on the top right to save your account changes

Add Token to Plugin Settings
In Page Generator Pro’s Integration Settings screen:
- Enter the API Key into the Midjourney (ImagineAPI.dev) API Key setting,
- Click the Save button.
Mistral AI
Mistral AI integration is available in Page Generator Pro 4.5.6, releasing Thursday April 4th 2024 23:59 GMT.
To take advantage of Page Generator Pro’s AI generation for Keywords, Content Groups and Research, you may wish to use Mistral AI.
Obtain a Mistral AI Key
- Register an account at Mistral AI
- Once logged in, navigate to https://console.mistral.ai/api-keys/
- Click Create new key
- Enter a Key name and click Create key
- Make a note of the API Key that displays on screen.
Add API Key to Plugin Settings
In Page Generator Pro’s Integration Settings screen:
- Enter the API Key into the Mistral AI API Key setting,
- Select an appropriate text model (Mistral 7B is recommended, and selected by default),
- Click the Save button.
Notion
The option to specify a Notion Internal Integration Secret is available in Page Generator Pro 4.5.0, releasing Thursday 11th January 2024 23:59 UTC.
To use Notion as a Keyword Source, you’ll need to specify your Notion Internal Integration Secret.
Obtain your Notion Internal Integration Secret
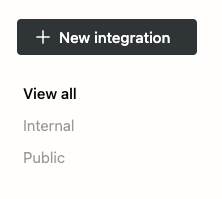
- Visit https://www.notion.so/my-integrations
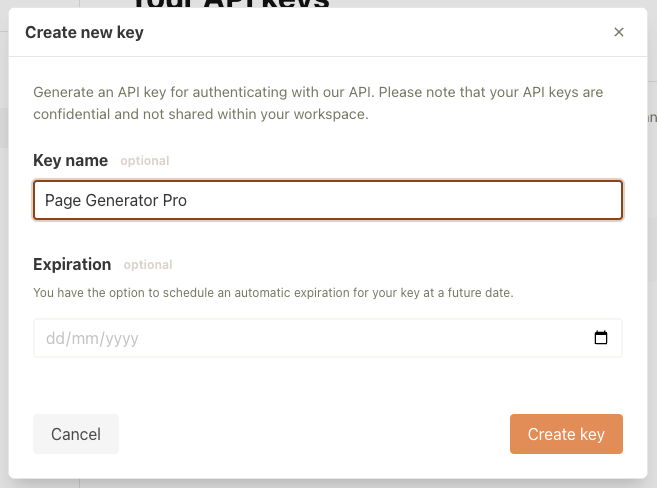
- Click the New integration button
- Enter a name for your own internal reference
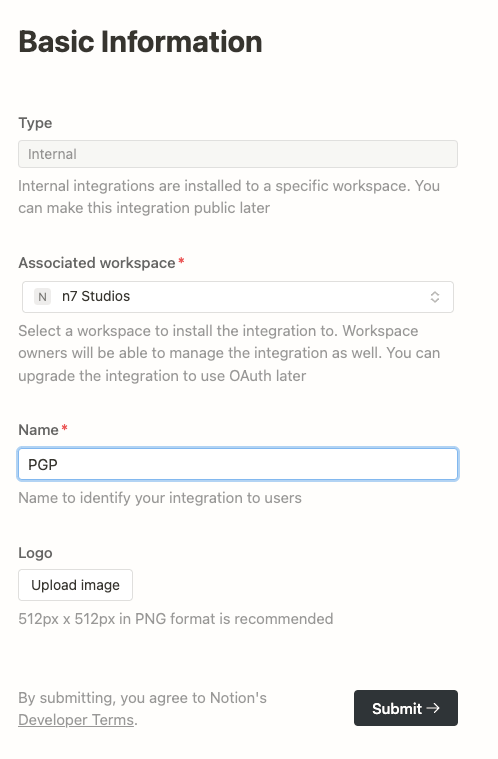
- Click Submit
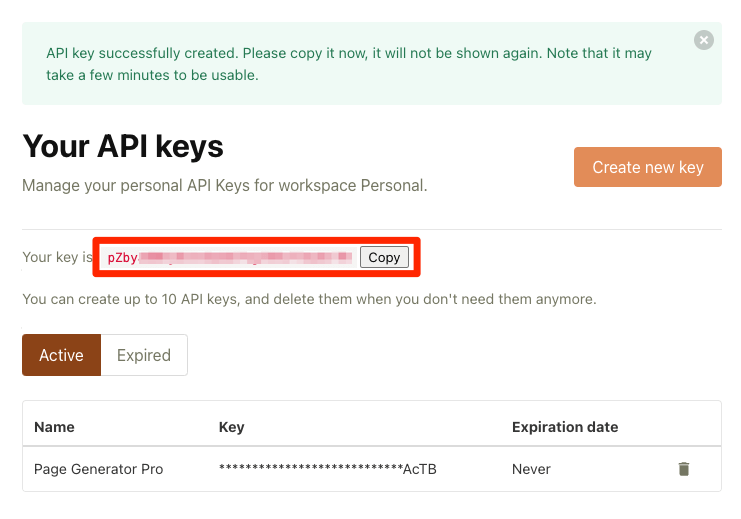
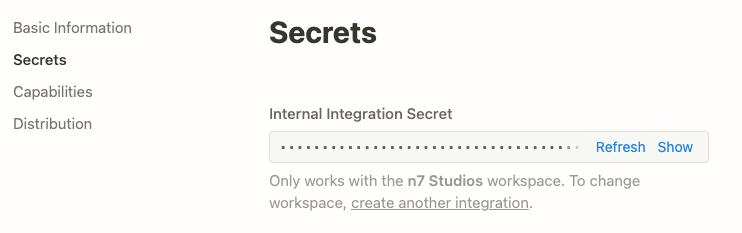
- On the Secrets screen that appears, click Show and make a note of the Internal Integration Secret
- Click the Capabilities link, and ensure that Update content and Insert content are not ticked.
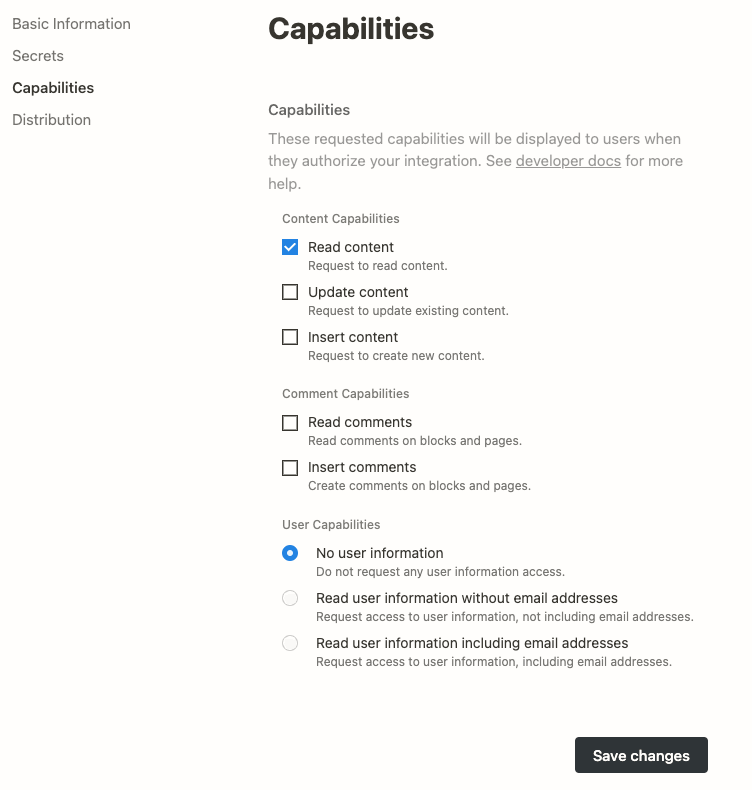
- Users who have access to your Internal Integration Secret can use it elsewhere. Ensuring that your Notion data is read only through this integration is therefore strongly recommended.
- Click Save changes
Permit your Notion Integration Access to your Database(s)
For each Notion database that you wish to use in Page Generator Pro:
- Navigate to the database on Notion
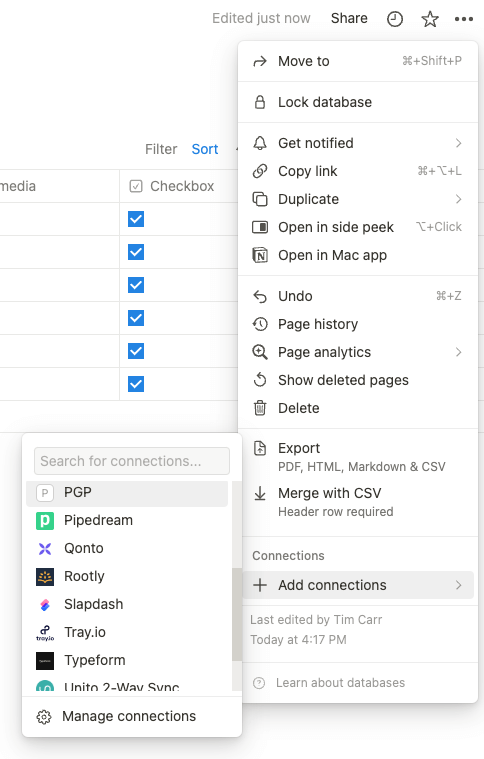
- Click the three dots symbol > Connections > Add connections, selecting the Integration created above (in this example, PGP)
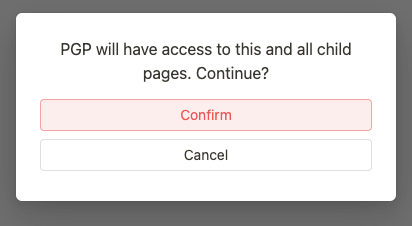
- Click the Confirm button
Repeat these steps for each Notion database that you wish to use in Page Generator Pro’s Keyword system.
Add Personal Access Token to Plugin Settings
Finally, in Page Generator Pro’s Integration Settings screen:
- Enter the Internal Integration Secret into the Notion Internal Integration Secret setting

- Click the Save button.
OpenAI
OpenAI integration is available in Page Generator Pro 4.1.0, releasing Thursday March 16th 2023 23:59 GMT.
To take advantage of Page Generator Pro’s AI generation for Keywords, Content Groups and Research, you may wish to use OpenAI.
Obtain an OpenAI Key
- Register an account at OpenAI
- Once logged in, navigate to https://platform.openai.com/api-keys
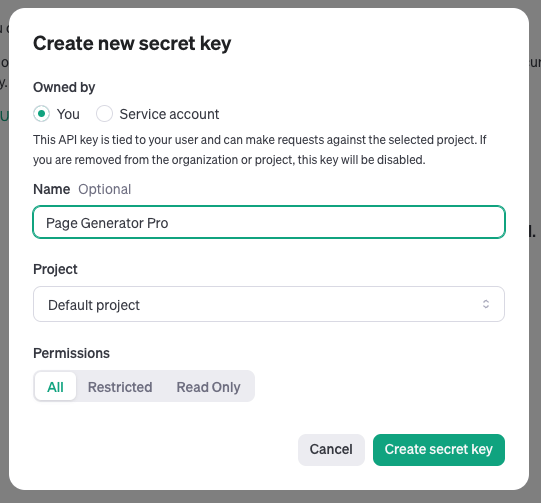
- Click Create new secret key

- Define an optional Name, and select the applicable Project, clicking Create secret key
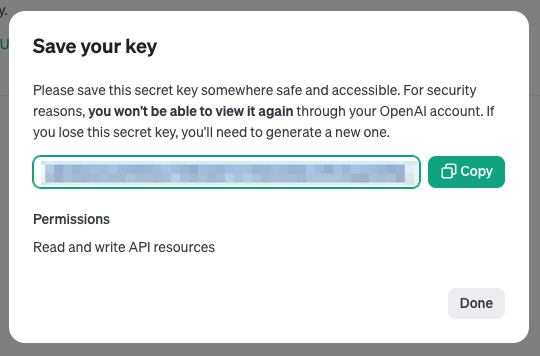
- Make a note of the API Key that displays on screen.
Add API Key to Plugin Settings
In Page Generator Pro’s Integration Settings screen:
- Enter the API Key into the OpenAI API Key setting,
- Select an appropriate text model (GPT-3.5: Turbo (ChatGPT) is recommended, and selected by default),
- Click the Save button.
Access to GPT-4 models requires Pay-As-You-Go accounts have a minimum $1 payment on OpenAI. ChatGPT Plus accounts do not automatically have access to the GPT-4 API. Refer to the OpenAI Documentation. Alternatively, use a GPT-3.5 based model, which all OpenAI customers can use. This can be selected in the Plugin’s Integration Settings.
Models
Two settings exist to define OpenAI’s models:
- Model: The model to use when using the OpenAI Dynamic Element, or the AI Dynamic Element when its provider = Gemini AI
- Image Model: The model to use when using the OpenAI Image Dynamic Element.
OpenRouter
OpenRouter integration is available in Page Generator Pro 4.7.0, releasing Monday August 12th 2024 23:59 GMT.
To take advantage of Page Generator Pro’s AI generation for Keywords, Content Groups and Research, you may wish to use OpenRouter.
OpenRouter acts as a gateway to numerous AI models, including OpenAI, Gemini, Claude and others. The benefits of this are:
- Only one API Key is required
- Flexibility of defining the model to use from most AI providers, provided they are listed on OpenRouter
To obtain an OpenRouter Key
- Register an account at OpenRouter
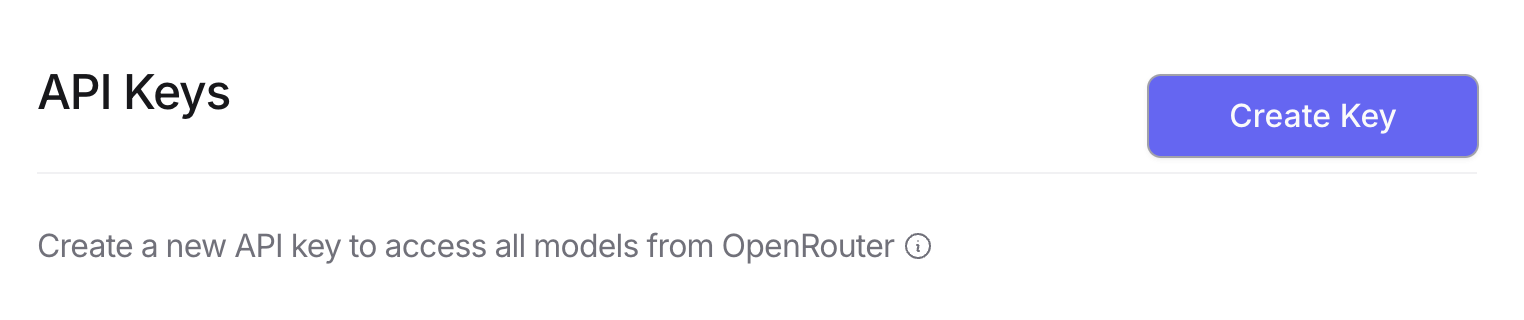
- Once logged in, navigate to https://openrouter.ai/settings/keys
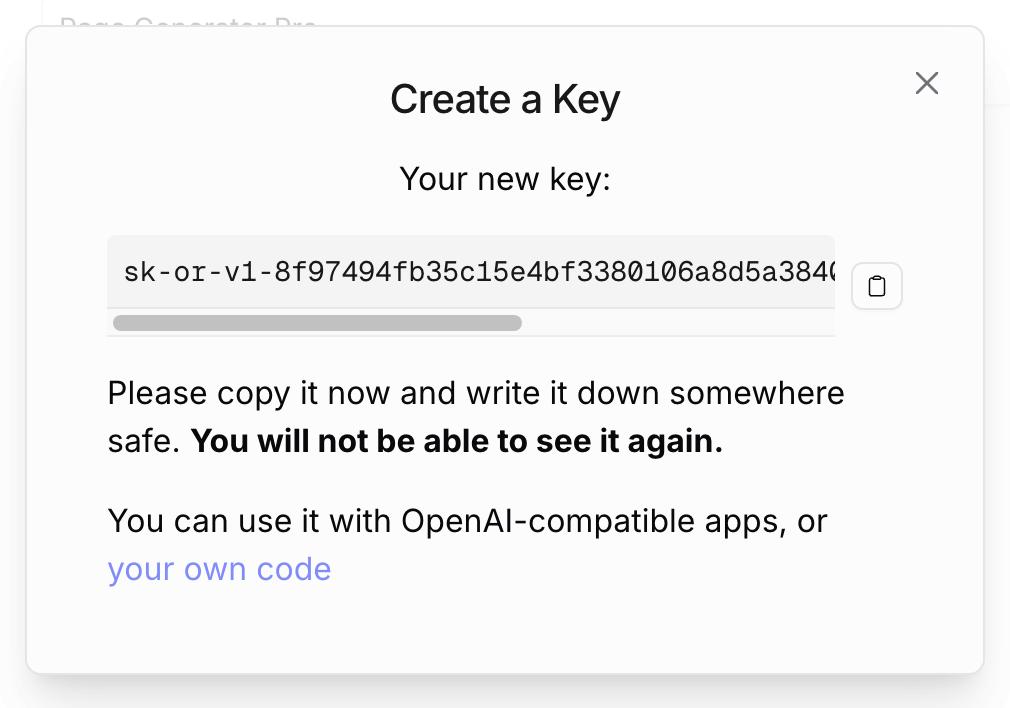
- Click Create Key
- Define a Name, optional credit limit and click Create
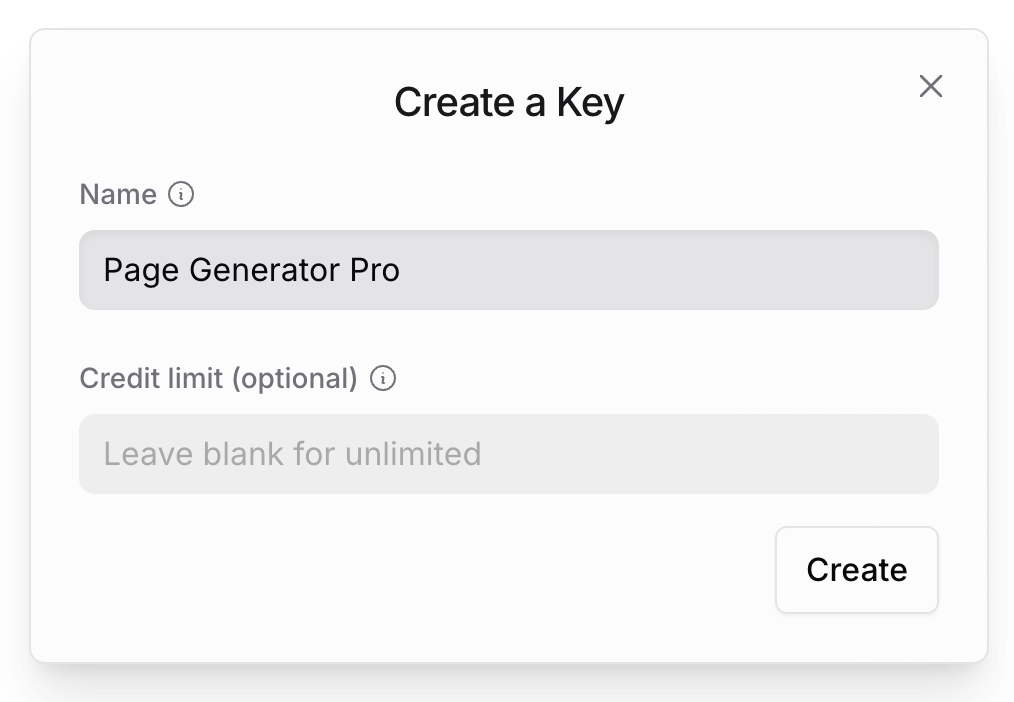
- Make a note of the API Key that displays on screen.
Add API Key to Plugin Settings
In Page Generator Pro’s Integration Settings screen:
- Enter the API Key into the OpenRouter API Key setting.
- Click the Save button.
Add Models to Plugin Settings
The models option is freeform text (compared with direct AI integrations, such as Claude, OpenAI and Gemini). This is because OpenRouter’s available models will regularly be updated.
It’s also possible to specify multiple models. OpenRouter will automatically try other models specified in the list if the first model’s providers are down, rate-limited, or refuse to reply due to content moderation.
To define model name(s):
- Navigate to https://openrouter.ai/models
- Search for an appropriate text model
- Click the copy model ID icon by its name:
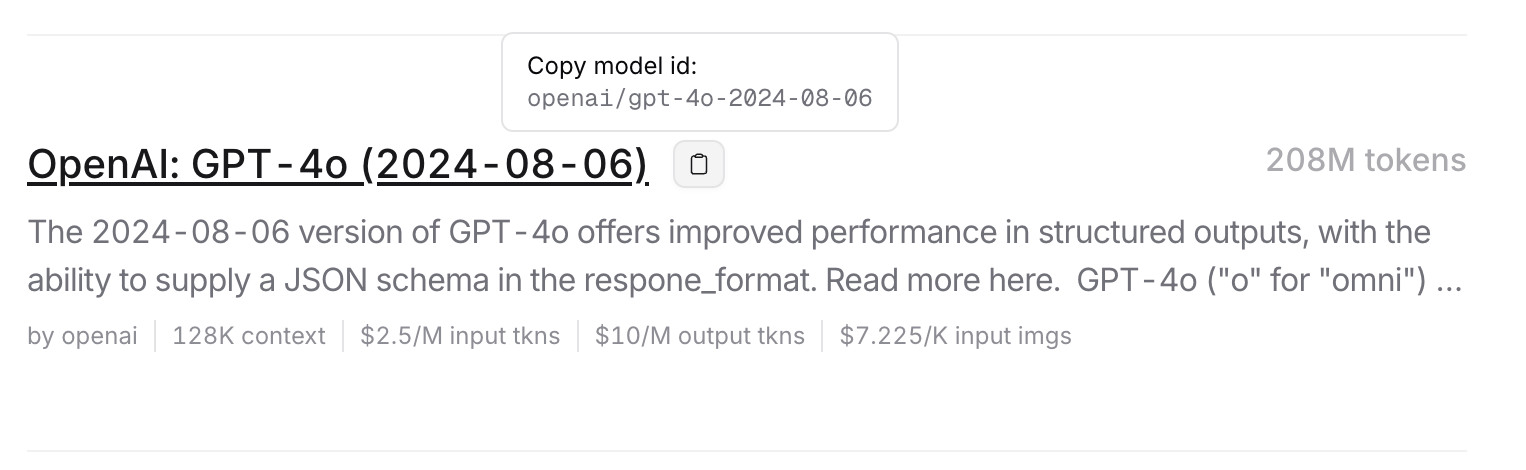
- Paste the name in the OpenRouter Models field in the Plugin Settings screen.
- Click Add or press the Enter key.
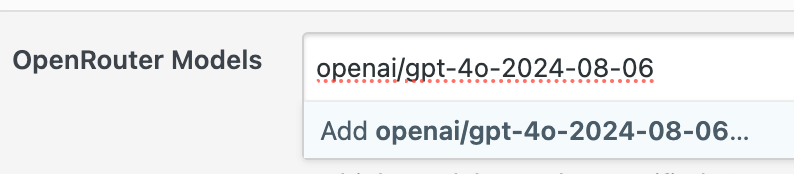
- Repeat the process for any additional models you wish to specify.
- Click the Save button.
Access to any OpenRouter model requires credits to be added to your OpenRouter account. This can be done at https://openrouter.ai/credits
Perplexity
Perplexity integration is available in Page Generator Pro 4.9.3, releasing Monday January 6th 2025 23:59 GMT.
To take advantage of Page Generator Pro’s AI generation for Keywords, Content Groups and Research, you may wish to use Perplexity.
To obtain a Perplexity API Key, follow Perplexity’s Getting Started guide.
Add API Key to Plugin Settings
In Page Generator Pro’s Integration Settings screen:
- Enter the API Key into the Perplexity API Key setting.
- Click the Save button.
OpenWeatherMap
Sometimes, you might reach an API limit when using the OpenWeatherMap Dynamic Element.
To resolve this, you’ll need to define some one-time OpenWeatherMap settings.
Enable the OpenWeatherMap API
- Visit https://home.openweathermap.org/users/sign_up
- Complete the form to create a new user account
- Login at https://home.openweathermap.org/users/sign_in
- Click the API keys tab
- Copy the API Key that’s displayed

Add API Key to Plugin Settings
Finally, in Page Generator Pro’s Integration Settings screen:
- Enter the API Key into the OpenWeatherMap API Key setting,
- Click the Save button.
Pexels
Sometimes, you might reach an API limit when using the following functionality:
- Pexels Dynamic Element
- A Content Group’s Featured Image using the Pexels source.
To resolve this, you’ll need to define some one-time Pexels settings.
Enable the Pexels API
- Visit https://www.pexels.com/join/
- Complete the form to create a new user account:
- First name
- Last name
- Email address
- Password
- Once logged in, visit https://www.pexels.com/api/new/
- Request API access, and copy your API key.
Add API Key to Plugin Settings
Finally, in Page Generator Pro’s Integration Settings screen:
- Enter the API Key into the Pexels API Key setting,
- Click the Save button.
Pixabay
Sometimes, you might reach an API limit when using the following functionality:
- Pixabay Dynamic Element
- A Content Group’s Featured Image using the Pixabay source.
To resolve this, you’ll need to define some one-time Pixabay settings.
Enable the Pixabay API
- Visit https://pixabay.com/accounts/register
- Complete the form to create a new user account:
- Username
- Email address
- Password
- Click the confirmation link sent to your email address
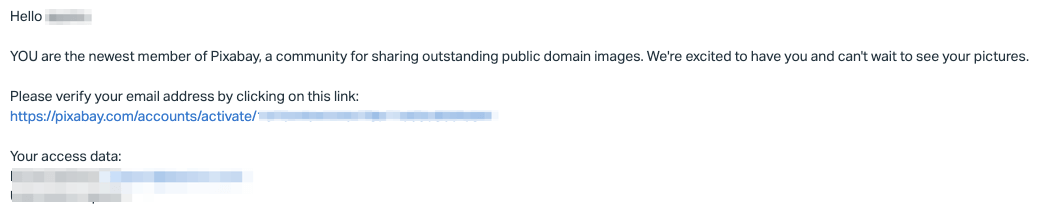
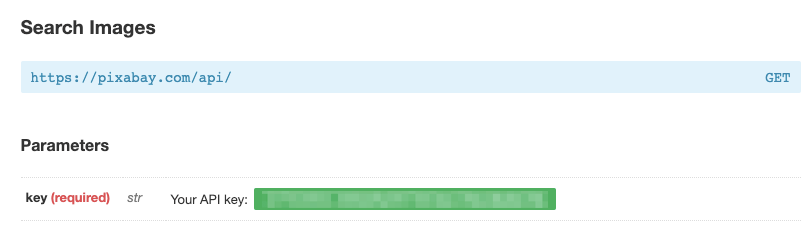
- Once logged in, visit https://pixabay.com/api/docs/
- Scroll down to the Search Images, and make a note of your API key
Add API Key to Plugin Settings
Finally, in Page Generator Pro’s Integration Settings screen:
- Enter the API Key into the Pixabay API Key setting,
- Click the Save button.
Yelp
Your own Yelp! API Key is requried to use this functionality. Page Generator Pro does not provide this.
When using the Yelp Dynamic Element, you’ll first need to define some one-time Yelp settings.
Enable the Yelp API
- Visit https://www.yelp.com/signup
- Complete the form to create a new user account:
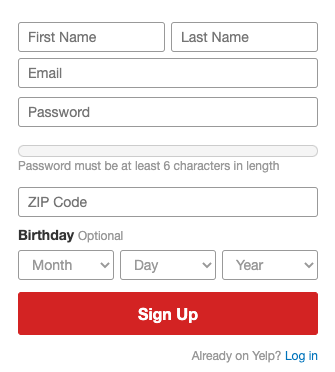
- Click the confirmation link sent to your email address
- Once logged in, visit https://www.yelp.com/developers/v3/manage_app
- Complete the form:
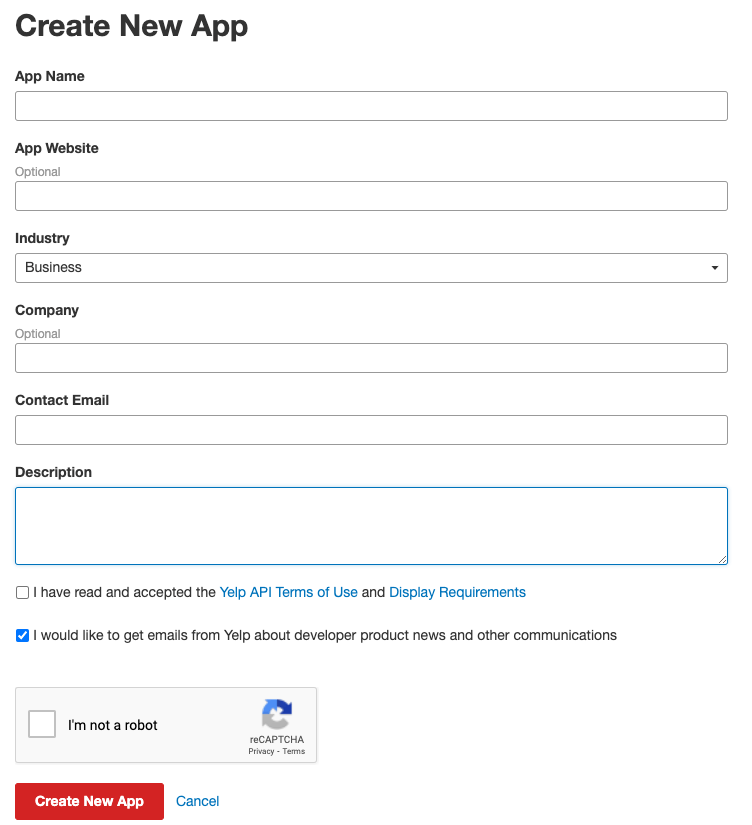
- Note your API Key that is then displayed.
Add API Key to Plugin Settings
Finally, in Page Generator Pro’s Integration Settings screen:
- Enter the API Key into the Yelp API Key setting,
- Click the Save button.
YouTube
Sometimes, you might reach an API limit when using the YouTube Dynamic Element.
To increase the API limit, you’ll need to add your own API key.
Create a new Project
To obtain an API Key, first create a new Project in the Google APIs Console
- Visit https://console.developers.google.com/projectcreate
- Enter a Project name, and choose an Organization and Location. These values can be anything you want
- On the top left corner of the screen, click the dropdown
- Select the newly created Project
Enable the YouTube API
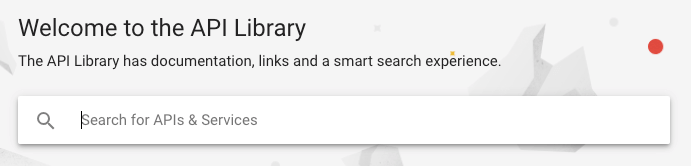
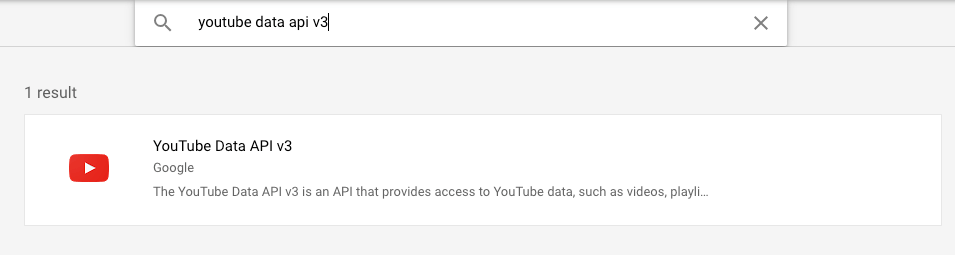
- In the search field below the Welcome to the API Library title, start typing YouTube Data API v3.
- Click on the result that appears
- Click on the blue Enable button

- Click on the Create Credentials button
- Click the dropdown below the Which API are you using? question, and select the YouTube Data API v3

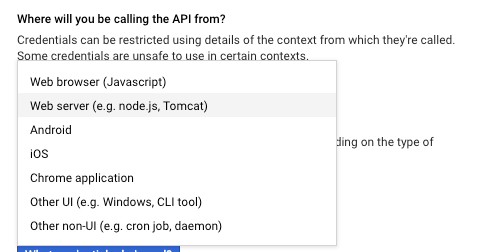
- Click the dropdown below the Where will you be calling the API from? question, and select Web server
- For What data will you be accessing?, select Public data
- Click the What credentials do I need? button

- Make a note of the API key displayed on screen
- Click Done
Add API Keys to Plugin Settings
Finally, in Page Generator Pro’s Integration Settings screen:
- Enter the API Key into the YouTube Data API Key setting,
- Click the Save button.