Overview
This tutorial demonstrates how to generate WordPress Pages from a CSV file comprising of a list of services.
Prerequisites
We’ll be using a specific Theme and Plugins in this tutorial, but you’re free to use any Themes or Plugins as part of your site building process.
- Your server meets all hosting requirements and is configured correctly
- WordPress: Latest Version
- Theme: WordPress Twenty Twenty-Two
- Plugins:
- CSV File:
- We’ll be using a CSV File comprising of services which can be downloaded here.
Create Keyword
First, we’ll use our CSV file as the data source for our Keyword. Navigate to Page Generator Pro > Keywords in the WordPress Administration menu: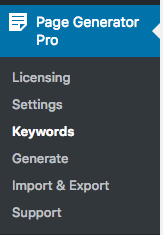
Click the Add Keyword button below the Page Generator Pro title, which can be found towards the top of the screen:
Define the following options on the form:
- Keyword: service
- Source: CSV File
- CSV File: Click the Choose File from Media Library button, and then upload the CSV File to the Media Library by dragging and dropping onto the modal window.
- Columns in First Row: Check/enable this option
- Delimiter: Set this to a comma (,)
Click the Save button.
A notification will be displayed confirming that the Keyword saved successfully.
The contents of the CSV file will also be displayed, with the two columns full and short: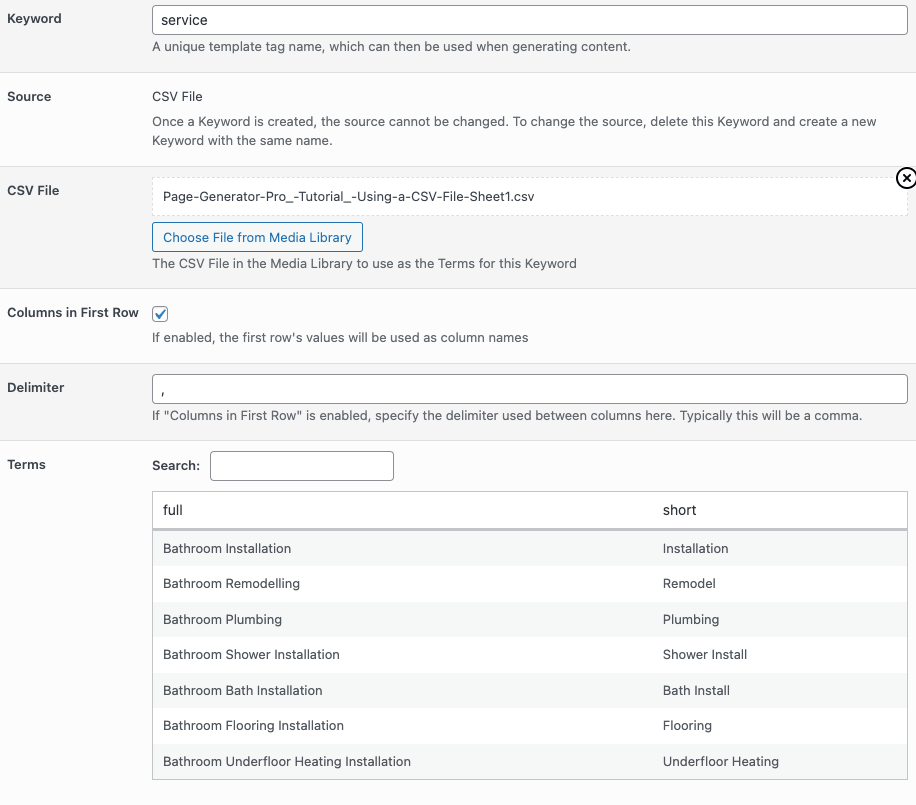
Creating Content
Next, we’ll create a Content Group (a template) which will be used to generate the WordPress Pages, using the CSV file data we’ve stored in the service Keyword.
Navigate to Page Generator Pro > Generate Content in the WordPress Administration menu:
Click the Add New button below the Content Groups title, which can be found towards the top of the screen:
You will then be presented with a screen similar to the one used to edit your WordPress Posts and Pages: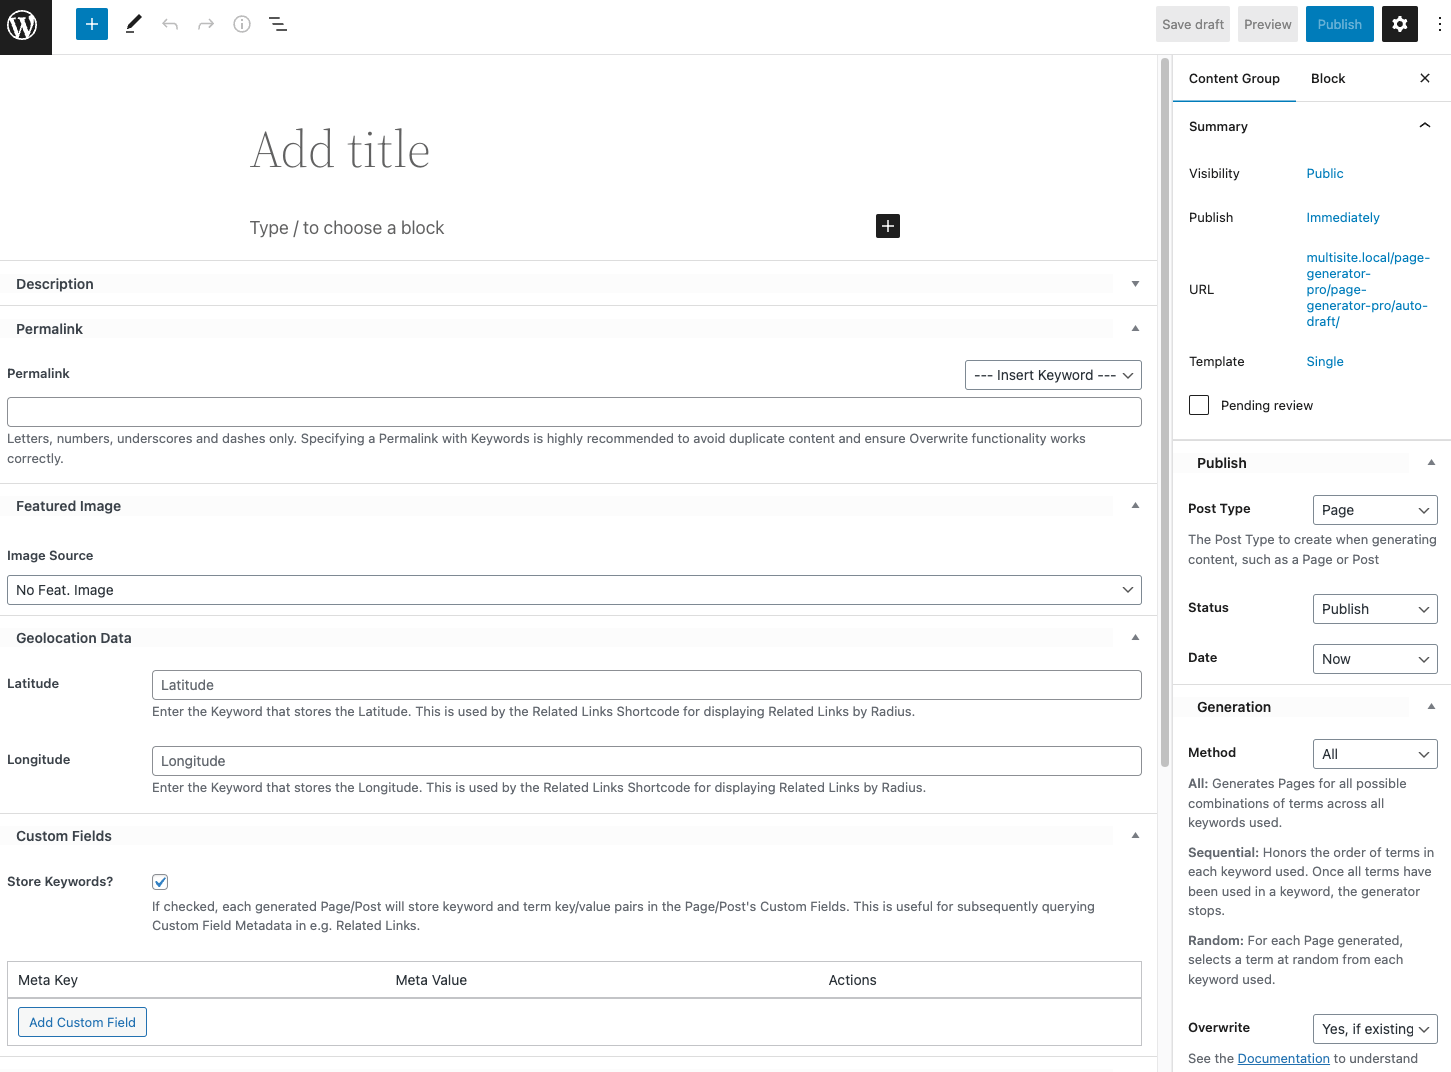
Title
Let’s start by defining the title that we want for each of our Pages. As we want to generate a WordPress Page for each service specified in our Keyword, we need to include the service Keyword.
Start typing in the Add title field, starting with the { character: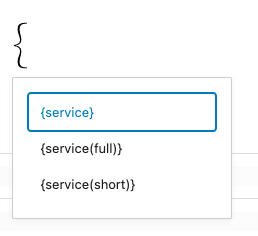
We’re presented with three options for our service Keyword:
| Keyword | Description |
|---|---|
| {service} | Outputs the entire row of the CSV file – for example, Bathroom Installation, Installation |
| {service(full)} | Outputs the full column’s value of the CSV file – for example, Bathroom Installation |
| {service(short)} | Outputs the short column’s value of the CSV file – for example, Installation |
As we want the Title to be the full name of the service, click the {service(full)} option on the dropdown. This will insert the Keyword into the Title field.
This Keyword will be replaced by a unique term for each Page that’s generated. Taking our example CSV file, this means the following Pages would be generated with the following Titles:
- Bathroom Installation
- Bathroom Remodelling
- Bathroom Plumbing
- Bathroom Shower Installation
- Bathroom Bath Installation
- Bathroom Flooring Installation
- Bathroom Underfloor Heating Installation
Content
Define the content required for the WordPress Pages. We’ll use both the {service(full)} and {service(short)} Keywords – for example:
PlumbCo provide {service(full)} services in Birmingham. Contact us regarding your {service(short)} requirements today.

For our first generated WordPress Page, this would read:
PlumbCo provide Bathroom Installation services in Birmingham. Contact us regarding your Installation requirements today.
It’s possible to modify the output of a Keyword using a Keyword Transformation. In this case, we don’t want Installation to begin with a capital letter, so we’ll replace {service(short)} with {service(short):lowercase_all}.

For our first generated WordPress Page, this would read:
PlumbCo provide Bathroom Installation services in Birmingham. Contact us regarding your installation requirements today.
Refer to the Keyword Transformations documentation for a detailed guide of the available transformations.
Permalink
By default, WordPress will generate a Permalink based on the Title. However, we can control the precise Permalink used by manually enter a Permalink now. It’s also best practice to always define a Permalink in a Content Group.
To do this, enter {service(full)} into the Permalink text field: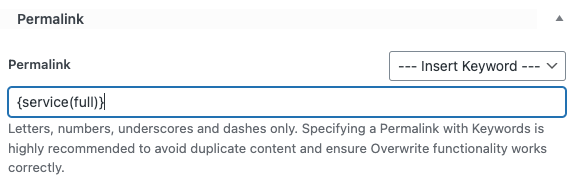
Actions
With our Title, Content and Permalink completed, let’s save our Content Group before starting content generation.
Gutenberg / Block Editor
Click the Publish or Update button in the top right hand corner:
Classic Editor
Classic Editor users can use the Actions box, clicking the Save button: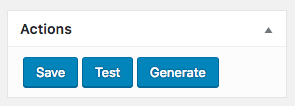
The screen will update, confirming that the Content Group has been published (or updated, if we’re saving an existing Content Group).
Testing Content
With our Content Group saved, we’re almost ready to generate our content.
Before we do this, it is be a good idea to test the content and settings by generating a single Page in draft mode. This ensures that the Page isn’t made available to web site visitors, in case we spot any issues and need to change settings or content in our Content Group.
Gutenberg / Block Editor
Click the settings cog icon to display the block editor’s sidebar, if it isn’t already showing:
Scroll down to the bottom of the sidebar settings, finding the Actions box, and click the Test button: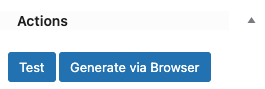
Classic Editor
Classic Editor users can use the the Actions box, clicking the Test button:
Confirm that we want to generate a single Page in draft mode by clicking OK.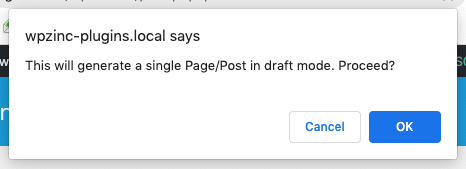
After a few moments, the screen will update, confirming that a Test Page has been generated. The notification also tells us the terms that were used to replace the keywords: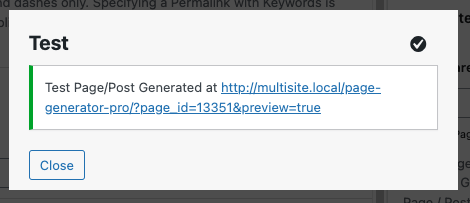
Let’s click the link in the notification, which takes us to the draft Page:
Generating Content
If we’re happy with our Test Page, we can now go ahead and generate all of our Pages. To do this:
- Navigate to Page Generator Pro > Generate Content
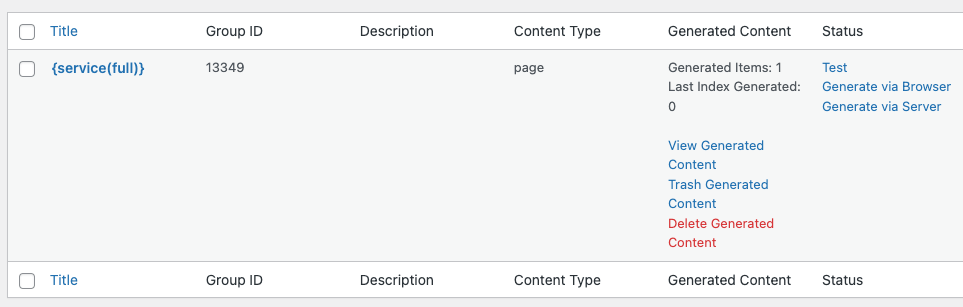
- Click the Generate via Browser link in the Status column for the Content Group:
A new screen will appear, showing a progress bar and log. As each page generates, the progress bar and log will update: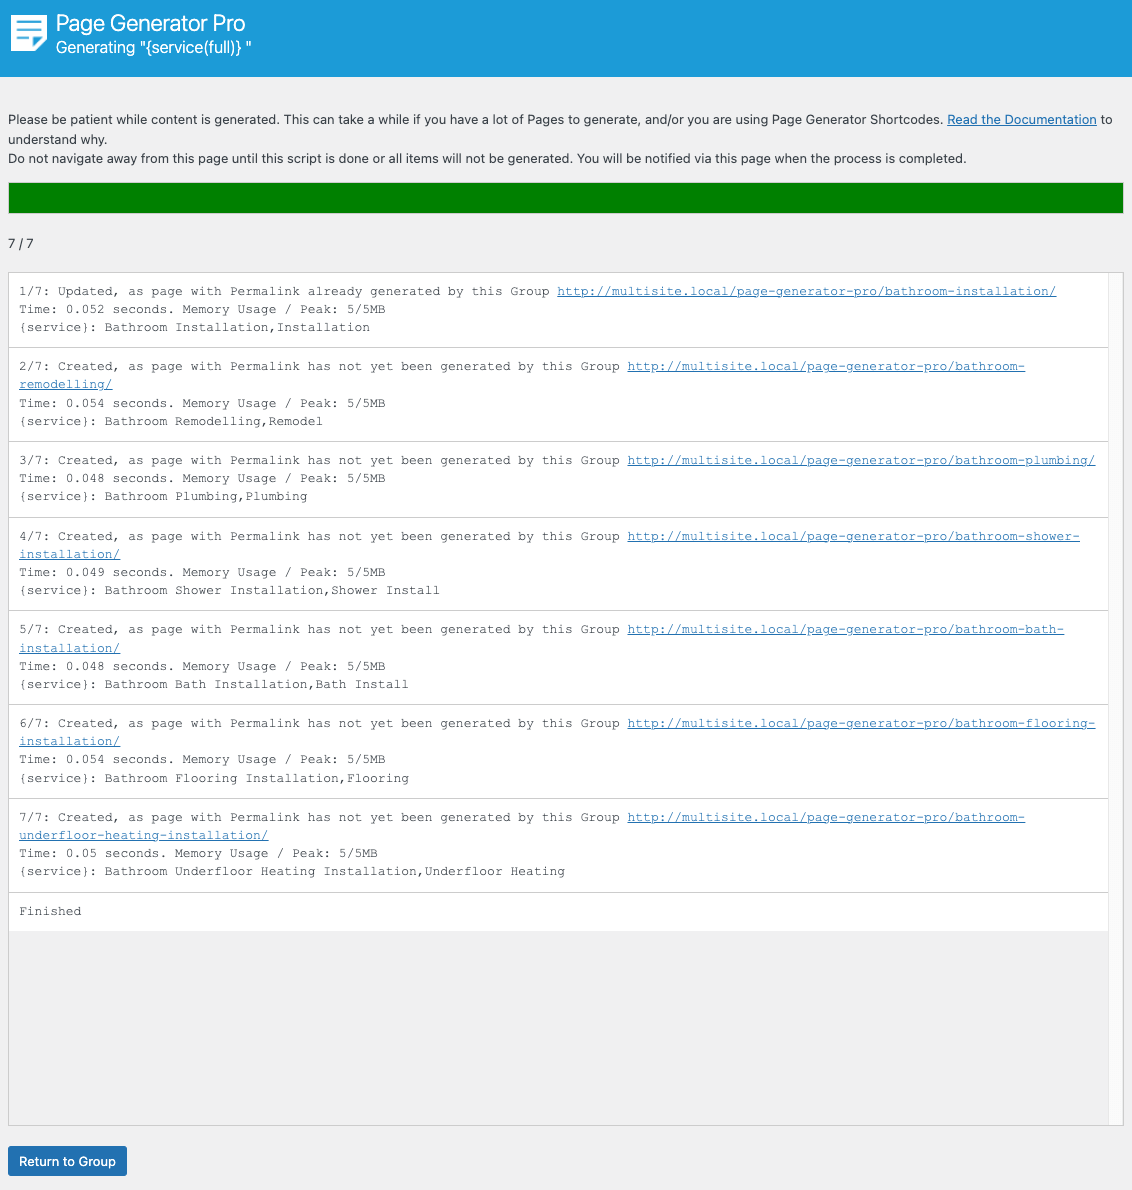
Once all WordPress Pages have been generated, we can view them by:
- Navigating to Page Generator Pro > Generate Content in the WordPress Administration menu:
- For the Content Group, click the View Generated Content link
The Generated Pages are then listed in the Pages section of WordPress.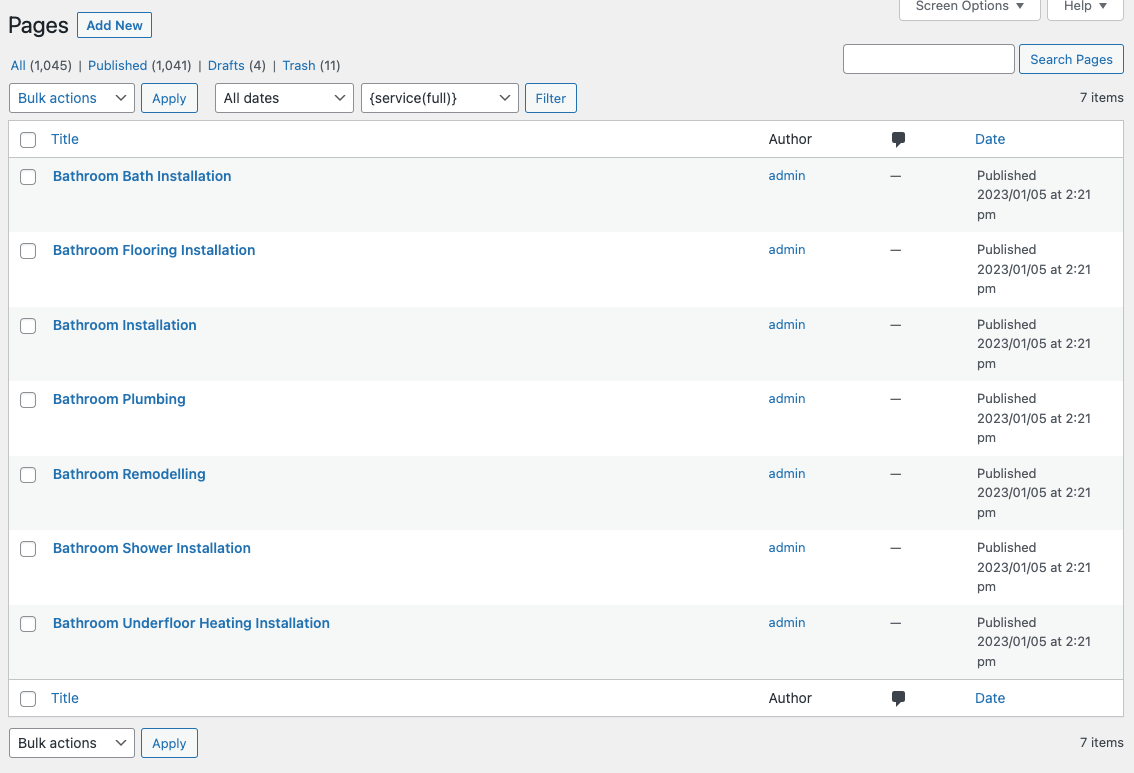
Conclusion
This tutorial has covered the basics of using Page Generator Pro to:
- Define a Keyword,
- Produce a Content Group (template) comprising of Page content that we want to output across all generated Pages,
- Applied Keywords for each of our generated Pages, using columns and transformations,
- Familiarised ourselves with how to Test Generate a Page,
- Use the Generate via Browser functionality to generate all WordPress Pages from our Content Group.
There’s much more that Page Generator Pro can do beyond simple text, so be sure to check out the Documentation and any other Tutorials.