The OpenStreetMap shortcode inserts an OpenStreetMap Map, Satellite Map, depending on the shortcode’s parameters.
Adding: Classic Editor / TinyMCE
To add an OpenStreetMap within the Classic Editor:
- Ensure that you’re using the Visual Editor by clicking the Visual tab:

- Click the OpenStreetMap icon in the Visual Editor toolbar:

Adding: Classic Editor / TinyMCE: Text Editor
If you’re using the Text editor instead of the TinyMCE Visual Editor above:![]()
- Click the Open Street Map button in the toolbar:

Adding: Gutenberg
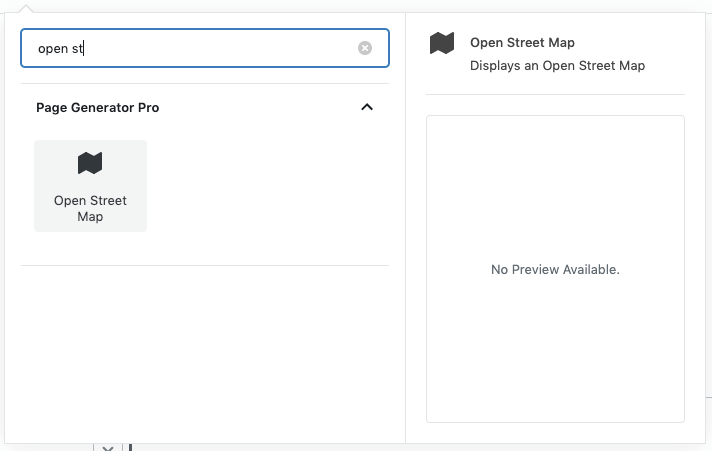
To add an OpenStreetMap within Gutenberg:
- Click the plus icon between two existing blocks, or towards the top left corner of the Gutenberg editor

- Start typing Open Street Map into the Search for a block field, and click the Open Street Map option that appears within the Page Generator Pro section
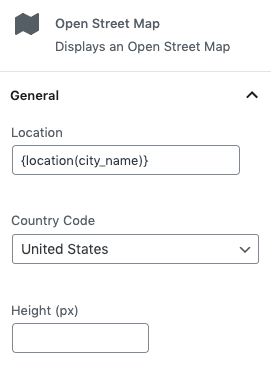
- Follow the Configuration section below for each of the fields displayed in the right hand sidebar’s block panel:
Adding: Page Builders
To add an OpenStreetMap within any Page Builder that supports a Text Editor widget/module using the Classic Editor (sometimes known as TinyMCE), refer to the Classic Editor instructions above.
Refer to the Dynamic Elements Documentation for details specific to your Page Builder.
If your Page Builder does not provide a Text Editor widget/block that uses the Classic Editor, you can still use Dynamic Elements. However, you’ll need to manually build the shortcode, inserting it into your Page Builder’s content – for example:
[page-generator-pro-open-street-map parameter="value" ...]
| Parameter | Accepted Value | Description |
|---|---|---|
| location | string or keyword | The location to display the marker on the map |
| country | string or keyword | The country that the above location is in |
| height | integer | The height of the map, in pixels. Width is always 100% |
| zoom | 0 to 21 | The zoom level of the map. A higher number means more detail |
Configuration
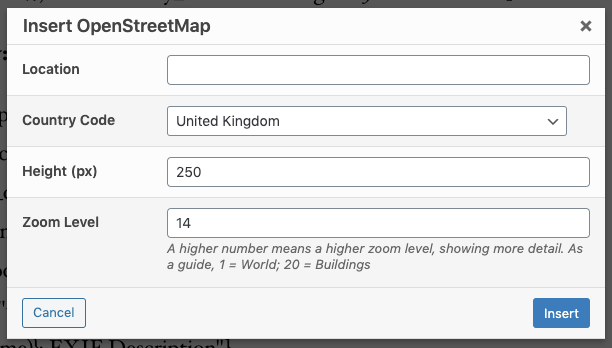
- Location: Enter the ZIP Code, City, County or State/Region (or keyword, if you have one that has keyword data comprising of this location data).
- Country Code: Select the Country the above Location is in.
- Height (px): The height of the Map, in pixels.
- Zoom Level: Choose a zoom level for the Map. A higher number means the map will be more zoomed in.
Configuration: Errors
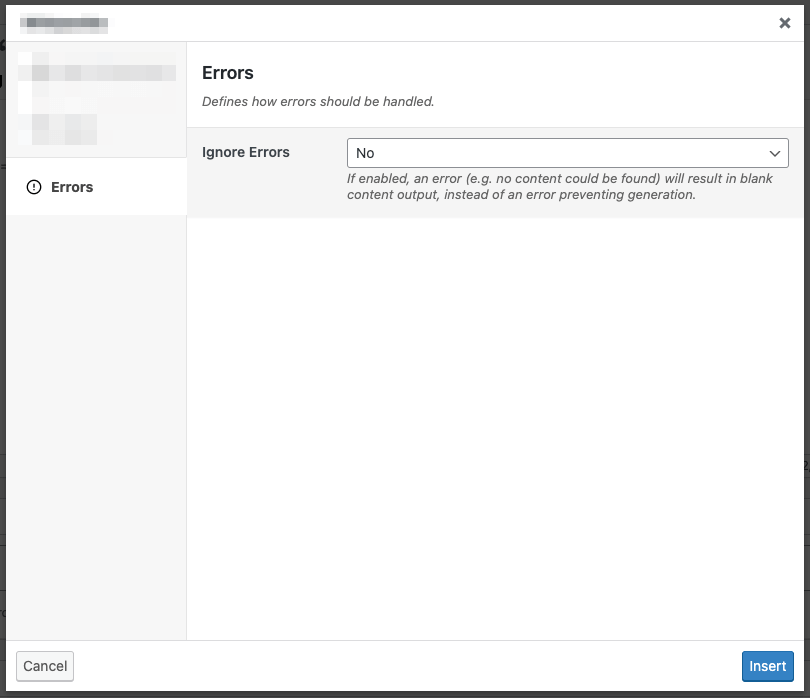
Ignore Errors
If enabled, an error returned from the Dynamic Element will result in blank content output, instead of an error preventing generation of the entire Page / Post / Custom Post Type.
This setting may be useful if you don’t require the Dynamic Element to always return content output.
This setting is ignored when using Test mode. If the Dynamic Element produces an error, it will always be reported in Test mode, to assist with debugging.
Common Issues
Map Layout Incorrect
Page Generator Pro will only output the CSS required for column display when the OpenStreetMap Dynamic Element is detected. However, this detection might not be possible if the element is used within a Page Builder.
This is deliberate and by design, to ensure that unnecessary CSS is not loaded site wide.
To resolve:
- Copy the contents of the Plugin’s
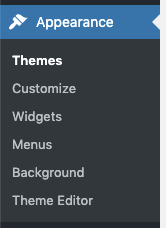
assets/css/frontend.cssfile - Navigate to WordPress Admin > Appearance > Customize
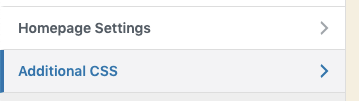
- Click Additional CSS
- Paste in the contents of the Plugin’s
assets/css/frontend.cssfile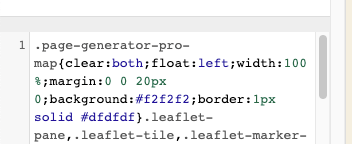
- If a CSS Prefix is defined at Settings > General, you’ll need to replace page-generator-pro with said CSS Prefix in the Additional CSS. For example, if your CSS Prefix is my-custom-site, you’ll replace page-generator-pro with my-custom-site
- Click the Publish button

Should this not resolve, you would need to work with your Theme provider to ensure that applicable CSS does not override that provided by Page Generator Pro.