Overview
Page Generator Pro is compatible with WPML, allowing you to generate content in multiple languages.
To achieve this, you’ll need to:
- Setup WPML, to define the Languages to use on your WordPress web site,
- Define Keyword(s), with Terms in the languages that you wish to generate content for,
- Define Content Groups for each Language,
- Link Content Groups, so that WPML knows, for each language, which Content Group to use,
- Generate Content from each Content Group
Enable WPML Languages
With the WPML Plugin activated, define the languages you want to use on your web site by navigating to WordPress Admin > WPML > Languages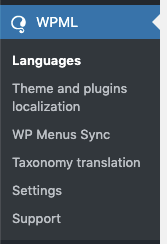
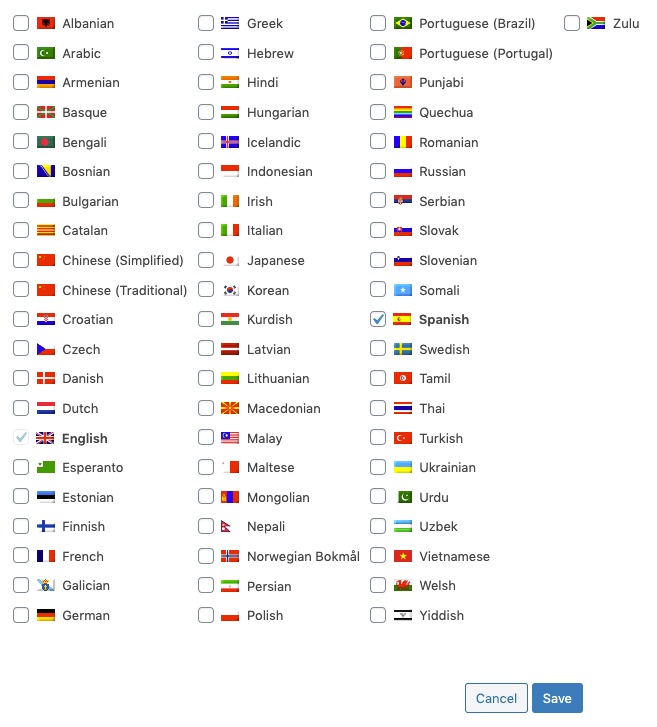
Using the Add / Remove Languages option to define the supported languages: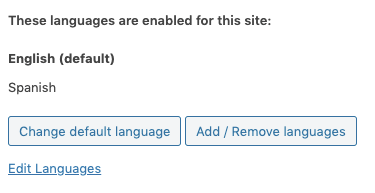
Enable WPML on Content Groups
Navigate to WordPress Admin > WPML > Settings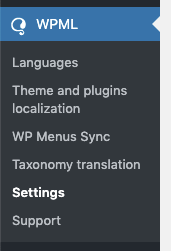
Scroll to the Post Types Translation section, and set Content Groups (page-generator-pro) to Translatable: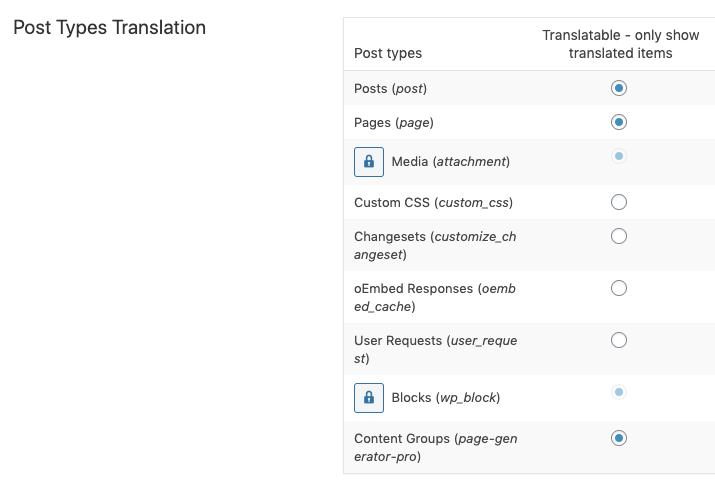
For the rest of this Documentation, we’ll assume you have two languages setup:
- English
- Spanish
Define Keywords
Adding Keywords
To add a Keyword to Page Generator Pro:
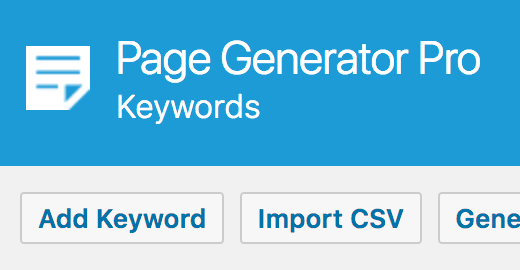
- Click the Add Keyword button below the Page Generator Pro: Keywords title, which can be found towards the top of the screen:
- The Keywords form will then be displayed, where you can define the following options:
- Keyword: the unique template tag you’ll use when generating Pages / Posts / Custom Post Types.
- The Keyword must be unique from any other Keywords that you might have already defined.
- Make sure to only use letters, numbers and underscores. Spaces and other characters will not work.
- Terms: list the words or phrases that will be cycled through when generating content containing this Keyword, comma separated for each language that is supported on your web site. Each word or phrase must be on its own line.
- Delimiter: Use the comma symbol (,)
- Columns: the comma separated list of languages the above Terms are in.
- Keyword: the unique template tag you’ll use when generating Pages / Posts / Custom Post Types.
For example, if we’re defining a {service} Keyword for Web Design and Web Development in English and Spanish, we’d enter the following information:
| Setting | Value |
|---|---|
| Keyword | service |
| Terms | Web Design,Diseño web Web Development,Desarrollo web |
| Delimiter | , |
| Columns | english,spanish |
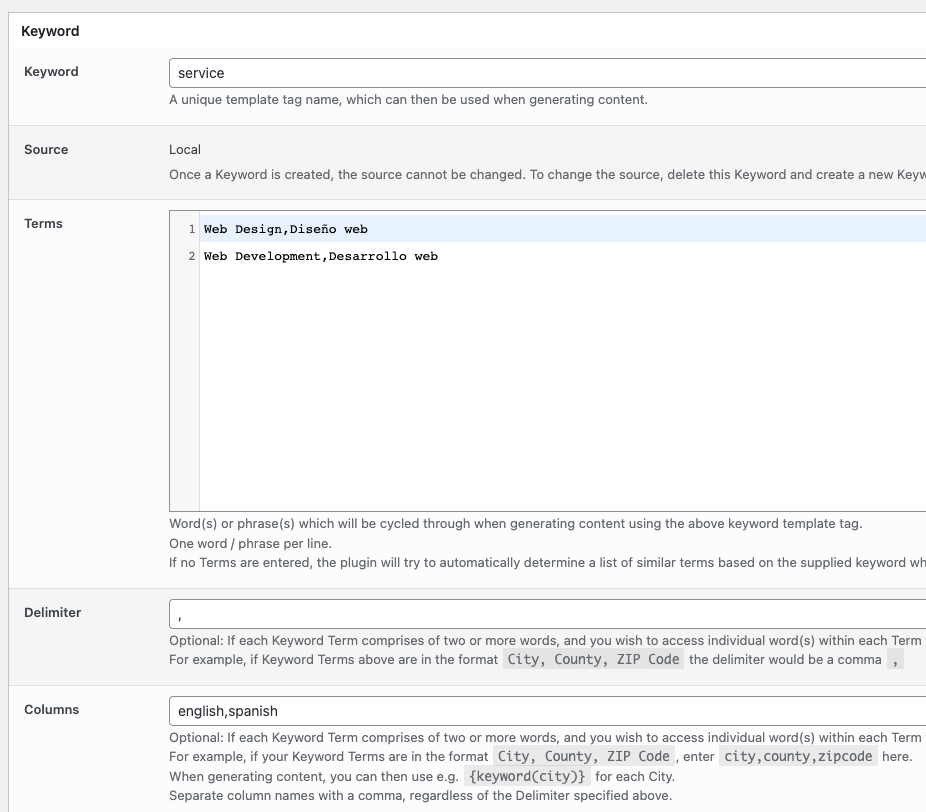
When you’re finished, click the Save button.
A notification will be displayed confirming that the Keyword saved successfully.
Editing existing Keywords
To edit an existing Keyword, click the Keyword name in the Keyword table.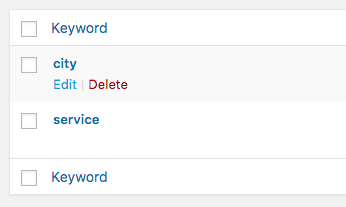
In the Keywords form that is then displayed, define the Terms in each of the languages that you have enabled in WPML.
For example, if we’re editing an existing {service} Keyword, that has Terms in English for Web Design and Web Development, we’d enter the following information:
| Setting | Value |
|---|---|
| Keyword | service |
| Terms | Web Design,Diseño web Web Development,Desarrollo web |
| Delimiter | , |
| Columns | english,spanish |
Define Primary Language Content Group
To add a new Content Group to Page Generator Pro, click the Add New button below the Content Groups title, which can be found towards the top of the screen:
You will then be presented with a screen similar to the one used to edit your WordPress Posts and Pages: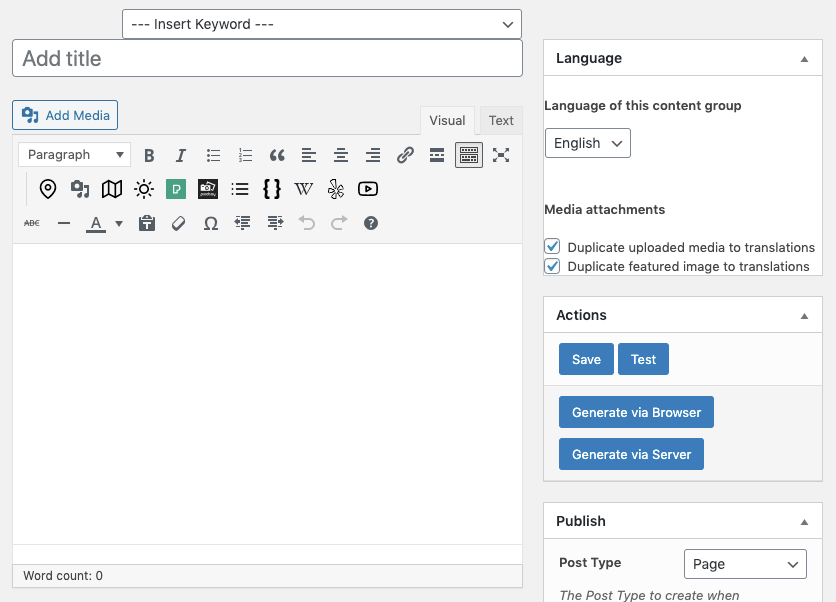
Define your Title, Content and other settings as you would for a Content Group. In our example, you’d:
- Write the content in English, using the {service(english)} Keyword
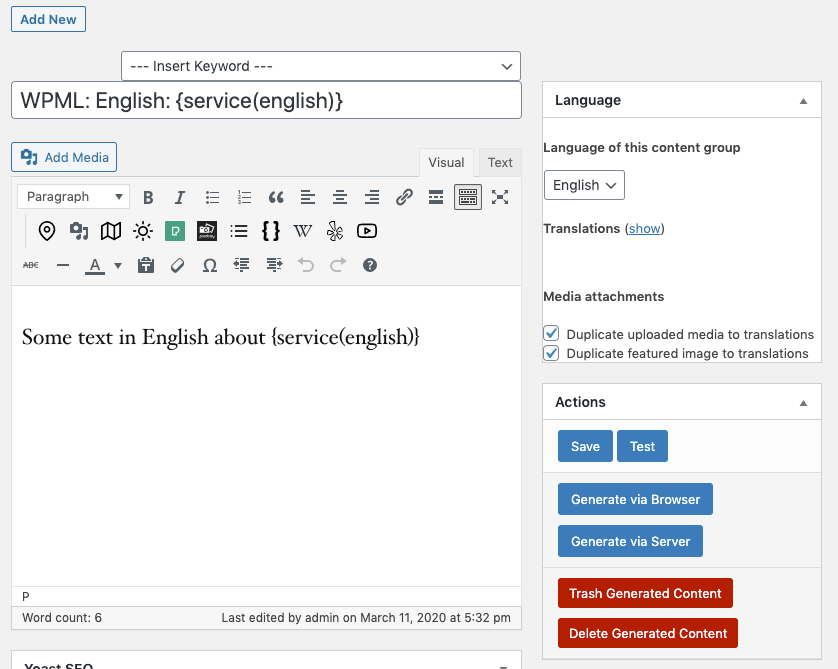
- In the Language section, select English
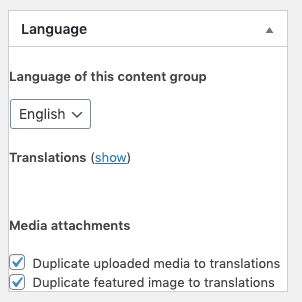
- Save the Content Group
- Click the Save button, if available in the Actions meta box,
- Click the Publish / Update button, if using Gutenberg.
Define Translation Content Group(s)
For secondary language(s) enabled in WPML, you’ll need to create an additional Content Group, defining its language in WPML’s options.
In our example, you’d:
- Create a new Content Group
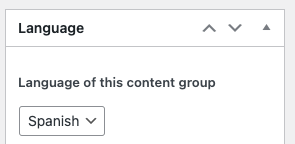
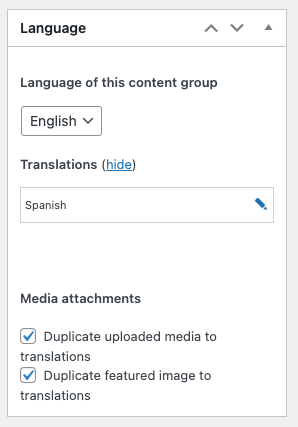
- In the Language section, change it from English to Spanish
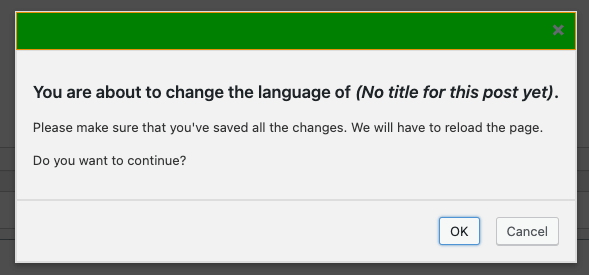
- Click Ok on the prompt that appears
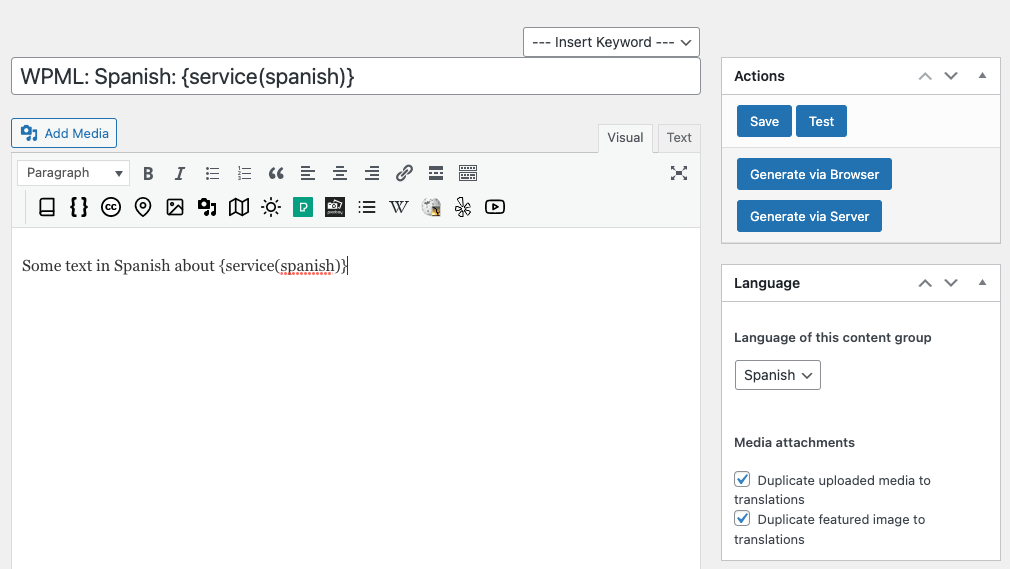
- Write the content in Spanish, using the {service(spanish)} Keyword
- Save the Content Group
- Click the Save button, if available in the Actions meta box,
- Click the Publish / Update button, if using Gutenberg.
Connect Content Group Translations
With your secondary language(s) Content Groups created, we now need to connect them to the primary language’s Content Group in WPML.
In our example, we would:
- Edit the English Content Group
- Click Connect with translations
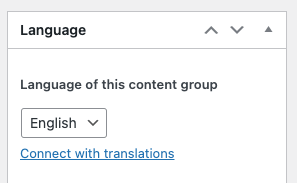
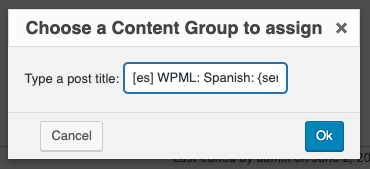
- Start typing the Title of the English Content Group:
- Click the matching Content Group name, and click Ok
- Confirm that the Content Group name listed in the modal window is the Spanish (secondary) Content Group language, and that the “Make… the original language for this page-generator-pro” is ticked
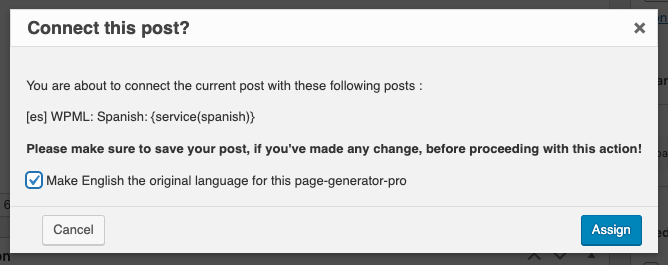
- Click Assign
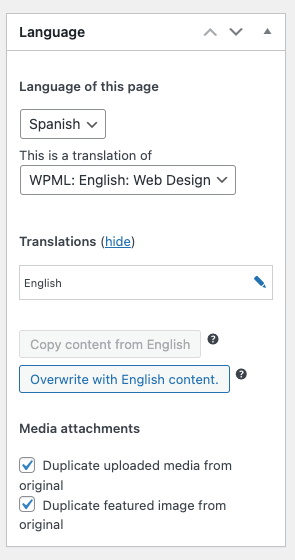
- The Spanish (secondary) translation will then be displayed in the Language section:
- Save the Content Group
- Click the Save button, if available in the Actions meta box,
- Click the Publish / Update button, if using Gutenberg.
Generate Content
With our Content Groups complete, we can now generate content for each language.
For each secondary language Content Group, click the Generate via Browser option. For example, if Spanish is our primary language, we’ll do this for the Spanish Content Group: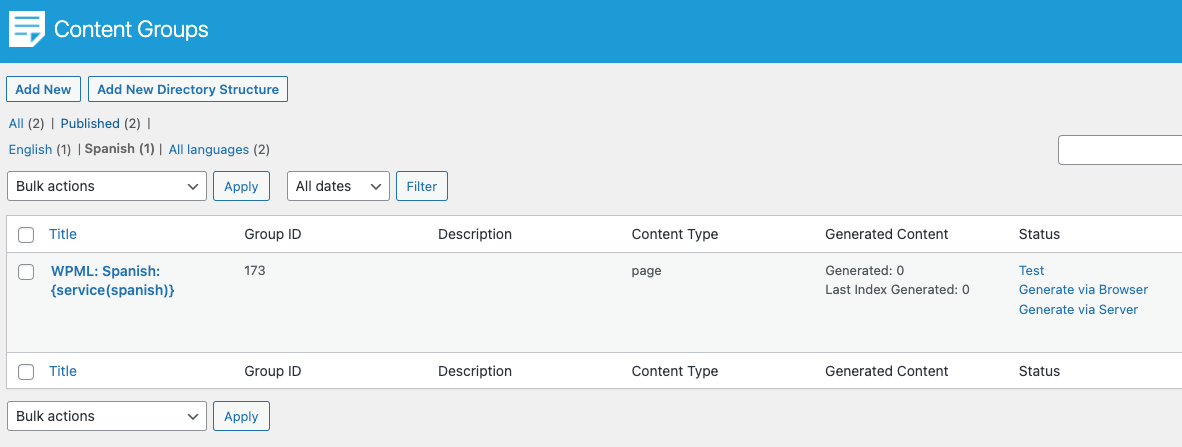
A screen will display showing the progress as each Page is generated, along with the time it took and the server memory usage:
Once generation is complete, repeat this step for the primary language’s Content Group. For example, we’ll do the same for the English Content Group: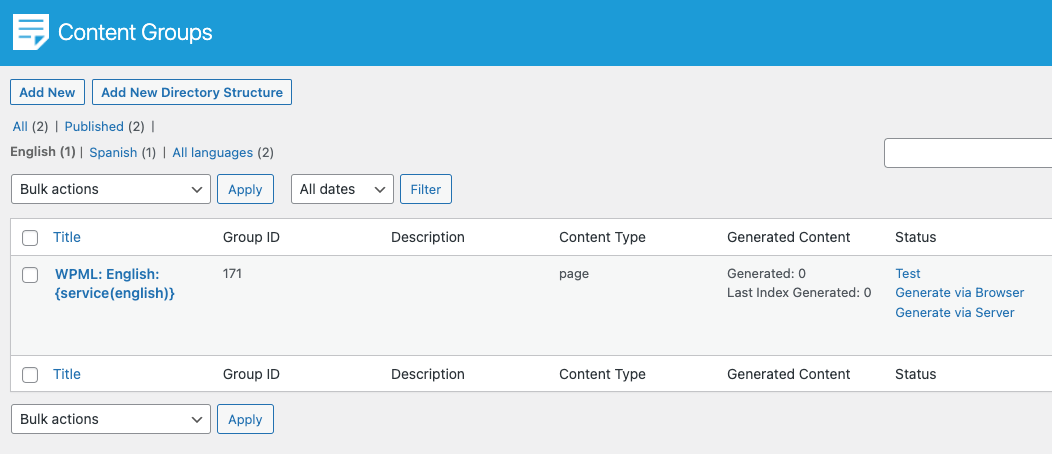
Again, a screen will display showing the progress as each Page is generated, along with the time it took and the server memory usage:
If we click the first link in the log, we’re taken to the English version of our Web Design service page: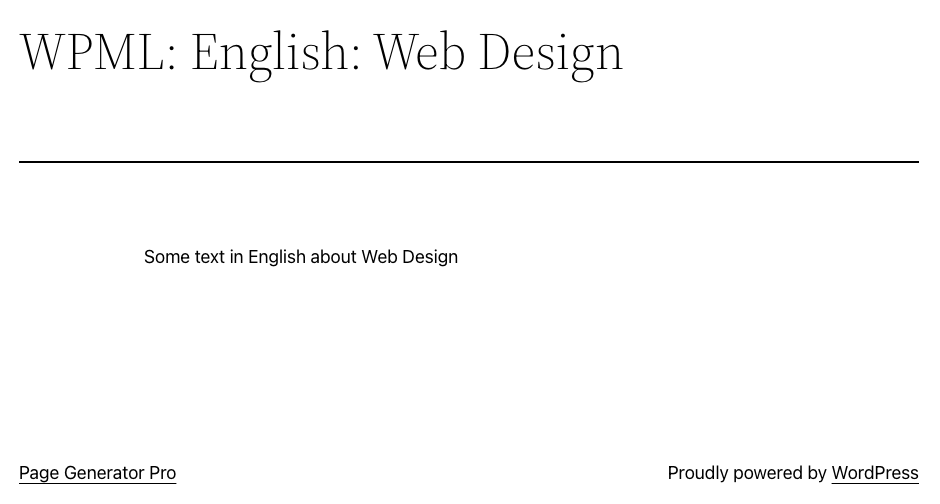
With WPML’s Language Switcher widget, we can switch to the Spanish version: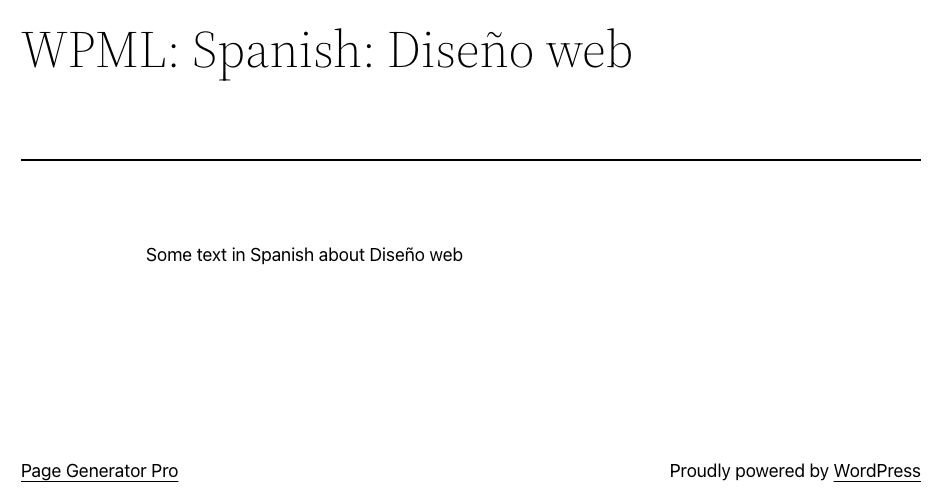
Editing the generated Spanish page, we can see that Page Generator Pro has linked the translations automatically for each language, showing us which generated Page contains the English version of the same content for the same service.