Prerequisites
- Visual Composer 26.0 or higher
Setup
Before using Visual Composer in your Content Group, you’ll need to:
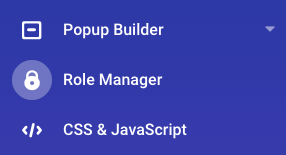
- Navigate to Visual Composer

- Click Role Manager
- For each WordPress Role that will manage Content Groups, enable the Content Groups option
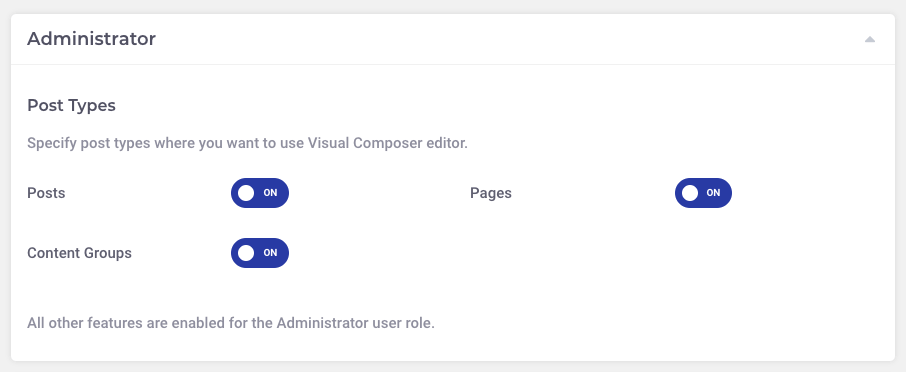
- Click Save

Add a Content Group
To add a new Content Group to Page Generator Pro, click the Add New button below the Content Groups title, which can be found towards the top of the screen:
You will then be presented with a screen similar to the one used to edit your WordPress Posts and Pages.
It’s recommended that you first:
- Define the Title,
- Setup the Content Group settings, by referring to the Generate: Content Documentation.
- Click Save
Once saved, click the Visual Composer button
Edit a Content Group
To edit an existing Content Group in Page Generator Pro, click the Title of the Group that you want to edit:
Click the Visual Composer button
Create/edit your Page as necessary, ensuring that you click the tick in the bottom left hand corner when done to ensure changes are saved:
Dynamic Elements
Visual Composer’s Text Block uses the Classic Editor / TinyMCE, therefore allowing you to build each Dynamic Element’s shortcode using the UI.
To do this, click the Open Element in Edit Form:
The Dynamic Element UI’s buttons are then displayed: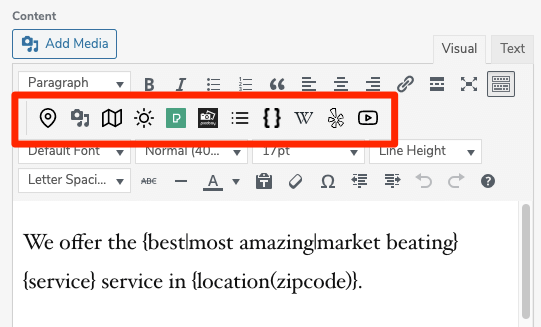
How to do this can be found in the Adding: Classic Editor / TinyMCE section of each of the Documentation links below:
For other Visual Composer modules, you’ll need to manually build each Dynamic Element’s shortcode using the documented parameters. These can be found in the Adding: Page Builders section of each of the Documentation links below:
Common Issues
Visual Composer Button does not display in a Content Group
Follow the Setup section of this document.
Visual Composer Content does not display on Generated Page
- Follow the Setup section of this document.
- In the Content Group:
- Click the Visual Composer button
- Click the tick in the bottom left hand corner
- Confirm the tick background color turns to green
- Generate Pages as normal
- Click the Visual Composer button